I'm travelling into a new way of working, a new country, a new language, and a new hobby which I'm passionate about. Come with me for some of the journey...

Sunday, 9 August 2020

Corrugated Quotes

Hello everyone!  I hope you're doing well, and not suffering too much in the heat (if that's what's happening where you are!).  I wanted to pop in to share probably my favourite samples from my latest round of stamp releases, launched by PaperArtsy in June.  It's a lo-o-ong one, so grab a cup of whatever keeps you going!


There's one sample for each of the stamp sets, so one quote comes from EAB18 Gardens & Growth, one from EAB19 Life & Living, and one from EAB20 Night & Day.  The colours for each were specific to each stamp set, but intended to co-ordinate overall with one another, so these work beautifully as a trio.


I was going to try to write this post in New Blogger, but then I decided I didn't want to waste my time getting frustrated.


For as long as Legacy is here, I'm sticking with it.  I can write a complex post very quickly.  With N.B. even the simplest post is a trial.


But on to happier things... this trio of tags.  You can see what they have in common... the Paper Dolls, the regular-sized colourful tag mounted over corrugated cardboard...


... the Tim Holtz Wildflower thinlits and Lin Brown's fabulous grasses from PaperArtsy ELB30.  These grasses always seem to play a part in my quote stamp samples, and here they are in triplicate!


I was also enjoying playing with 3D quotes with these arched banners.  Some of them were done on acetate (check out Double Sided Acetate if you missed those ones) but on two of these I went with a more conventional substrate for my arched words.


What's great about this technique is that you can use a quote that might be just a bit too wide to fit on the card or tag and still get it all on!


Let me take you through a few process pictures so you can see how they all came together, but mostly I'm going to share pretty close-ups, so feel free to scroll on and enjoy those!


Let's start with EAB18 Gardens & Growth (might as well go in number order so that I don't get completely confused!!).

I stamped the grasses in paint over a brayered background - there's a lovely softness to the paint stamping, as though the grasses are blowing in the wind.


I decided to have another layer of stamping, so this Hot Picks wildflower stem appears in Leaf Green Archival.  I stamped the stem again upside down to make it long enough, and you get one of those lovely knotty bits in the stem into the bargain - very true to life.


I cut the Thinlits stems from another piece of painted card, and used more Fresco paints to add the petal details. 


Some are tucked behind the tag, and some are layered on top.  It all adds depth and dimension.


The twisting cotton thread adds movement and intricate detail.


The quote is stamped in Leaf Green Archival and clear-embossed so you get that little touch of gloss to catch the light.


And I blended on a little bit of co-ordinating paint around the edges to draw the eye in towards the words, before fixing it in place with a couple of Idea-ology fasteners.
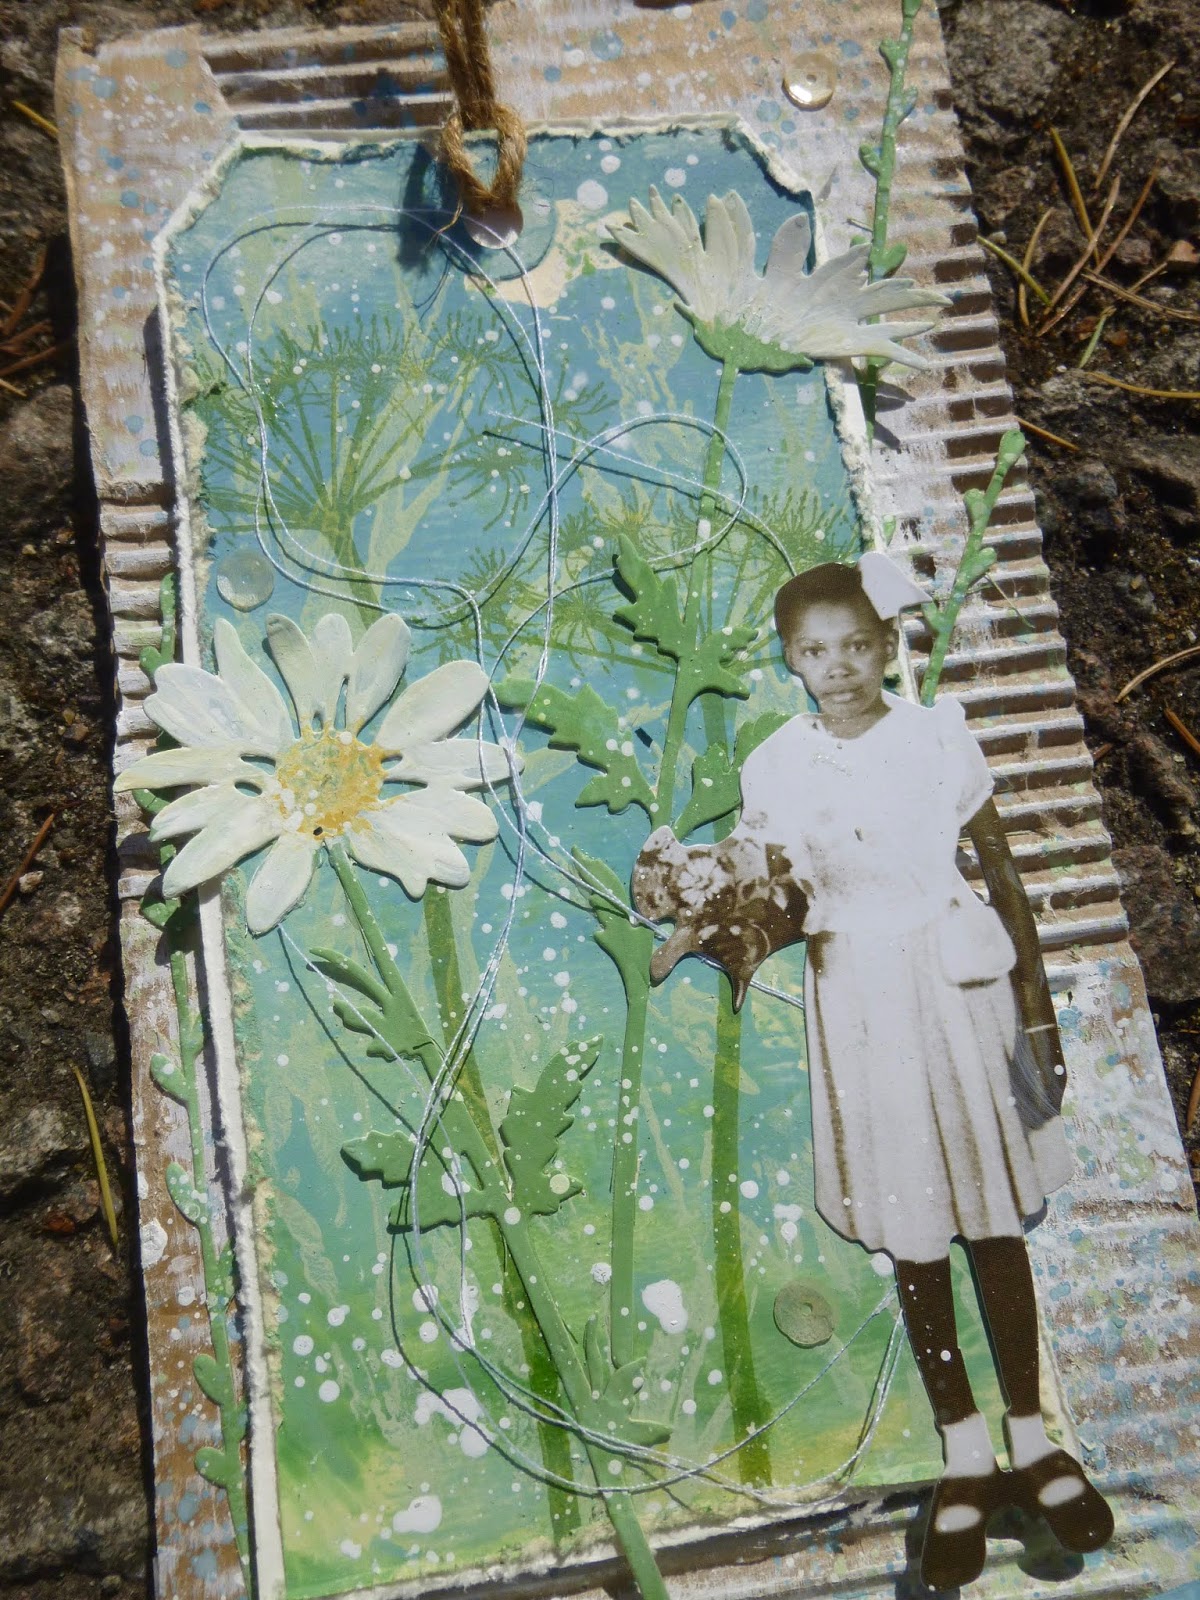


I love this little girl, so I'll forgive her for picking flowers in my garden!


Onwards to EAB19 Life & Living...  a quick look at the early stages first.  For this, I used one of a pair of sponged tags (you've seen the other in action already on the Life & Living acetate tag linked to above).


This time the grasses are stamped in Archival so you get that lovely sharp look.  I combined Leaf Green and Olive Archival inks directly on the stamp for a slightly variegated look.


The tag I cut some of the Wildflower thinlits from was a bit dark, so I sponged on some gesso and got this really lovely mottled look.


And you'll see that others have a little bit of script stamping to add extra detail.

Again the cotton thread swirls around to help give a sense of movement and life.  (Ignore the little seedpod near the bottom star - it's not a permanent fixture.  I was photographing outside.)


Speaking of the stars - they're moulded in paperclay in one of the Finnabair silicone moulds.


Since it's clearly twilight, I thought the stars might just be starting to appear.

I gave them a rough coating of white embossing powder so that they would be the same colour as the text stamping, rather than just having the plain paperclay matte finish.


And there's another segue to the white-embossed words themselves.  Since the colour palette for the Life & Living samples included the lovely Lavender and Wisteria Fresco paints, I decided to echo the twilit sky at the top of the tag for the quote down at the bottom.


It brings those soft purple tones to the fore on the panel as a whole.  It's fastened in the same way as the one on the Gardens & Growth panel, even though this quote would have fitted lying flat.


The boy is one of my all-time favourite Paper Dolls, so it's only fitting that he takes his place on this, with one of my favourite quotes (by Oscar Wilde).


And it may also be my favourite of all the samples.

(Sshhh, don't tell the others - and in any case the Gardens & Growth girl and tag is such a close second as to make no odds!). 


And so to Night & Day... (This post has probably taken you all day and all night so that seems appropriate!).  I don't seem to have anything in the way of process photos for this one, but you get the idea by now.


The ombre tag in the background is another sponged affair - I love the subtle blending capability a natural sponge gives you.  (Again, you can see its partner in the acetate tags linked before - you get a better look at the effect there.)


And I think here we're probably at the start of the day...  throwing open the windows to the day.  The window might be very weathered (with PaperArtsy Crackle Glaze), but it still lets in the golden dawn light.


The Thinlits stems here play the role of the ripening corn...


... as do the grasses, stamped in Pumice Stone against the sky.


The quote is stamped in some Stampendous powder which happily echoes the Sky Fresco paint of the background, as well as catching the light to make me happy!


I decided I really wanted to include the author of the words this time.  Quite apart from anything else it adds an important balancing element to the composition of the whole piece down there at the foot of the panel.
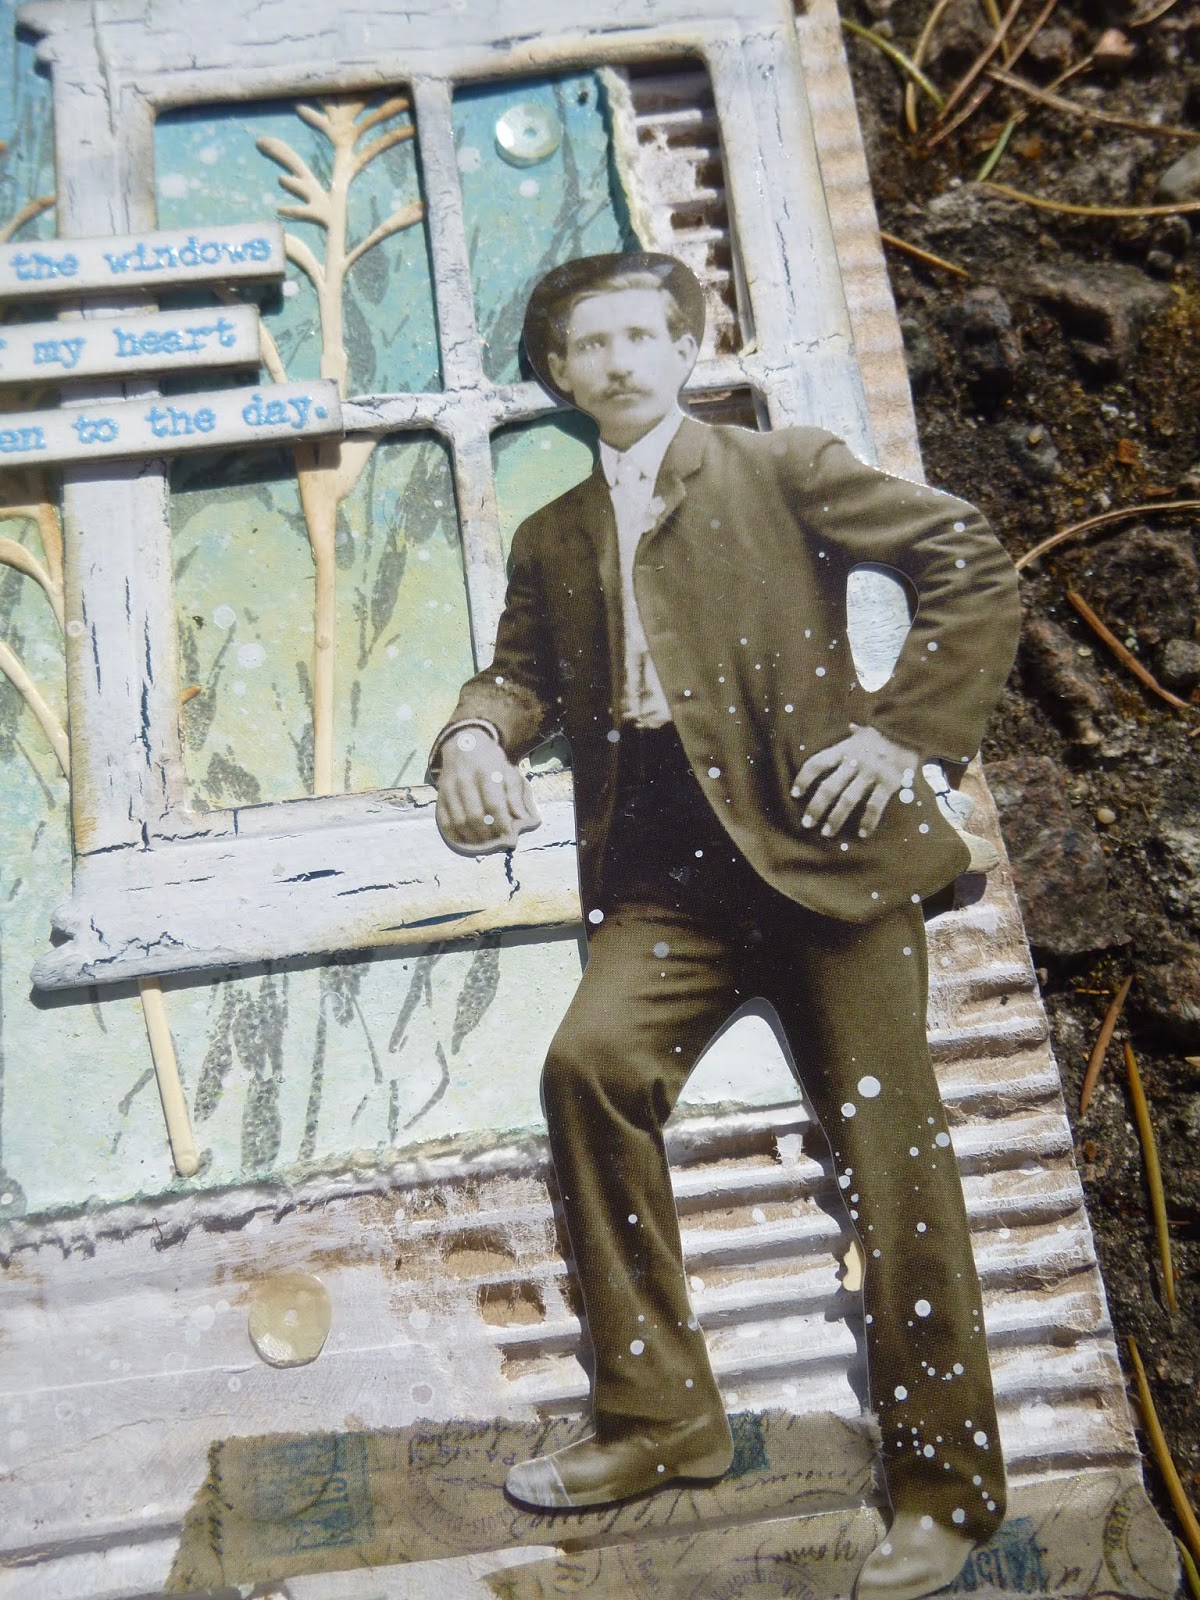


Our Paper Doll looks more than ready to throw his heart into his day's work, whatever that may be, but however high his heart is leaping... 


... his feet are firmly grounded on some Idea-ology Design Tape.


Phew, I think we made it!  I hope you like them as much as I do.  I really enjoyed creating this triptych... even though it was an unconscious one.  I didn't plan it like this from the start.

They weren't made together... each was created along with the samples for the rest of that quote set, but as the days progressed I obviously gave in to letting them echo one another, and by this third panel, it was a conscious process.


I wanted the Lin Brown grasses again, so I used them again.  I wanted some more corrugated card,  so I grabbed some more.  I wanted the Wildflower Thinlits to add another layer, so I let myself have them.  I wanted another arched quote, so I made one.

And by the end I was a happy woman.  As a triptych, they're one of my favourite makes of all time, all the better for being slightly accidental.  Serendipity is a wonderful thing.


Thank you so much for stopping by today.  As you know, this blog is as much my own personal scrapbook for my creations as anything else.

It's an endlessly happy bonus to have your company as I keep my records of what I did and how.  For that, and for your lovely comments and for the inspiration I find as I hop around Craftyblogland, you have my thanks now and always.  Stay safe, stay well everybody.

I am working here (in Amsterdam) on my last big triptych, which will be a tremendous story, and which gives me a more intense life and exhilaration. My God, life is worth living!
Max Beckmann

Friday, 7 August 2020

Look to the Speckled Skies!


Hello all!  We're playing with tags this month at A Vintage Journey... the lovely Amanda is our host and she says Tag, You're It!. 

As always, there's oodles of inspiration from my fellow Creative Guides, along with all the challenge details, and we hope you'll come and join in at some point.

Playing with tags is nothing out of the ordinary for me (in fact it's a rare week that goes by without one putting in an appearance) so to give this a little lift for the challenge, I've created a double-layered tag - two for the price of one, if you will.

And I've been playing with Speckled Egg Distress again... right down to some actual speckled eggs - but of course!

In fact, the regular sized tag mounted on the jumbo one here was my very first smooshing of the Speckled Egg (S.E.) when it arrived.


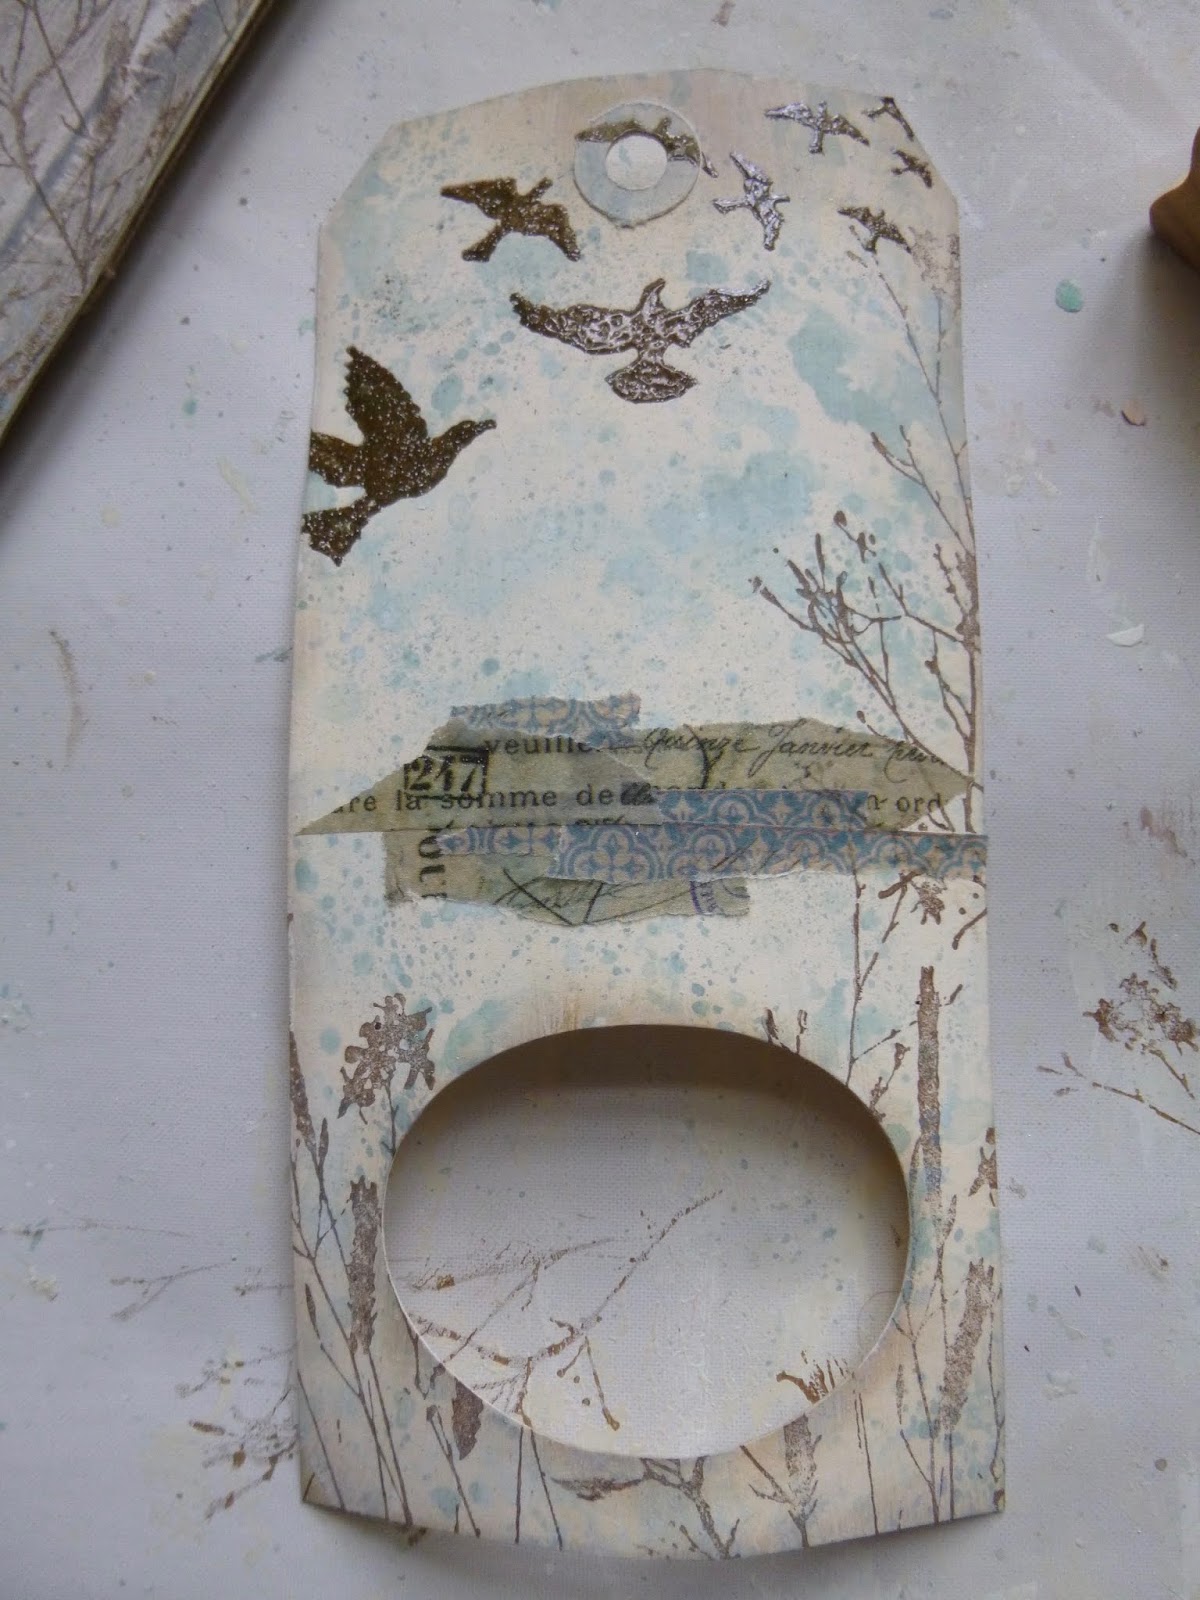
At some point the tag had had an oval cut out of it so it was just hanging around on the craft table when I wanted to play with my new colour, so now I had a Speckled Egg-smooshed tag with an oval cut-out sitting around.

It finally found a home when Amanda's challenge theme needed fulfilling... and here it is.


I've had these little plastic eggs in the stash for a while - they put in occasional appearances.  I used the S.E. Distress Paint along with a bit of white to coat the eggs, before spattering on some Mud Splat Fresco paint using a toothbrush.  They're inside the tape to stop them rolling around!


Given the tag already had the hole - and an egg-shaped hole at that - it immediately seemed like a good nook to rest a little nest in.   As you can see, I added some design tape, and a couple of my favourite stamps got pressed into action (yet) again.


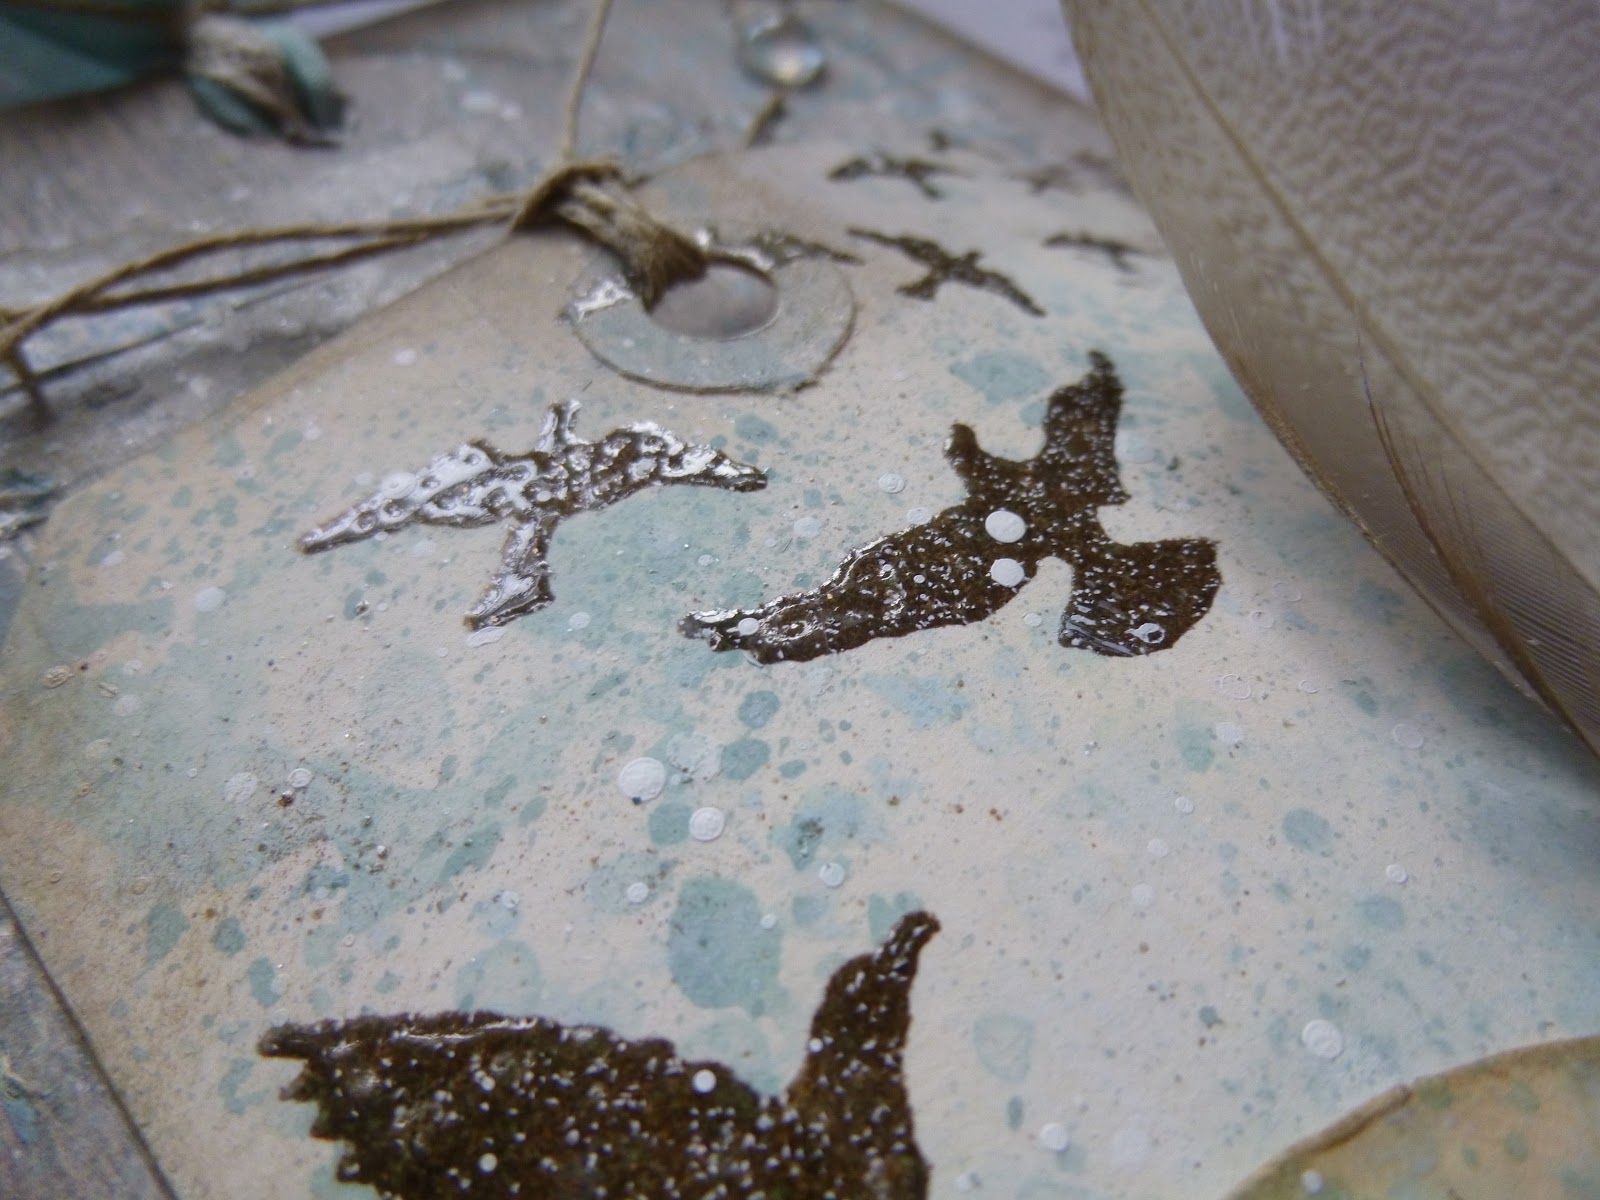
The birds are embossed so they have that magical flash of movement as the light catches them.


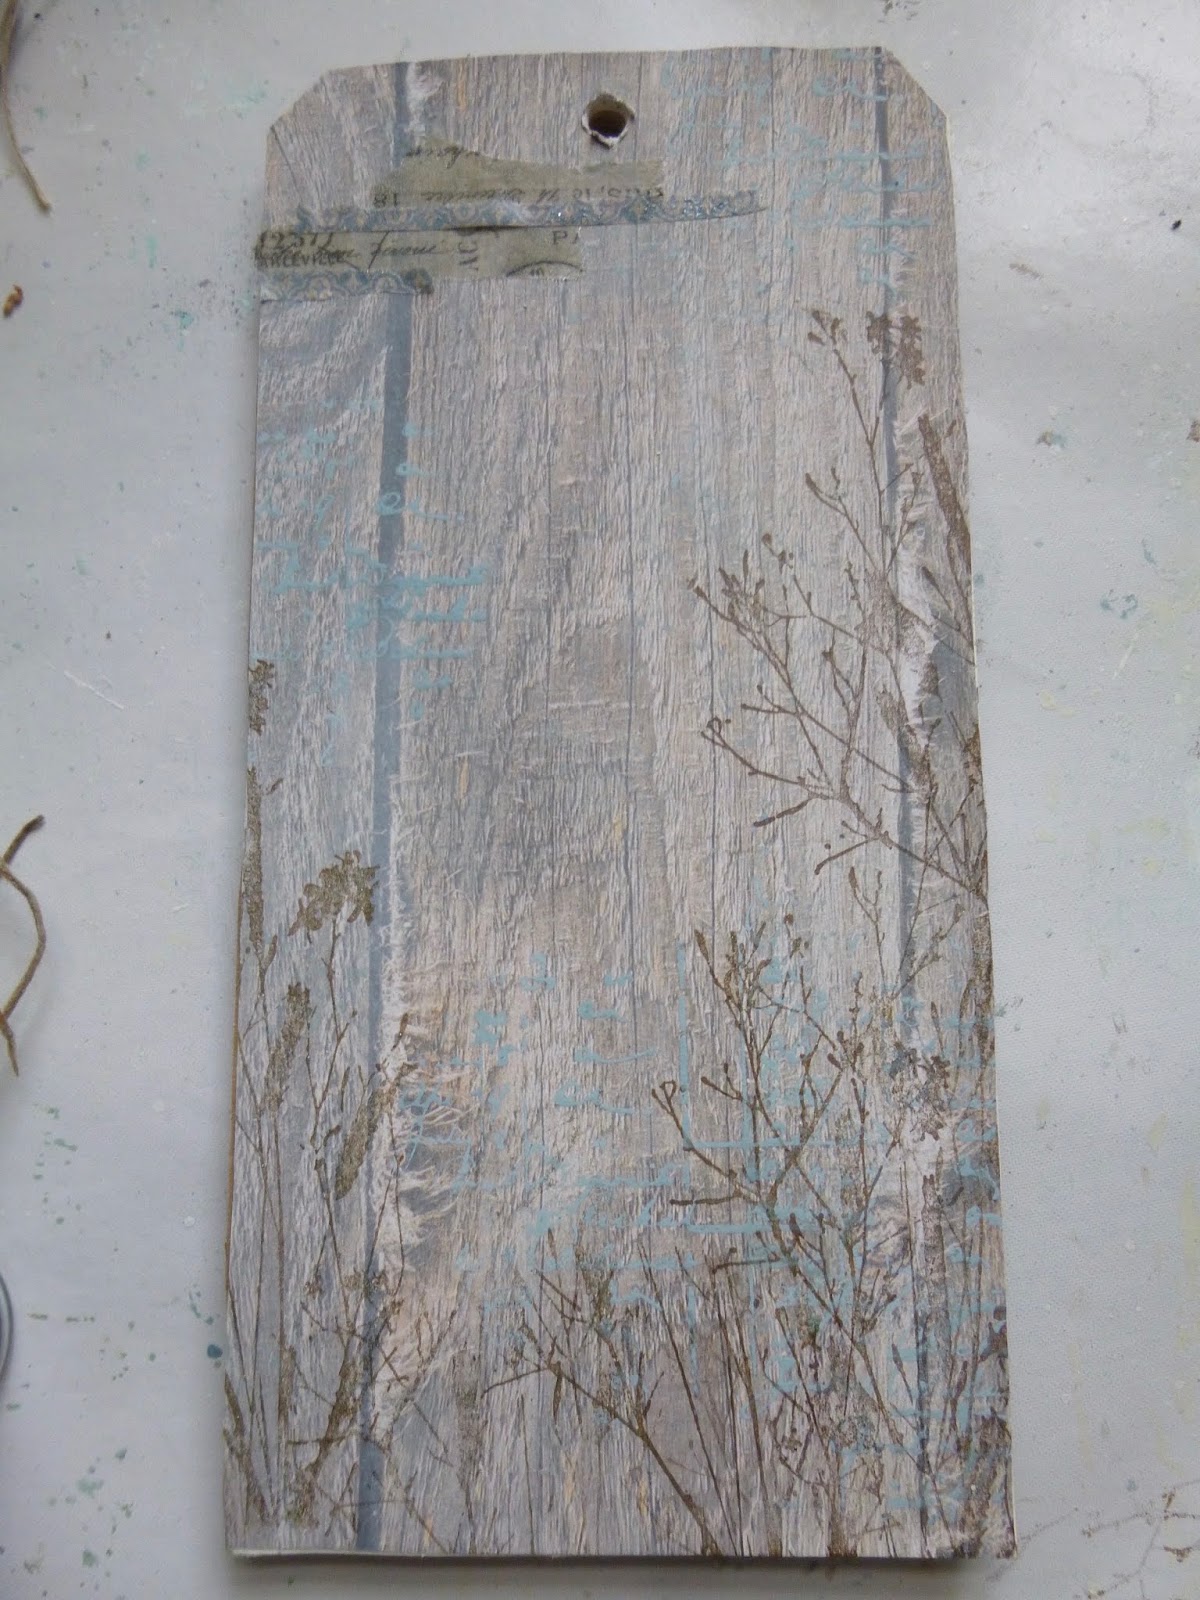
I thought a wooden background made sense - sort of like a tree to hold up the nest - so I used some wood plank paper and whitewashed it...


... before adding a bit of script stamping in S.E. Oxide...


... and some more of my favourite Tim Holtz grasses.


And then it was really just a case of assembling things.


Some tangled moss and supporting twigs from the garden to form the nest.


The feathers have been gathering on my craft table.  I've been feeding the birds during lockdown.  Many, many different species have been visiting, so the occasional feather is really not hard to come by just outside the front door.


I suddenly thought that my quote (from PaperArtsy EAB11 Wings & Flight) would look good on another oval.  The original cut-out was long gone so I grabbed another S.E.-smooshed tag which was lying around and cut it from that.


It was then that I discovered the main tag must have had a wash of gesso/white paint before smooshing, because my sentiment egg has a far warmer manila tone.  But I love how it brings out the greener side of S.E. 

(I didn't want the author of the quote's name to appear (Gustave Flaubert, in case you're wondering), so I used some masking tape over it when I was inking up the tag and removed it before stamping.)


The speckled eggs look just as I imagined nestled in their mossy bed.


I'm sure that one of these birds will be back to keep an eye on them very soon.


I suddenly thought it might be nice to have a couple of glass pebble "dewdrops" glistening around the place, so I dug them out and played with the positioning to get the balance right.


They were definitely a happy last-minute thought.  I love how they catch your eye with a glimmer of light every now and then.


Gluing down wasn't entirely straightforward.  Feathers have their own ideas about which direction they want to curve in.

And those lovely soft fluffy bits die a death if you get glue on them!


But with the addition of some S.E.-dyed crinkle ribbon and frayed Idea-ology Linen Ribbon at the top, tied with fine twine, I was very happy by the time I'd finished.


I hope you like it too, and that you'll be inspired to come and play Tag, You're It with us this month at A Vintage Journey.  As always, we really enjoy seeing your creations and at the end of the challenge we'll be selecting three Pinworthies to go on our A Vintage Journey Pinworthies board.


As though there's not enough inspiration by the Creative Guides over at the main blog, I just want to finish off with a shot of my two recent Speckled Egg tags together.  They were made within 24 hours of each other, and I think this one and the Change your life tag work rather well as a pair.


Thanks so much for stopping by.  I look forward to some blog-visiting time this weekend to see what you've been up to lately.  Stay safe, stay well... the second wave is rising.  Best to stay indoors and do some crafting really!

I do not live happily or comfortably
With the cleverness of our times.
The talk is all about computers,
The news is all about bombs and blood.
This morning, in the fresh field,
I came upon a hidden nest.
It held four warm, speckled eggs.
I touched them.
Then went away softly,
Having felt something more wonderful
Than all the electricity of New York City.
Mary Oliver

Tuesday, 4 August 2020

Life is...


Hello all!  I'm here with a trio of altered money envelopes today.  They were made as samples for one of my latest stamp sets, launched last month by PaperArtsy.  All the quotes on these come from EAB19 Life & Living.

They ended up needing to be a trio because each of them starts with the phrase "Life is..." (or in one case "Life isn't..." but it then goes on to tell you what "Life is..." in the second half!).

The cash envelopes are actually just slightly larger than ATC sized, especially when you leave the top flap open, as I have, to receive possible gift vouchers or cash as a gift.

I won't keep you long, as these were really pretty simple to make, but just in case you want to know how, keep reading.


I started by smearing gesso onto the envelopes with a palette knife.  It's really not important to be neat or precise with this bit.


Next, I added watery washes from the chosen palette - a green-turquoise-blue-purple spectrum.


Once that was all dry, I stamped some of Courtney's fabulous leaves from ECF06, combining Leaf Green and Olive Archival directly on the stamp.

Some of the postmarks from the same set are stamped around the place in French Ultramarine Archival.


The French Ultramarine is actually a soft purply pale blue, so fitted perfectly with the paint palette.


I stamped the quotes on separate pieces of card, and embossed them in Wow Earthtone Pepper. 


I love this speckled grey, especially when it catches the light... it makes me very happy.


And I did want to have the authors' names somewhere in the mix.  Obviously, you can just cut them off and discard them, but sometimes I like to have them around.


Rather than have them conventionally attached somewhere as a footnote, I used them as little balancing accents in opposite upper corners.


Okay, Helen Keller made it to footnote sort of place in the bottom corner, but only because that was the position needed to get a balanced composition.


The cotton thread adds movement and dimension.


I love how the spontaneous coils and swirls bring everything to life.  And of course there's plenty of splatter, which I find has a similar effect.


If I'm using the method of stamping on a separate piece of paper and then cutting the quotes up, rather than stamping straight on a project, the positioning of the words is worth some attention.


For instance, with this Einstein quote, you can create the pause needed for the comic timing of the quote by leaving visual space between the words.

But maybe that's just me... I know I do have a strange and particular brain as far as words are concerned!


So there you go - another batch of samples from the new stamp sets.  I hope you like them.  My favourites are still to come.  That's going to be a more complicated blogpost to write.  


Hopefully now I'm safely settled in the Czech Republic (for a few weeks at least - all a bit up in the air, depending on building work) I'll have more time to play with.  I've got most of the unpacking done, and the travelling craft stash organised... there's quite a lot, though the pile is smaller than on some occasions in the past - have a look here, third photo down!).


Three Tim Holtz stamp folders, plus assorted extra stamps; plenty of Distress Ink and Oxide pads in the TH Cargo Case; tools and brushes and powders in the little Wendy Vecchi bag; and a couple of cardboard boxes rammed full - here's a sample of the top layer of the little one.  Next time out I'll try to remember to show you a couple of pictures of my current set up.


I hope you're all thriving this week, or at least surviving.  Stay safe, stay well everyone, and happy crafting!

Life is a series of natural and spontaneous changes. Don't resist them - that only creates sorrow. Let reality be reality. Let things flow naturally forward in whatever way they like.
Lao Tzu