I'm travelling into a new way of working, a new country, a new language, and a new hobby which I'm passionate about. Come with me for some of the journey...

Showing posts with label crinkle ribbon. Show all posts

Friday, 12 November 2021

Encore - Let there be Light

Hello all!  I’m here with a seasonal encore post. Others call them throwbacks, but I’m of a theatrical mindset, so  “Encore!” it is. I created these sparkling candle jars, decked with winter foliage, for the Destination Inspiration post at A Vintage Journey seven years ago (yup, seven!), when I was on the design team there.

Sadly, the challenge blog is no longer active, but that’s no reason not to enjoy the transformation here at Words and Pictures, where they’ve never been shared in full. I hope you enjoy them. Here’s what I wrote all those years ago, back in December 2014...
__________________________________

Hello all, Alison (butterfly) here with you at Destination Inspiration today.  And, as befits a staging post on the journey, it's a chance to pause and put your feet up with a cup of coffee.  I hope you'll find my offering inspiring somewhere along the line... either from the basic simple idea at the root or from the festive experimenting that went on from there.  It's not really so much a lightbulb moment as the gentle glow of candlelight, spreading its beams on a wintry night!


I've ended up with three new additions to the candlelight fiesta we celebrate with round our way (we always have many, many candles lit at Christmas) each one with a slightly different finish and texture if you look closely.


So that's where I ended up, but I started with the simple idea of covering jam jars with Idea-ology Tissue Wrap.  I love the tissue wrap but, often when I use it, it ends up under layers of stuff, not really getting to strut its stuff.  So I started from wanting to put it front and centre and, what's more, give it an inner glow.


I took various jars from the hoard I've collected, cut pieces of tissue wrap approximately to size, and used slightly watered down multi-medium to glue them to the jars.  (The added moisture just helped with moulding the wrap.)


At the bottom I left enough tissue wrap to spare...


... so that I could fold it inwards.  It pretty much took care of that nice neat pleating effect by itself as I pressed it down.


And at the top I left another spare centimetre (ish) so that I could fold it down into the jar rim for a nice neat finish.
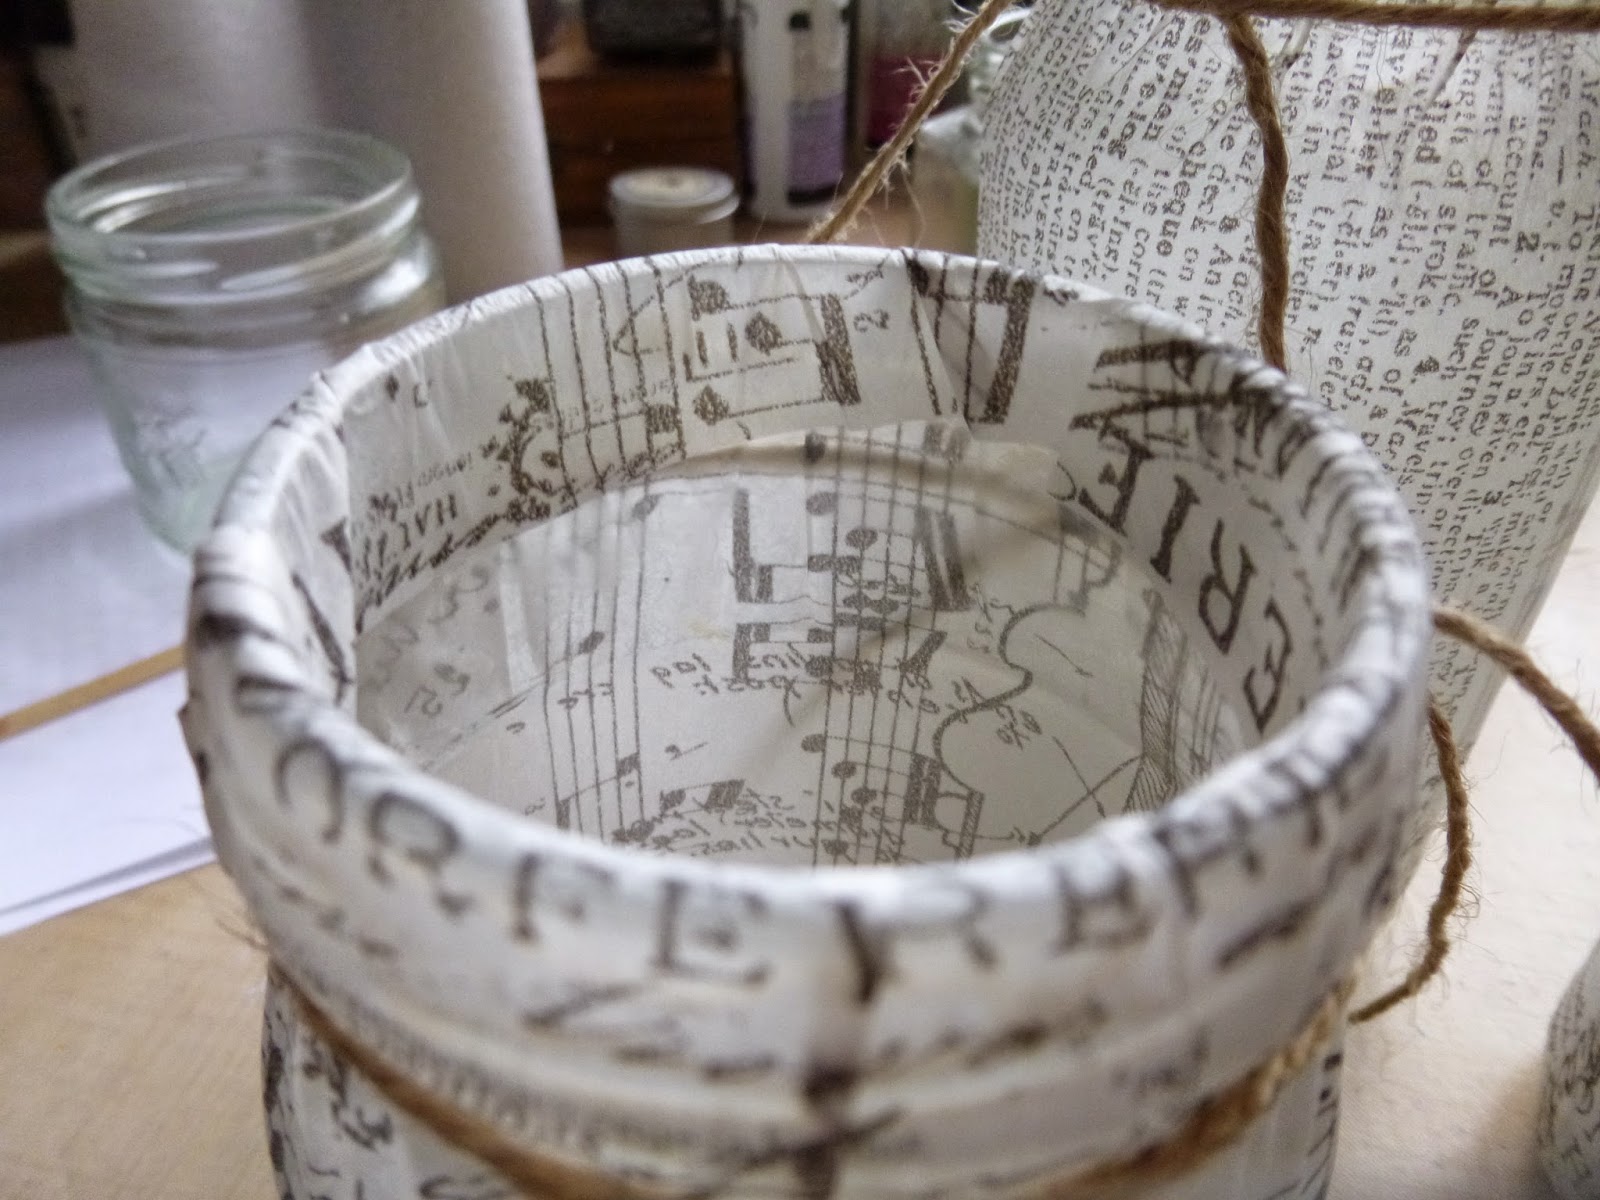

I tied twine tightly around the top while the glue was drying, just to hold it all in place.


For all that my crafty creations are layered and textured, my tastes in home decor are fairly simple and minimal so - for my money - that's pretty much a done deal.  I love how the tea light candles glow, lighting up the tissue wrap, and the twine gives a rustic finish.  A really easy, decorative candle holder, with the tissue wrap taking centre stage.


But it's nearly Christmas, and I felt I should pop a bit more inspiration into your stockings!  So I decided to experiment with zhuzhing them up a bit, each in their own individual way.

Here we go...

Jar 1 got a coat of Rock Candy Crackle Paint to start with, quite a thin layer in places so that the crackle would be quite subtle.  I left that to dry and set off into the next experiment.  (Not much point in a picture which would literally be watching paint dry, so on we go...)

Jar 2 got another coat of multi-medium over the top of the tissue wrap, and then I poured Rock Candy Dry Glitter all over it.


And again, as far as I'm concerned, you could stop right there if you wanted to!


Jar 3 got the Ranger Texture Paste option, applied through the wonderful Holly Bough Layering Stencil.  I used some tissue tape just to secure the stencil while I did it, though I also held on quite firmly at the same time (oh, for a third hand...).


Since it didn't quite meet all the way round the circumference of my jar, I had to wait for that first application to dry before filling in the gap.


So far so good... now for some colour.  I grabbed some of my new Distress Stain Sprays (how happy I am they exist!).  Evergreen Bough, Iced Spruce, Tumbled Glass, Broken China and the fabulous Brushed Pewter all play a part here (as well as a not-pizza box from a crafty delivery!).


Since tissue wrap has a pretty non-porous coating, you sometimes have to help it along when applying colour.

I was expecting a sort of Cracked Stains (Tim's technique) effect with the crackle paint, and that's what I got.  After all, these are Distress Stains, just being applied differently.  And it was great fun letting the inks run and blend into and over the cracks.


Gotta love the gleam of that Brushed Pewter.


The Dry Glitter was also fine.  It takes colour well itself and, with the coat of multi-medium holding it in place, the sprays took really well.  In fact, they sank in really quickly - unlike with the crackle, you don't get much drippage/blending play.  But again, it's a wow when the light hits it.


But for Jar 3, I knew I might need to give the tissue wrap a bit of extra tooth before spritzing, so I coated the whole thing - texture paste and all - with Clear Gesso before applying the colour.  I didn't try without the Clear Gesso, so I can't tell you what that would have done - but having it there certainly seemed to do the trick.


Again there was lots of drippage and blending play as I applied the layers of colour and of course the Ranger Texture Paste is specifically designed to play nicely with Distress Inks, so that was fine.


Of course with all that spritzing and dripping there was quite a lot of leftover ink going spare so I quickly grabbed a few Manila Tags and did some mopping up, as you saw in the not-pizza box photo.  So now I have some ready-to-play backgrounds awaiting more attention, though I knew I had a use for the really inky three.  With all that co-ordinating colour and beautiful silvery sheen, these had to play a part here.


I ran them through the BigShot with the fabulous Holiday Greens Thinlits - so in love with the delicate fir fronds.


I used some of the wax paper kindly sent me by Marci from the States - before they started stocking it around the place over here.  It really helps to make it easier to get delicate die-cuts out of the dies.  But of course you also end up with really gorgeous additional die-cuts - very delicate, deliciously frosted - and so they also got pressed into service!


I tied the bunches of greenery onto my jars with Crinkle Ribbon, and did a bit of gentle additional spritzing (adding Bundled Sage into the mix this time).


I didn't want too much colour on the ribbons - a touch of white never hurts at Christmas - and the sprays also gave the greenery a bit of extra detail too.


The final touch was to add a few frosted berries, clustered around the ribbon knot, and I decided I was done.


I'm very happy with the results (even though I will definitely be making myself a few more of the very simple first versions for use throughout the year!)...

The crackle is subtle, but pretty cool I think...


The shimmer of the Dry Glitter delights me far more than I expected - not being much of a glitter type in the general way of things!


And I just love that Holly Bough texture - such a great stencil, and the texture really benefits from a little extra dusting of Silver Treasure Gold wax.


It's never easy to capture the effect of candlelight on camera.  You always get a really intense light from the candle flame, and never really see the diffuse glow filling the whole of the jars that you get in real life.


But I've tried to share a little of the effect you get with these, whether through the crackle...


Or candlelight on glitter...


Or through the texture...


And always with the lovely text and images of the tissue wrap coming through from underneath.


They also look great lit by candlelight from the outside, so I gave a little spritz of Brushed Pewter to an already teal-green coloured nightlight holder, and added that to the collection for a really festive look.


I hope that's given you lots of ideas to play with, and that you'll have candlelight glowing in your homes this festive season. 

___________________________

Thanks so much for stopping by today - I'm so grateful to have my laptop back, repaired and ready to play again.  Maybe I'll even manage some of that long-promised visiting!  Happy crafting all.

The pine tree seems to listen, the fir tree to wait: and both without impatience: - they give no thought to the little people beneath them devoured by their impatience and their curiosity.
Friedrich Nietzsche

Tuesday, 1 September 2020

September Leaves


Hello all and a very happy September to you.

I thought I'd drop in to share some more of the backlog of tags I've been creating with a newly active mojo here in the Czech Republic (overseeing the final stages of building work before coming back to the UK to pack up my life and ship it over here - all before 31st December... stressed, not much!).

But partly because of my limited travelling stash (fewer decisions to make - just got to go with what I've got), and partly thanks to Speckled Egg (a colour which fired my enthusiasm no end) I've found myself getting really inky at the craft table.

This is one of three backgrounds which all came into being together, but each took a slightly different journey as I worked out what to put onto them.  So here's the first of the three and the other two will tip up soon.


The background is a combination of inks and oxides, smooshed until they made my heart sing.


I stamped the Tim Holtz leaves onto another smooshed background and cut them out, clear-embossing the outlines before adding little sprinkles of Frantage Aged Silver.


I think that gives them a look of sparkling dew or sunlight catching glossy leaf edges.


In between the stamped leaves, I wedged some metal filigree leaves which have also had a coating of the Aged Silver powder.  The gleam is gorgeous without being too in your face.


The stars are also done with the Aged Silver over some stencilled texture paste.


The paste I used was a bit sloppy, so we haven't go the cleanest of finishes on the edges of the stars, but that really doesn't bother me.  I just love the gnarly knobbly texture.


The Quote Chip seemed like the right way to add the words.


I dyed the crinkle ribbons to match for the topping and tied them with some simple twine.  The fine silvery ribbon is cut out of the shoulder of a blouse (one of those ones they put in to keep them on the hanger, but I never use them for that... much better to add them to the craft stash!).


The sparkle is really rather lovely on this.  I don't get blingy very often but just occasionally it's fun!  I shared a little video clip of them on Instagram, but I seem to have deleted it before uploading it here.


I have still got the one of all three tags together though, so I'll make sure to hang on to that until I've posted all three, so you'll get to see the video in the third of the posts (if New Blogger lets me upload it).


Have just had to revert to Legacy yet again in order to get my photos where I want them.  If they don't sort it out before taking Legacy away, it is going to be the end of my blogging I think.  I am so sad, angry, frustrated, depressed about it.

Sorry, didn't mean to end on a down note.  I really hope you all have a wonderful September.  Happy crafting all.

I believe a leaf of grass is no less than the journey-work of the stars.
Walt Whitman


Friday, 7 August 2020

Look to the Speckled Skies!


Hello all!  We're playing with tags this month at A Vintage Journey... the lovely Amanda is our host and she says Tag, You're It!

As always, there's oodles of inspiration from my fellow Creative Guides, along with all the challenge details, and we hope you'll come and join in at some point.

Playing with tags is nothing out of the ordinary for me (in fact it's a rare week that goes by without one putting in an appearance) so to give this a little lift for the challenge, I've created a double-layered tag - two for the price of one, if you will.

And I've been playing with Speckled Egg Distress again... right down to some actual speckled eggs - but of course!

In fact, the regular sized tag mounted on the jumbo one here was my very first smooshing of the Speckled Egg (S.E.) when it arrived.


At some point the tag had had an oval cut out of it so it was just hanging around on the craft table when I wanted to play with my new colour, so now I had a Speckled Egg-smooshed tag with an oval cut-out sitting around.

It finally found a home when Amanda's challenge theme needed fulfilling... and here it is.


I've had these little plastic eggs in the stash for a while - they put in occasional appearances.  I used the S.E. Distress Paint along with a bit of white to coat the eggs, before spattering on some Mud Splat Fresco paint using a toothbrush.  They're inside the tape to stop them rolling around!


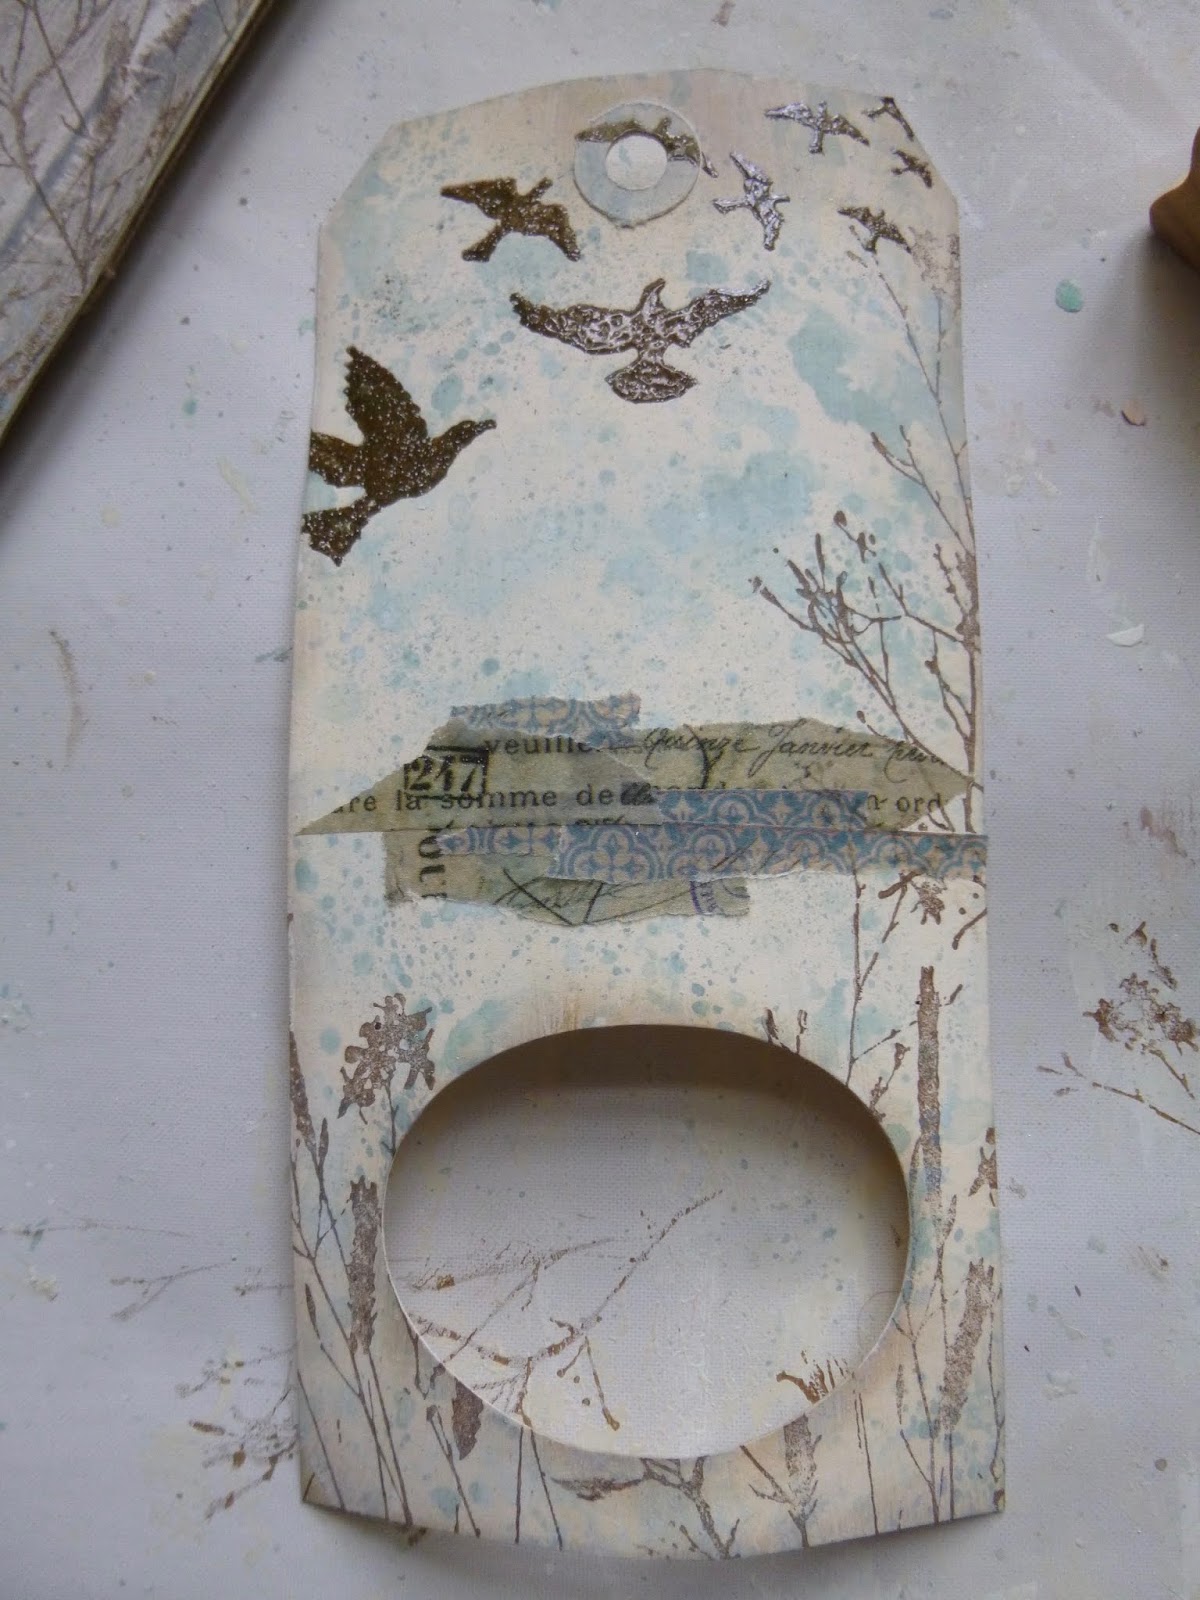
Given the tag already had the hole - and an egg-shaped hole at that - it immediately seemed like a good nook to rest a little nest in.   As you can see, I added some design tape, and a couple of my favourite stamps got pressed into action (yet) again.


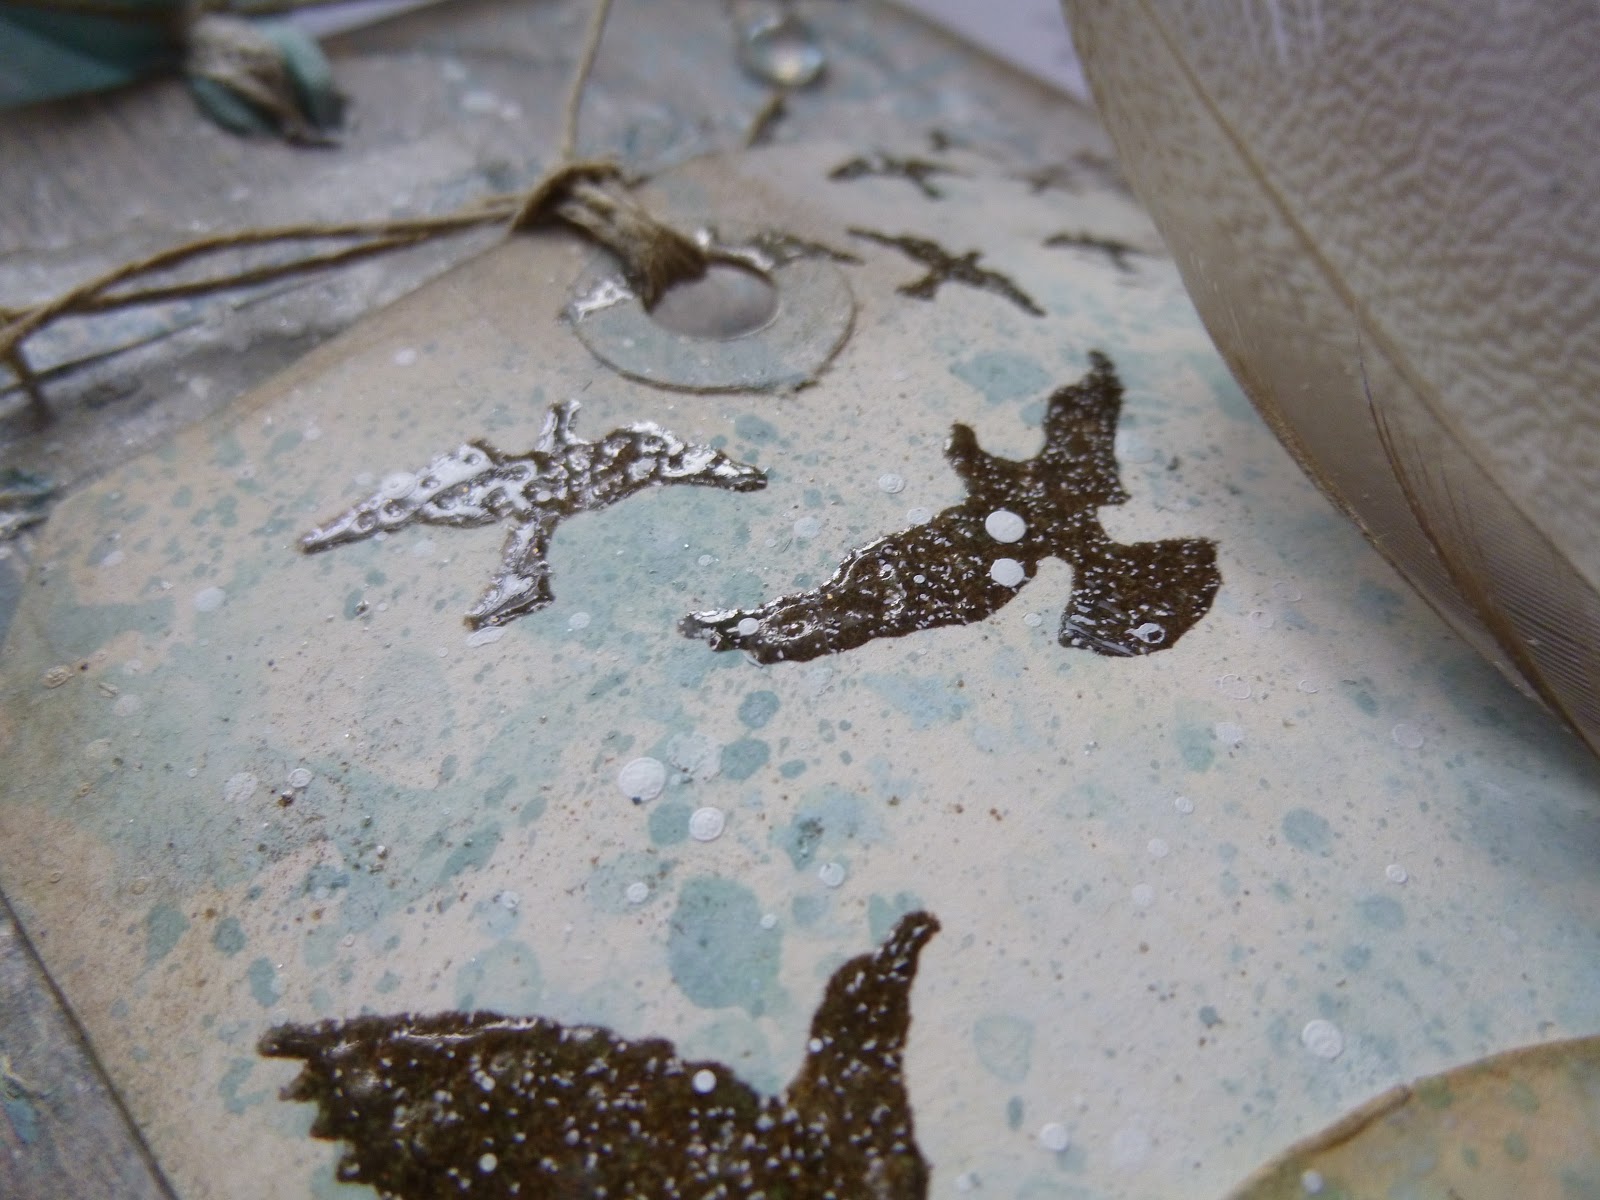
The birds are embossed so they have that magical flash of movement as the light catches them.


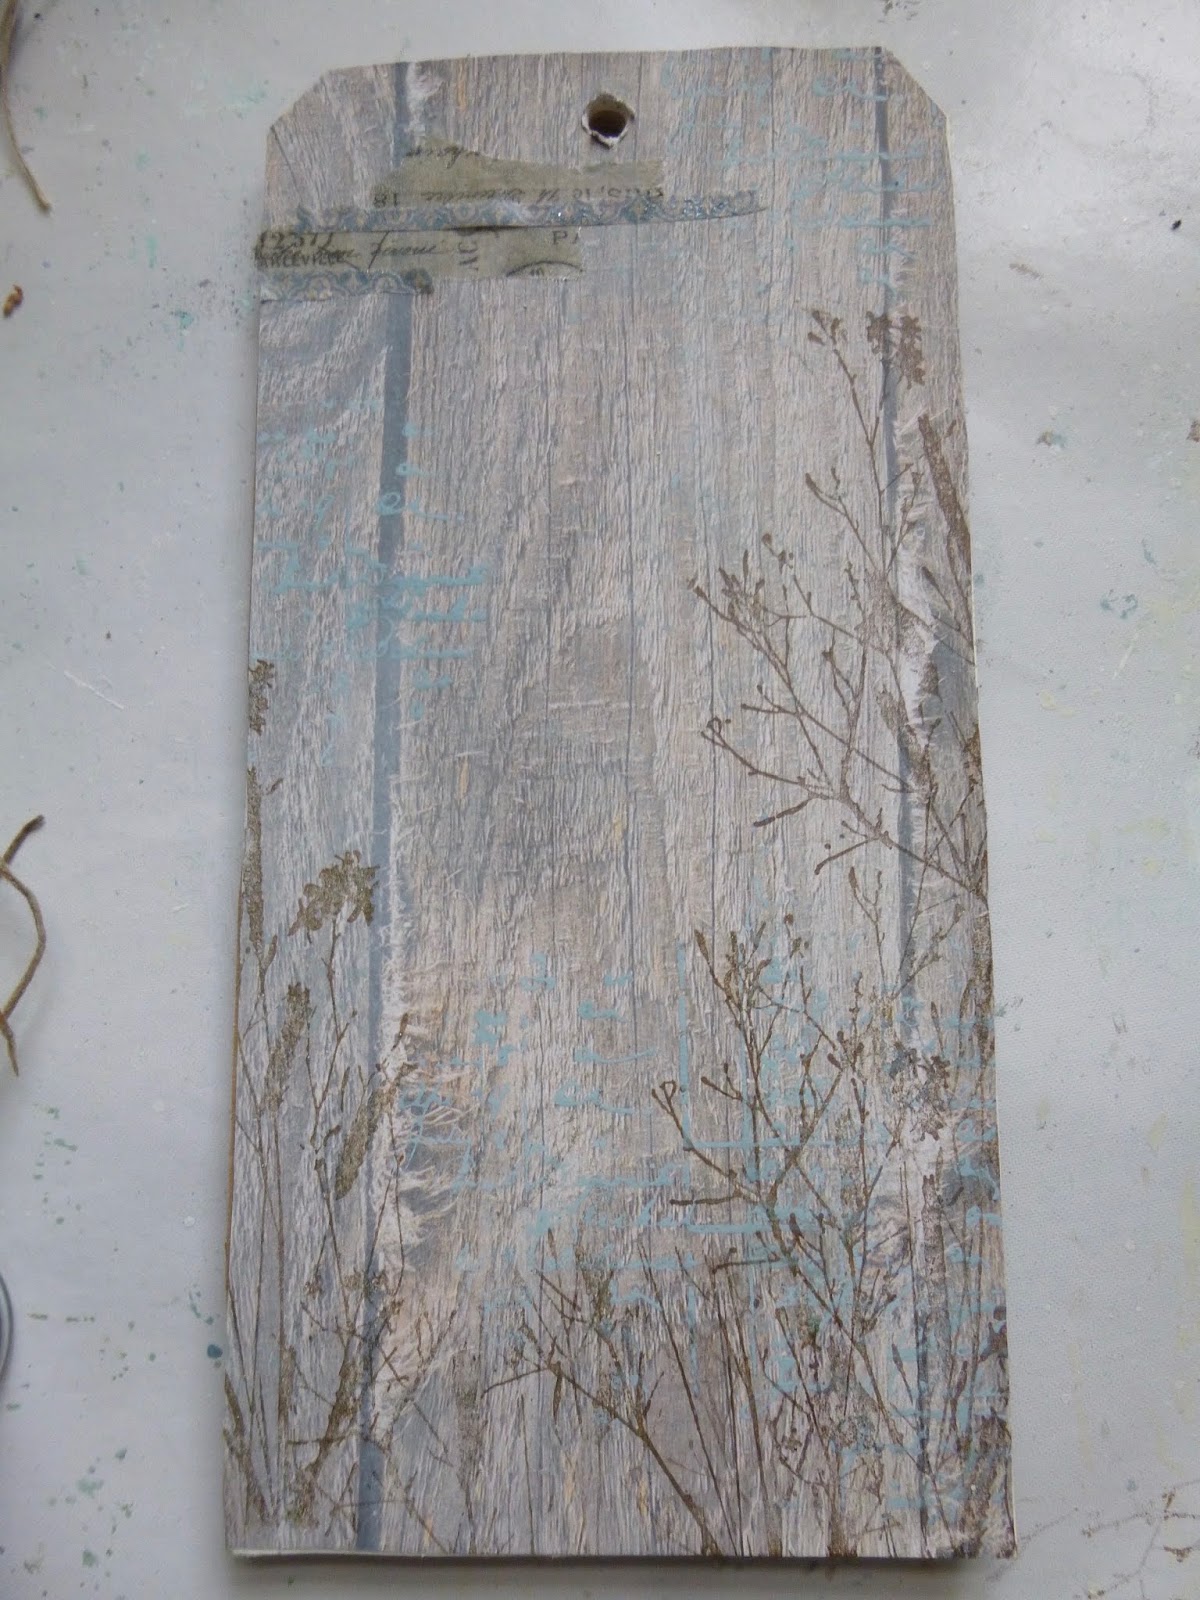
I thought a wooden background made sense - sort of like a tree to hold up the nest - so I used some wood plank paper and whitewashed it...


... before adding a bit of script stamping in S.E. Oxide...


... and some more of my favourite Tim Holtz grasses.


And then it was really just a case of assembling things.


Some tangled moss and supporting twigs from the garden to form the nest.


The feathers have been gathering on my craft table.  I've been feeding the birds during lockdown.  Many, many different species have been visiting, so the occasional feather is really not hard to come by just outside the front door.


I suddenly thought that my quote (from PaperArtsy EAB11 Wings & Flight) would look good on another oval.  The original cut-out was long gone so I grabbed another S.E.-smooshed tag which was lying around and cut it from that.


It was then that I discovered the main tag must have had a wash of gesso/white paint before smooshing, because my sentiment egg has a far warmer manila tone.  But I love how it brings out the greener side of S.E. 

(I didn't want the author of the quote's name to appear (Gustave Flaubert, in case you're wondering), so I used some masking tape over it when I was inking up the tag and removed it before stamping.)


The speckled eggs look just as I imagined nestled in their mossy bed.


I'm sure that one of these birds will be back to keep an eye on them very soon.


I suddenly thought it might be nice to have a couple of glass pebble "dewdrops" glistening around the place, so I dug them out and played with the positioning to get the balance right.


They were definitely a happy last-minute thought.  I love how they catch your eye with a glimmer of light every now and then.


Gluing down wasn't entirely straightforward.  Feathers have their own ideas about which direction they want to curve in.

And those lovely soft fluffy bits die a death if you get glue on them!


But with the addition of some S.E.-dyed crinkle ribbon and frayed Idea-ology Linen Ribbon at the top, tied with fine twine, I was very happy by the time I'd finished.


I hope you like it too, and that you'll be inspired to come and play Tag, You're It with us this month at A Vintage Journey.  As always, we really enjoy seeing your creations and at the end of the challenge we'll be selecting three Pinworthies to go on our A Vintage Journey Pinworthies board.


As though there's not enough inspiration by the Creative Guides over at the main blog, I just want to finish off with a shot of my two recent Speckled Egg tags together.  They were made within 24 hours of each other, and I think this one and the Change your life tag work rather well as a pair.


Thanks so much for stopping by.  I look forward to some blog-visiting time this weekend to see what you've been up to lately.  Stay safe, stay well... the second wave is rising.  Best to stay indoors and do some crafting really!

I do not live happily or comfortably
With the cleverness of our times.
The talk is all about computers,
The news is all about bombs and blood.
This morning, in the fresh field,
I came upon a hidden nest.
It held four warm, speckled eggs.
I touched them.
Then went away softly,
Having felt something more wonderful
Than all the electricity of New York City.
Mary Oliver