I'm travelling into a new way of working, a new country, a new language, and a new hobby which I'm passionate about. Come with me for some of the journey...

Showing posts with label Vintage Journey. Show all posts

Friday, 12 November 2021

Encore - Let there be Light

Hello all!  I’m here with a seasonal encore post. Others call them throwbacks, but I’m of a theatrical mindset, so  “Encore!” it is. I created these sparkling candle jars, decked with winter foliage, for the Destination Inspiration post at A Vintage Journey seven years ago (yup, seven!), when I was on the design team there.

Sadly, the challenge blog is no longer active, but that’s no reason not to enjoy the transformation here at Words and Pictures, where they’ve never been shared in full. I hope you enjoy them. Here’s what I wrote all those years ago, back in December 2014...
__________________________________

Hello all, Alison (butterfly) here with you at Destination Inspiration today.  And, as befits a staging post on the journey, it's a chance to pause and put your feet up with a cup of coffee.  I hope you'll find my offering inspiring somewhere along the line... either from the basic simple idea at the root or from the festive experimenting that went on from there.  It's not really so much a lightbulb moment as the gentle glow of candlelight, spreading its beams on a wintry night!


I've ended up with three new additions to the candlelight fiesta we celebrate with round our way (we always have many, many candles lit at Christmas) each one with a slightly different finish and texture if you look closely.


So that's where I ended up, but I started with the simple idea of covering jam jars with Idea-ology Tissue Wrap.  I love the tissue wrap but, often when I use it, it ends up under layers of stuff, not really getting to strut its stuff.  So I started from wanting to put it front and centre and, what's more, give it an inner glow.


I took various jars from the hoard I've collected, cut pieces of tissue wrap approximately to size, and used slightly watered down multi-medium to glue them to the jars.  (The added moisture just helped with moulding the wrap.)


At the bottom I left enough tissue wrap to spare...


... so that I could fold it inwards.  It pretty much took care of that nice neat pleating effect by itself as I pressed it down.


And at the top I left another spare centimetre (ish) so that I could fold it down into the jar rim for a nice neat finish.
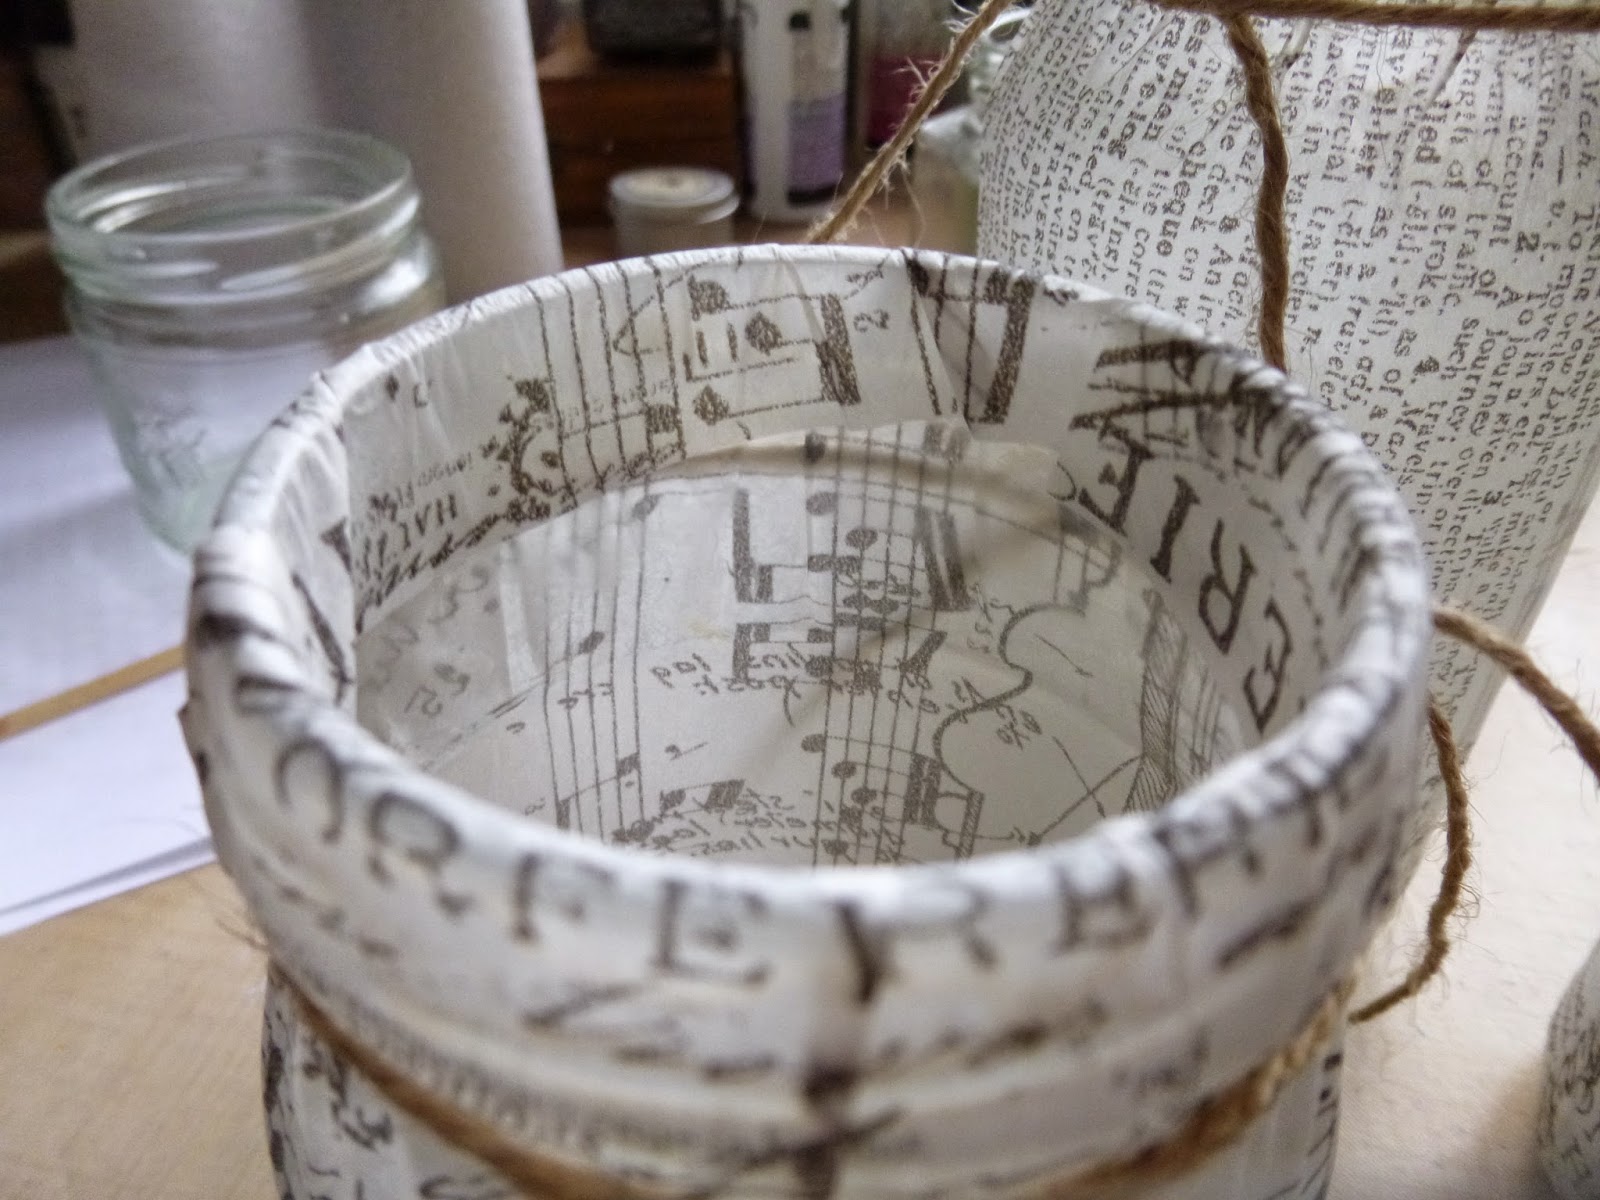

I tied twine tightly around the top while the glue was drying, just to hold it all in place.


For all that my crafty creations are layered and textured, my tastes in home decor are fairly simple and minimal so - for my money - that's pretty much a done deal.  I love how the tea light candles glow, lighting up the tissue wrap, and the twine gives a rustic finish.  A really easy, decorative candle holder, with the tissue wrap taking centre stage.


But it's nearly Christmas, and I felt I should pop a bit more inspiration into your stockings!  So I decided to experiment with zhuzhing them up a bit, each in their own individual way.

Here we go...

Jar 1 got a coat of Rock Candy Crackle Paint to start with, quite a thin layer in places so that the crackle would be quite subtle.  I left that to dry and set off into the next experiment.  (Not much point in a picture which would literally be watching paint dry, so on we go...)

Jar 2 got another coat of multi-medium over the top of the tissue wrap, and then I poured Rock Candy Dry Glitter all over it.


And again, as far as I'm concerned, you could stop right there if you wanted to!


Jar 3 got the Ranger Texture Paste option, applied through the wonderful Holly Bough Layering Stencil.  I used some tissue tape just to secure the stencil while I did it, though I also held on quite firmly at the same time (oh, for a third hand...).


Since it didn't quite meet all the way round the circumference of my jar, I had to wait for that first application to dry before filling in the gap.


So far so good... now for some colour.  I grabbed some of my new Distress Stain Sprays (how happy I am they exist!).  Evergreen Bough, Iced Spruce, Tumbled Glass, Broken China and the fabulous Brushed Pewter all play a part here (as well as a not-pizza box from a crafty delivery!).


Since tissue wrap has a pretty non-porous coating, you sometimes have to help it along when applying colour.

I was expecting a sort of Cracked Stains (Tim's technique) effect with the crackle paint, and that's what I got.  After all, these are Distress Stains, just being applied differently.  And it was great fun letting the inks run and blend into and over the cracks.


Gotta love the gleam of that Brushed Pewter.


The Dry Glitter was also fine.  It takes colour well itself and, with the coat of multi-medium holding it in place, the sprays took really well.  In fact, they sank in really quickly - unlike with the crackle, you don't get much drippage/blending play.  But again, it's a wow when the light hits it.


But for Jar 3, I knew I might need to give the tissue wrap a bit of extra tooth before spritzing, so I coated the whole thing - texture paste and all - with Clear Gesso before applying the colour.  I didn't try without the Clear Gesso, so I can't tell you what that would have done - but having it there certainly seemed to do the trick.


Again there was lots of drippage and blending play as I applied the layers of colour and of course the Ranger Texture Paste is specifically designed to play nicely with Distress Inks, so that was fine.


Of course with all that spritzing and dripping there was quite a lot of leftover ink going spare so I quickly grabbed a few Manila Tags and did some mopping up, as you saw in the not-pizza box photo.  So now I have some ready-to-play backgrounds awaiting more attention, though I knew I had a use for the really inky three.  With all that co-ordinating colour and beautiful silvery sheen, these had to play a part here.


I ran them through the BigShot with the fabulous Holiday Greens Thinlits - so in love with the delicate fir fronds.


I used some of the wax paper kindly sent me by Marci from the States - before they started stocking it around the place over here.  It really helps to make it easier to get delicate die-cuts out of the dies.  But of course you also end up with really gorgeous additional die-cuts - very delicate, deliciously frosted - and so they also got pressed into service!


I tied the bunches of greenery onto my jars with Crinkle Ribbon, and did a bit of gentle additional spritzing (adding Bundled Sage into the mix this time).


I didn't want too much colour on the ribbons - a touch of white never hurts at Christmas - and the sprays also gave the greenery a bit of extra detail too.


The final touch was to add a few frosted berries, clustered around the ribbon knot, and I decided I was done.


I'm very happy with the results (even though I will definitely be making myself a few more of the very simple first versions for use throughout the year!)...

The crackle is subtle, but pretty cool I think...


The shimmer of the Dry Glitter delights me far more than I expected - not being much of a glitter type in the general way of things!


And I just love that Holly Bough texture - such a great stencil, and the texture really benefits from a little extra dusting of Silver Treasure Gold wax.


It's never easy to capture the effect of candlelight on camera.  You always get a really intense light from the candle flame, and never really see the diffuse glow filling the whole of the jars that you get in real life.


But I've tried to share a little of the effect you get with these, whether through the crackle...


Or candlelight on glitter...


Or through the texture...


And always with the lovely text and images of the tissue wrap coming through from underneath.


They also look great lit by candlelight from the outside, so I gave a little spritz of Brushed Pewter to an already teal-green coloured nightlight holder, and added that to the collection for a really festive look.


I hope that's given you lots of ideas to play with, and that you'll have candlelight glowing in your homes this festive season. 

___________________________

Thanks so much for stopping by today - I'm so grateful to have my laptop back, repaired and ready to play again.  Maybe I'll even manage some of that long-promised visiting!  Happy crafting all.

The pine tree seems to listen, the fir tree to wait: and both without impatience: - they give no thought to the little people beneath them devoured by their impatience and their curiosity.
Friedrich Nietzsche

Friday, 4 December 2020

A Festive Farewell

Hello all - it's a bitter-sweet day... we've a lovely new challenge theme for you at A Vintage Journey, but sadly it's the very final challenge.   Reluctantly, we've all agreed that it's time to bring the journey to an end.  The wonderful Brenda, who was the originator of A Vintage Journey, has written about all the reasons why in a lovely post over at the challenge blog, so I won't repeat it all here.  But we're going out in style, with a double helping of tiny delights.  

Each of the Creative Guides has created a pair of ATCs for the Merry Little Christmas theme, and also a Farewell ATC.  You can create ATCs of your own following either prompt - festive or farewell - and we'd love it if you would join us on this final leg of the journey to celebrate the years of inspiration and creativity we've all shared together, both the team and all the participants.

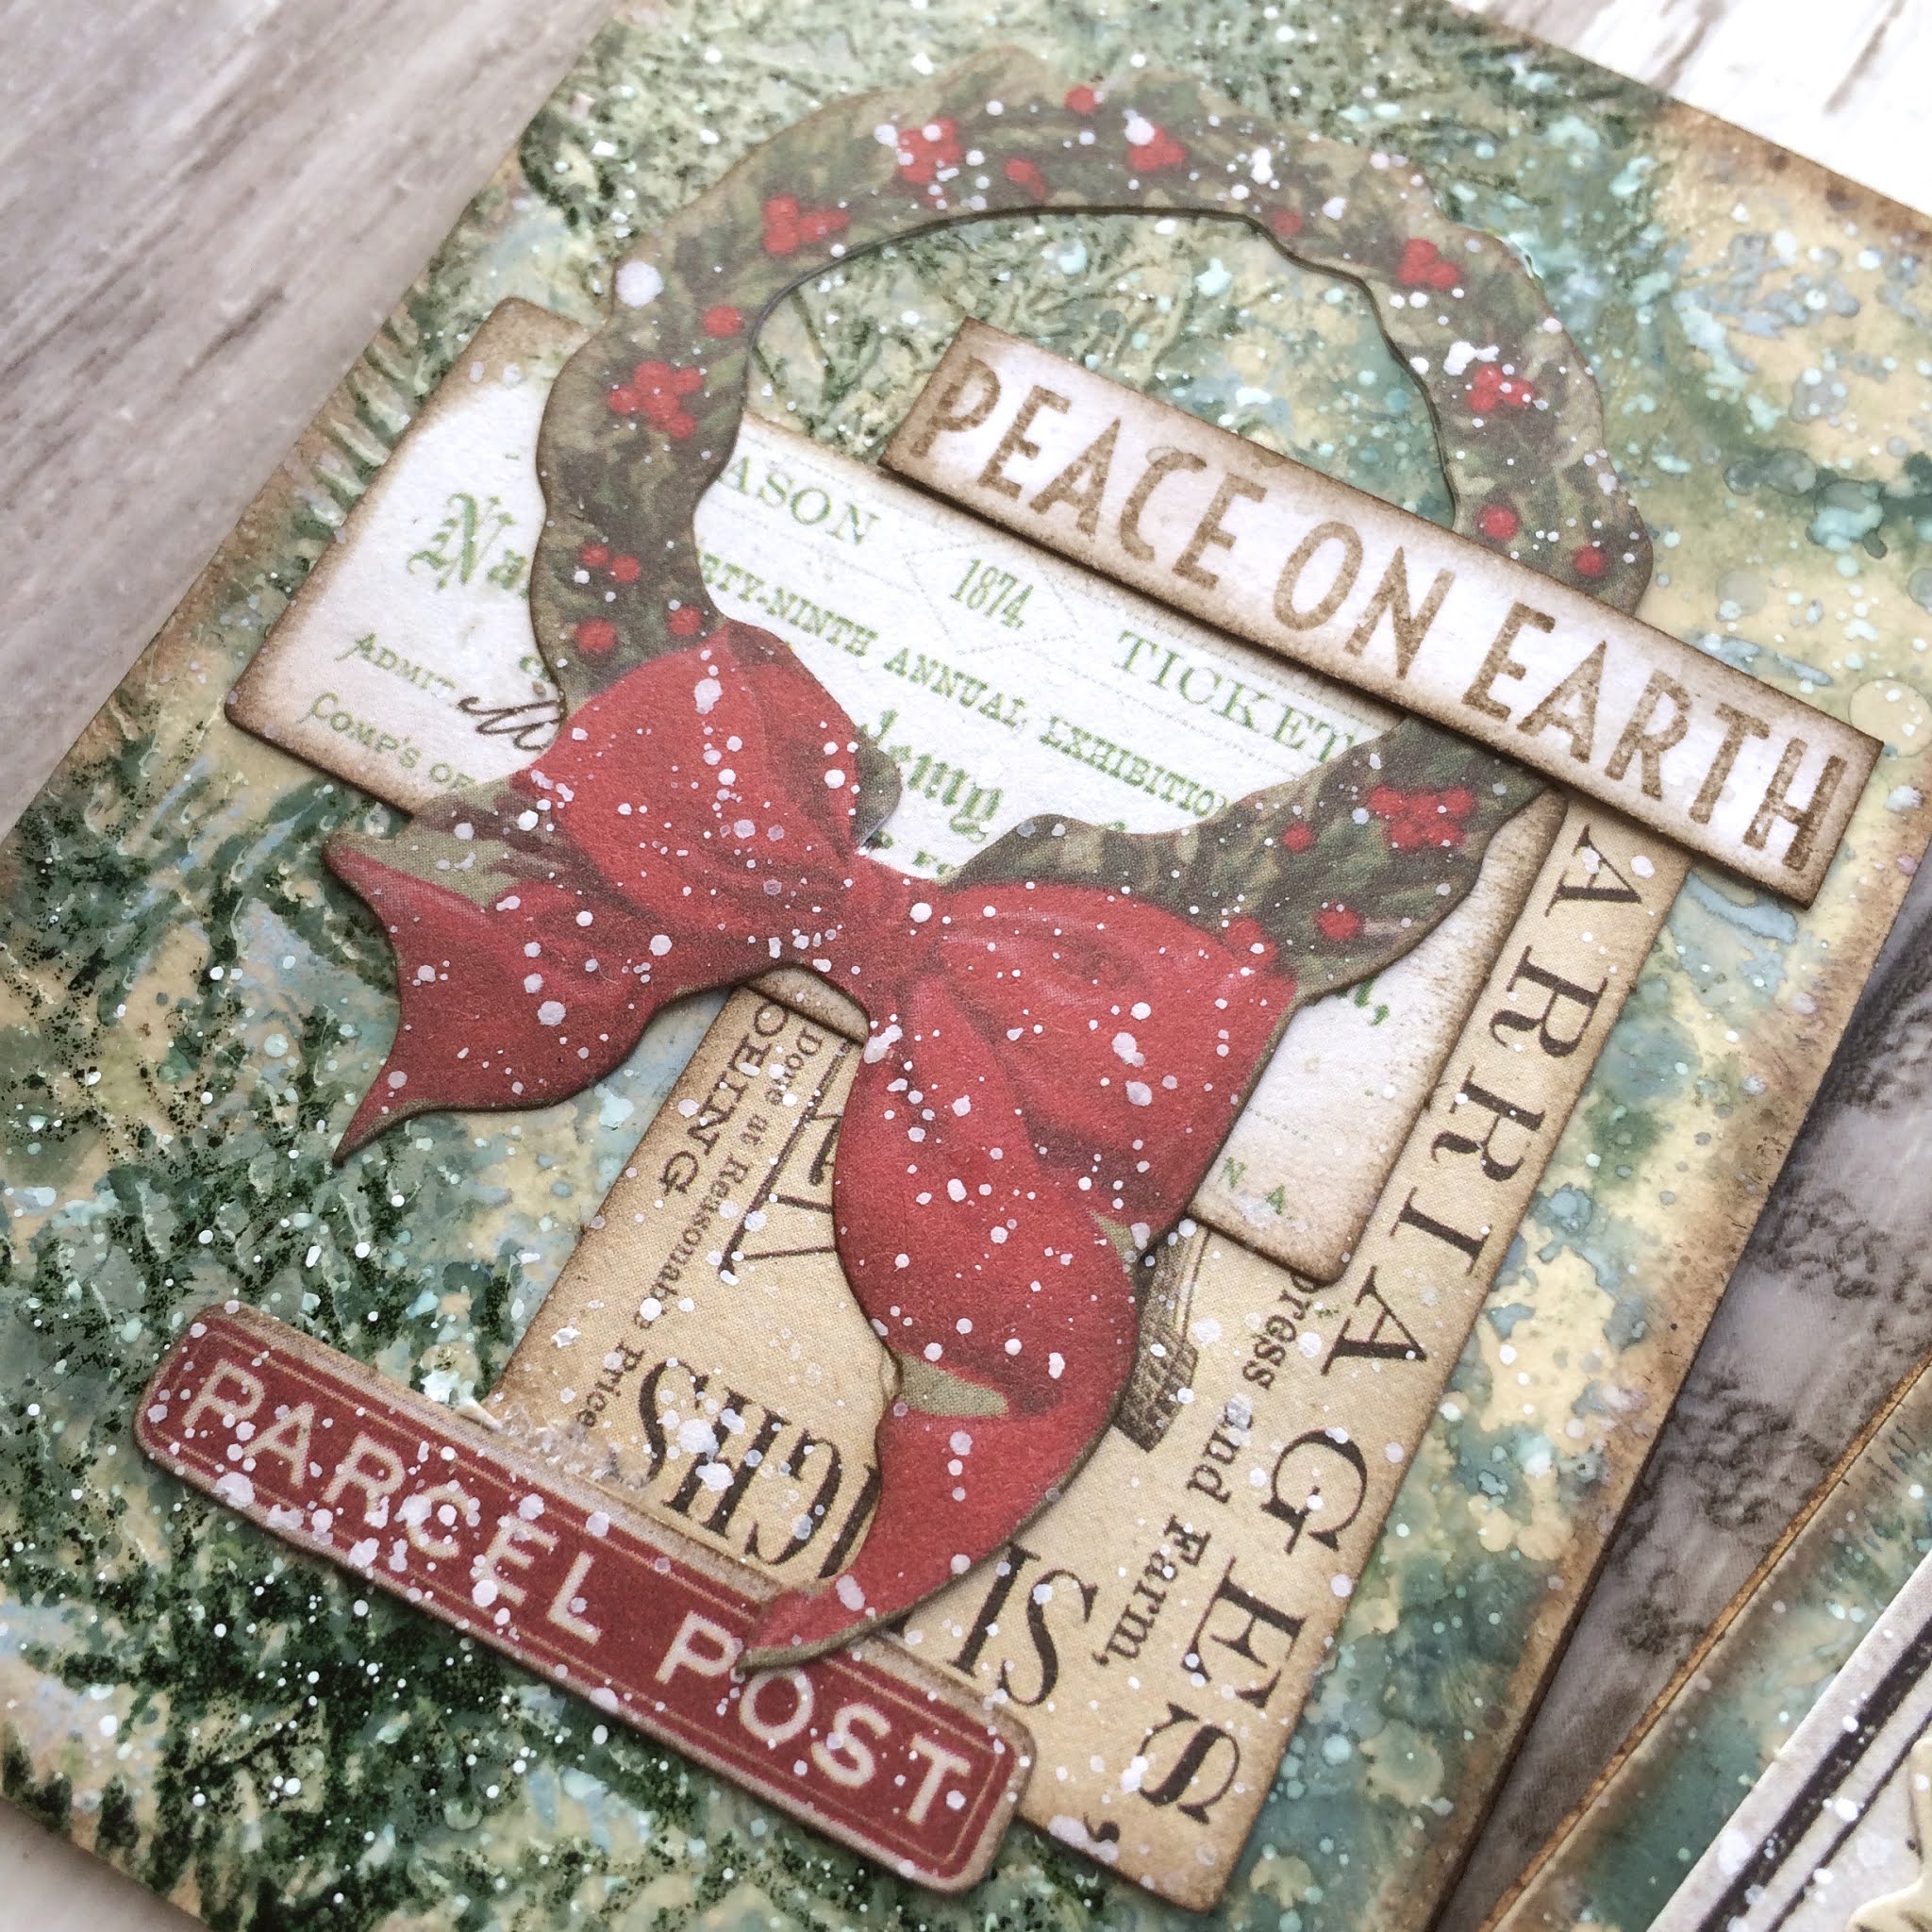
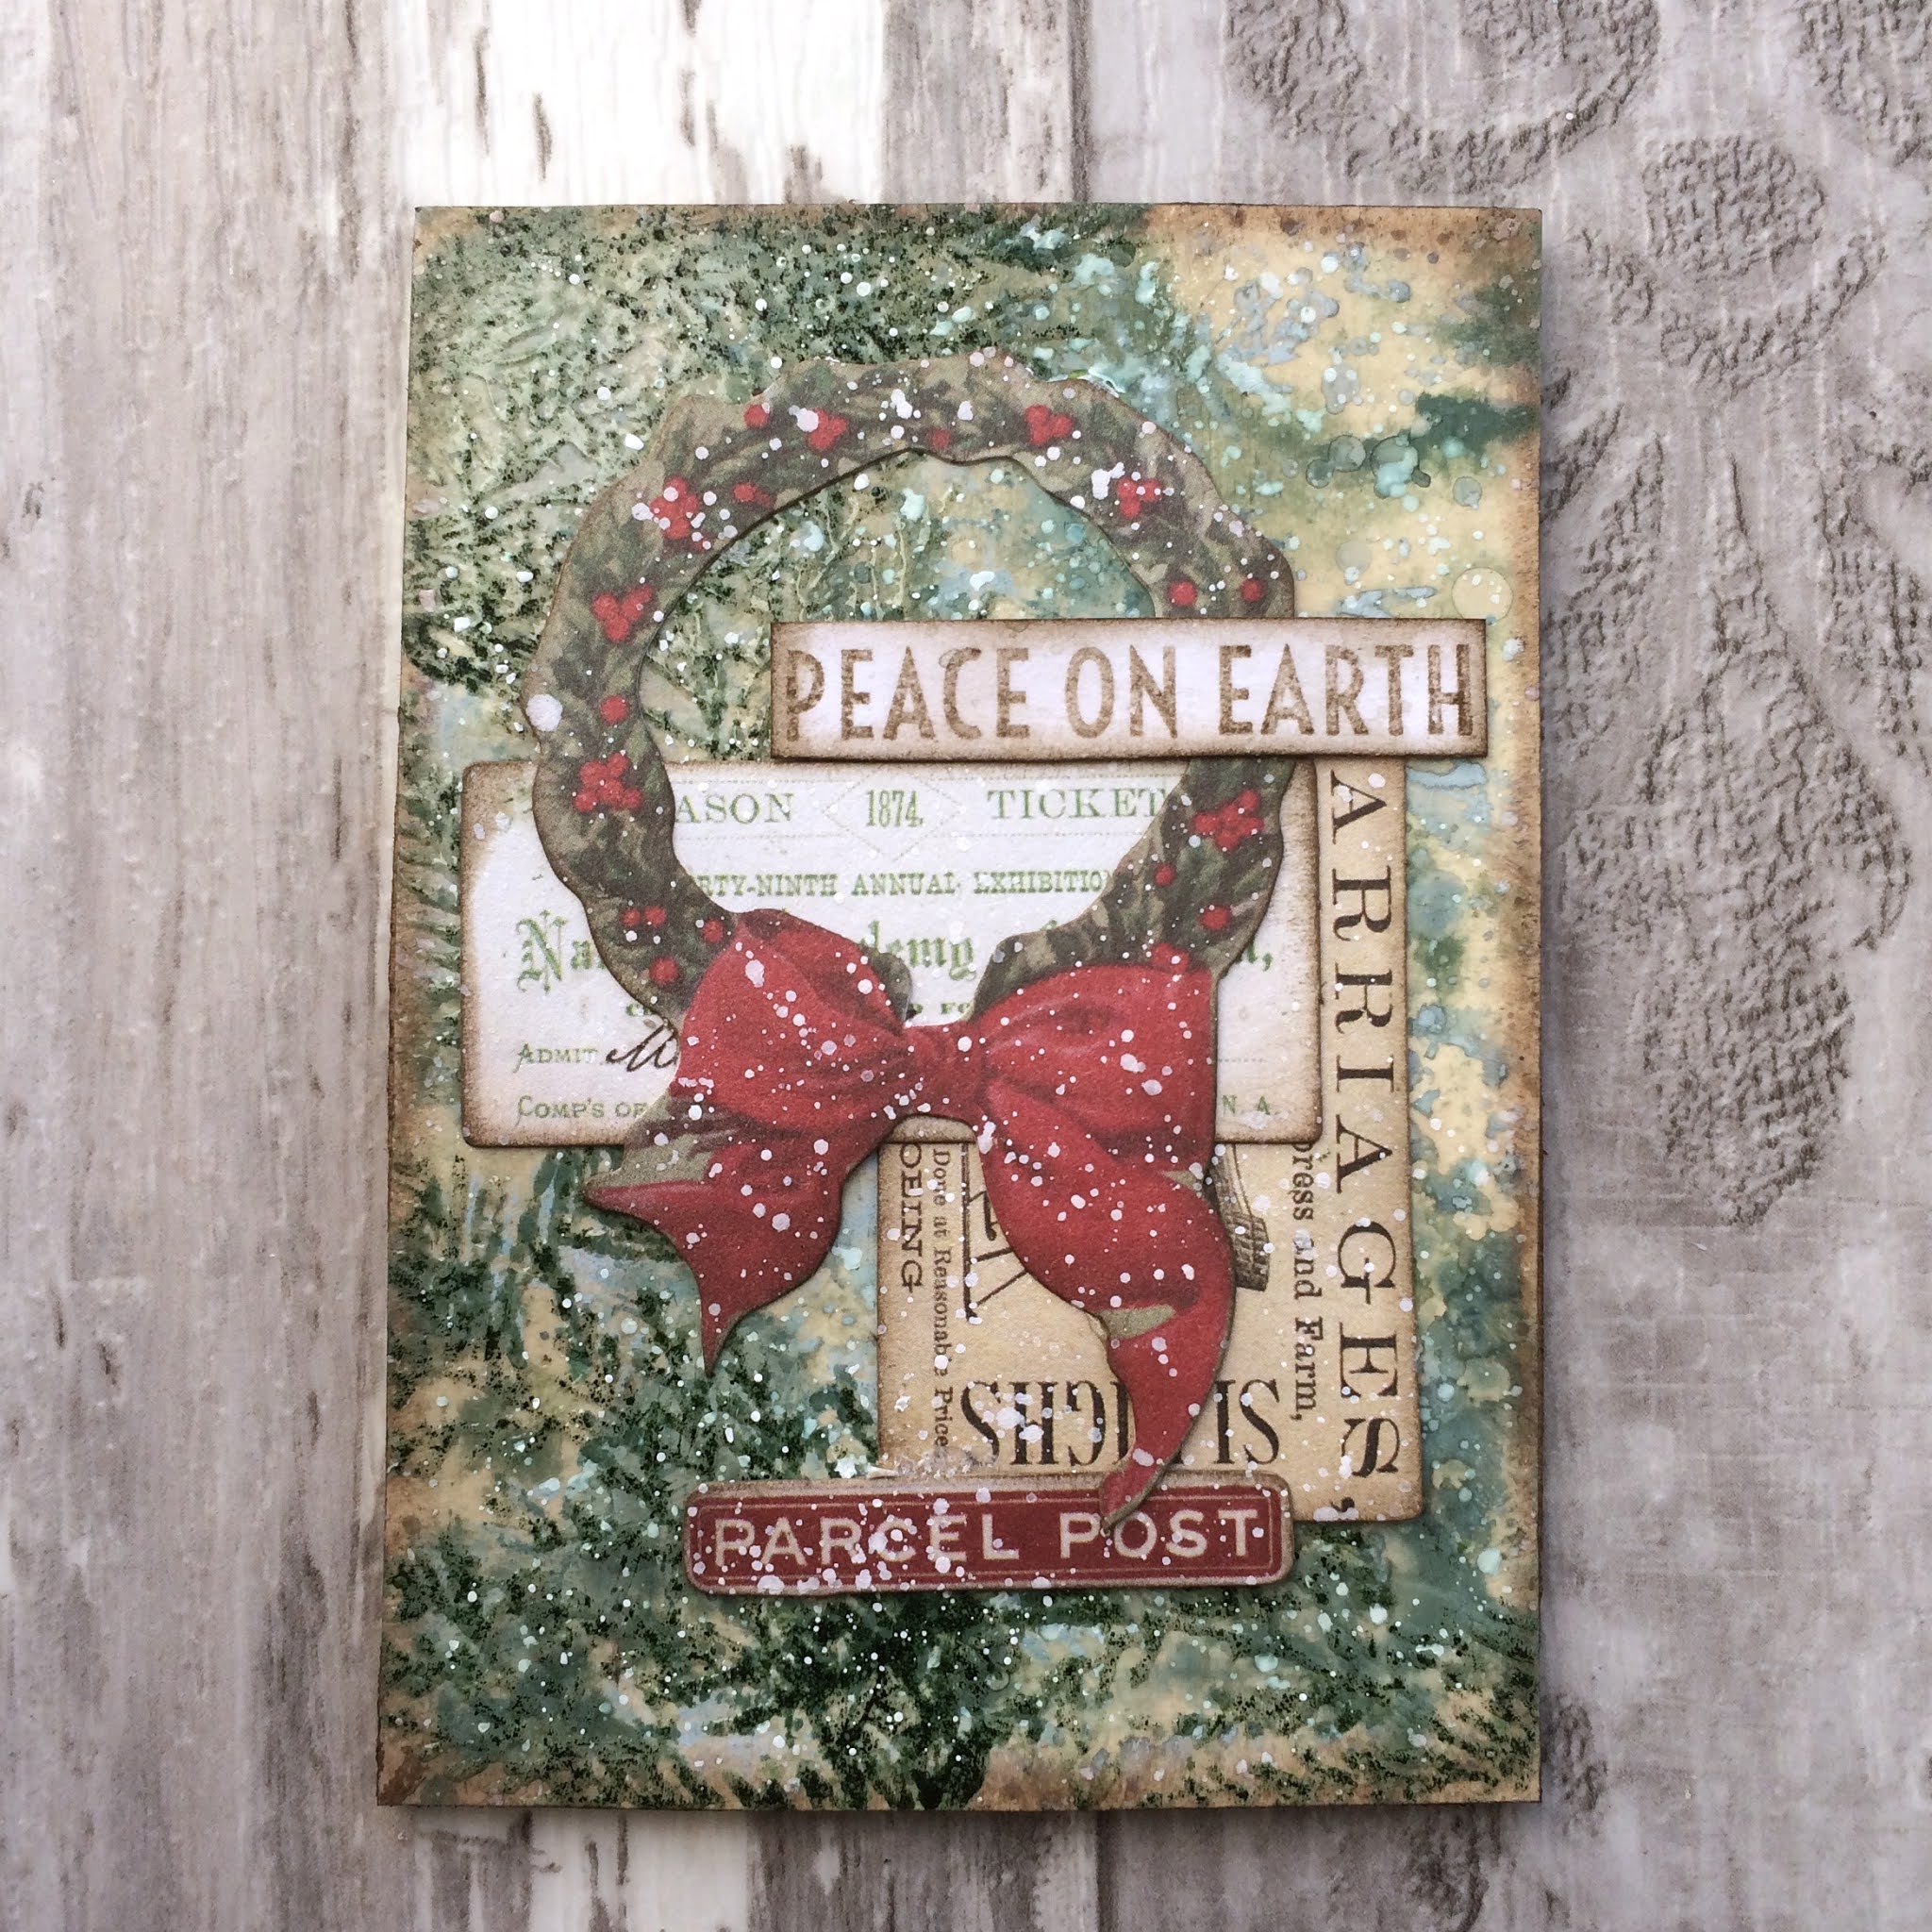
I'll start with my festive pair, and a rare sighting of the colour red here at Words and Pictures.  I was lucky enough to win a wonderful prize package from Tim Holtz recently, and it included the lovely Sketch Greenery stamp set in action in the background here as well as the ephemera collaged over the top.

The smooshing in the background is a combination of Distress Inks and Oxides in the new Rustic Wilderness colour and some Speckled Egg too.


The fir branches are stamped in Rustic Wilderness Ink and clear-embossed to sparkle in the light.

I adore this deer - a lovely element in the ephemera pack... and you can still see plenty of the background between his legs!


I needed another delicate image to balance him, and this wreath worked perfectly - again, you can see the background through the middle.


And for once in a while I can even deal with having that little festive touch of red involved.  It's a rare occurrence round here!

The words are also from the Sketch Greenery stamp set.  They're stamped in Walnut Stain on some card smooshed in a few droplets of Pumice Stone Distress Ink to soften its whiteness.


A touch of inking around the edges and a little bit of snow splatter and we're all done...

So now it's time to say goodbye (well, not quite - we'll be back for one final post at the end of this month to announce the Pinworthies) so here's my farewell ATC.  


I'm so grateful for the friendships forged ever more deeply within the Vintage Journey team - it's been a delight and an honour to have served right from the very beginning.  But rather than look back, my ATC is looking forward.


I'm celebrating the joy of the journey with my favourite colours - blue and brown (specifically mainly Stormy Sky and Walnut Stain)...


... some lovely white embossing and a touch of metal and, of course, a butterfly...

... some background text stamping... 


... so many of my favourite things to commemorate one of my favourite ever teams to work with.

And the words (Idea-ology stickers) are looking ahead to whatever comes next with a grateful heart and positive outlook.

I hope you'll hop over to A Vintage Journey to hear from Brenda about our decision and to see the glorious inspiration from my fellow Creative Guides, and I very much hope that you'll find time to join us somewhere down the road this month for one final time to celebrate a Merry Little Christmas and/or a very fond farewell.  It would be lovely to go out with a bang.

Stay safe, stay well all, and I'll see you again soon.

How lucky I am to have something that makes saying goodbye so hard.
Winnie the Pooh

Friday, 6 November 2020

Dreams, Thoughts, Moments

Hello all, and thank you so much for stopping by.  I'm in denial about the date (moving is imminent), but I can't deny that it's Friday and time for a new challenge at A Vintage Journey.  The wonderful Toni is our host, and she's looking for Pairs, Trios and Sets.  This is definitely a challenge after my own heart - I create in pairs, trios and sets more often than not, so here's what I came up with...

There's obviously a wealth of inspiration from my fellow Creative Guides over at A Vintage Journey, but before you go, let me share a few close-ups and details of this leafy tag trio.  I'll try to keep it short, as I don't have many spare moments as I try to bring my dreams and thoughts to fruition by moving to a new country in the middle of a global pandemic!!

I'm mostly crafting in quick sessions and then throwing things together from those sessions.  So the backgrounds were from some quick inky playtime to start the day before packing.

There are both Distress Inks and Oxides here - a range of colours, not sure I can be comprehensive with a list of colours...


... but somewhere in there are definitely Vintage Photo, Crackling Campfire, Faded Jeans, Broken China, Walnut Stain, Rusty Hinge, Stormy Sky.


And then just lots of dipping and smooshing and water-spritzing, always drying between layers to get the inky splotches I love.

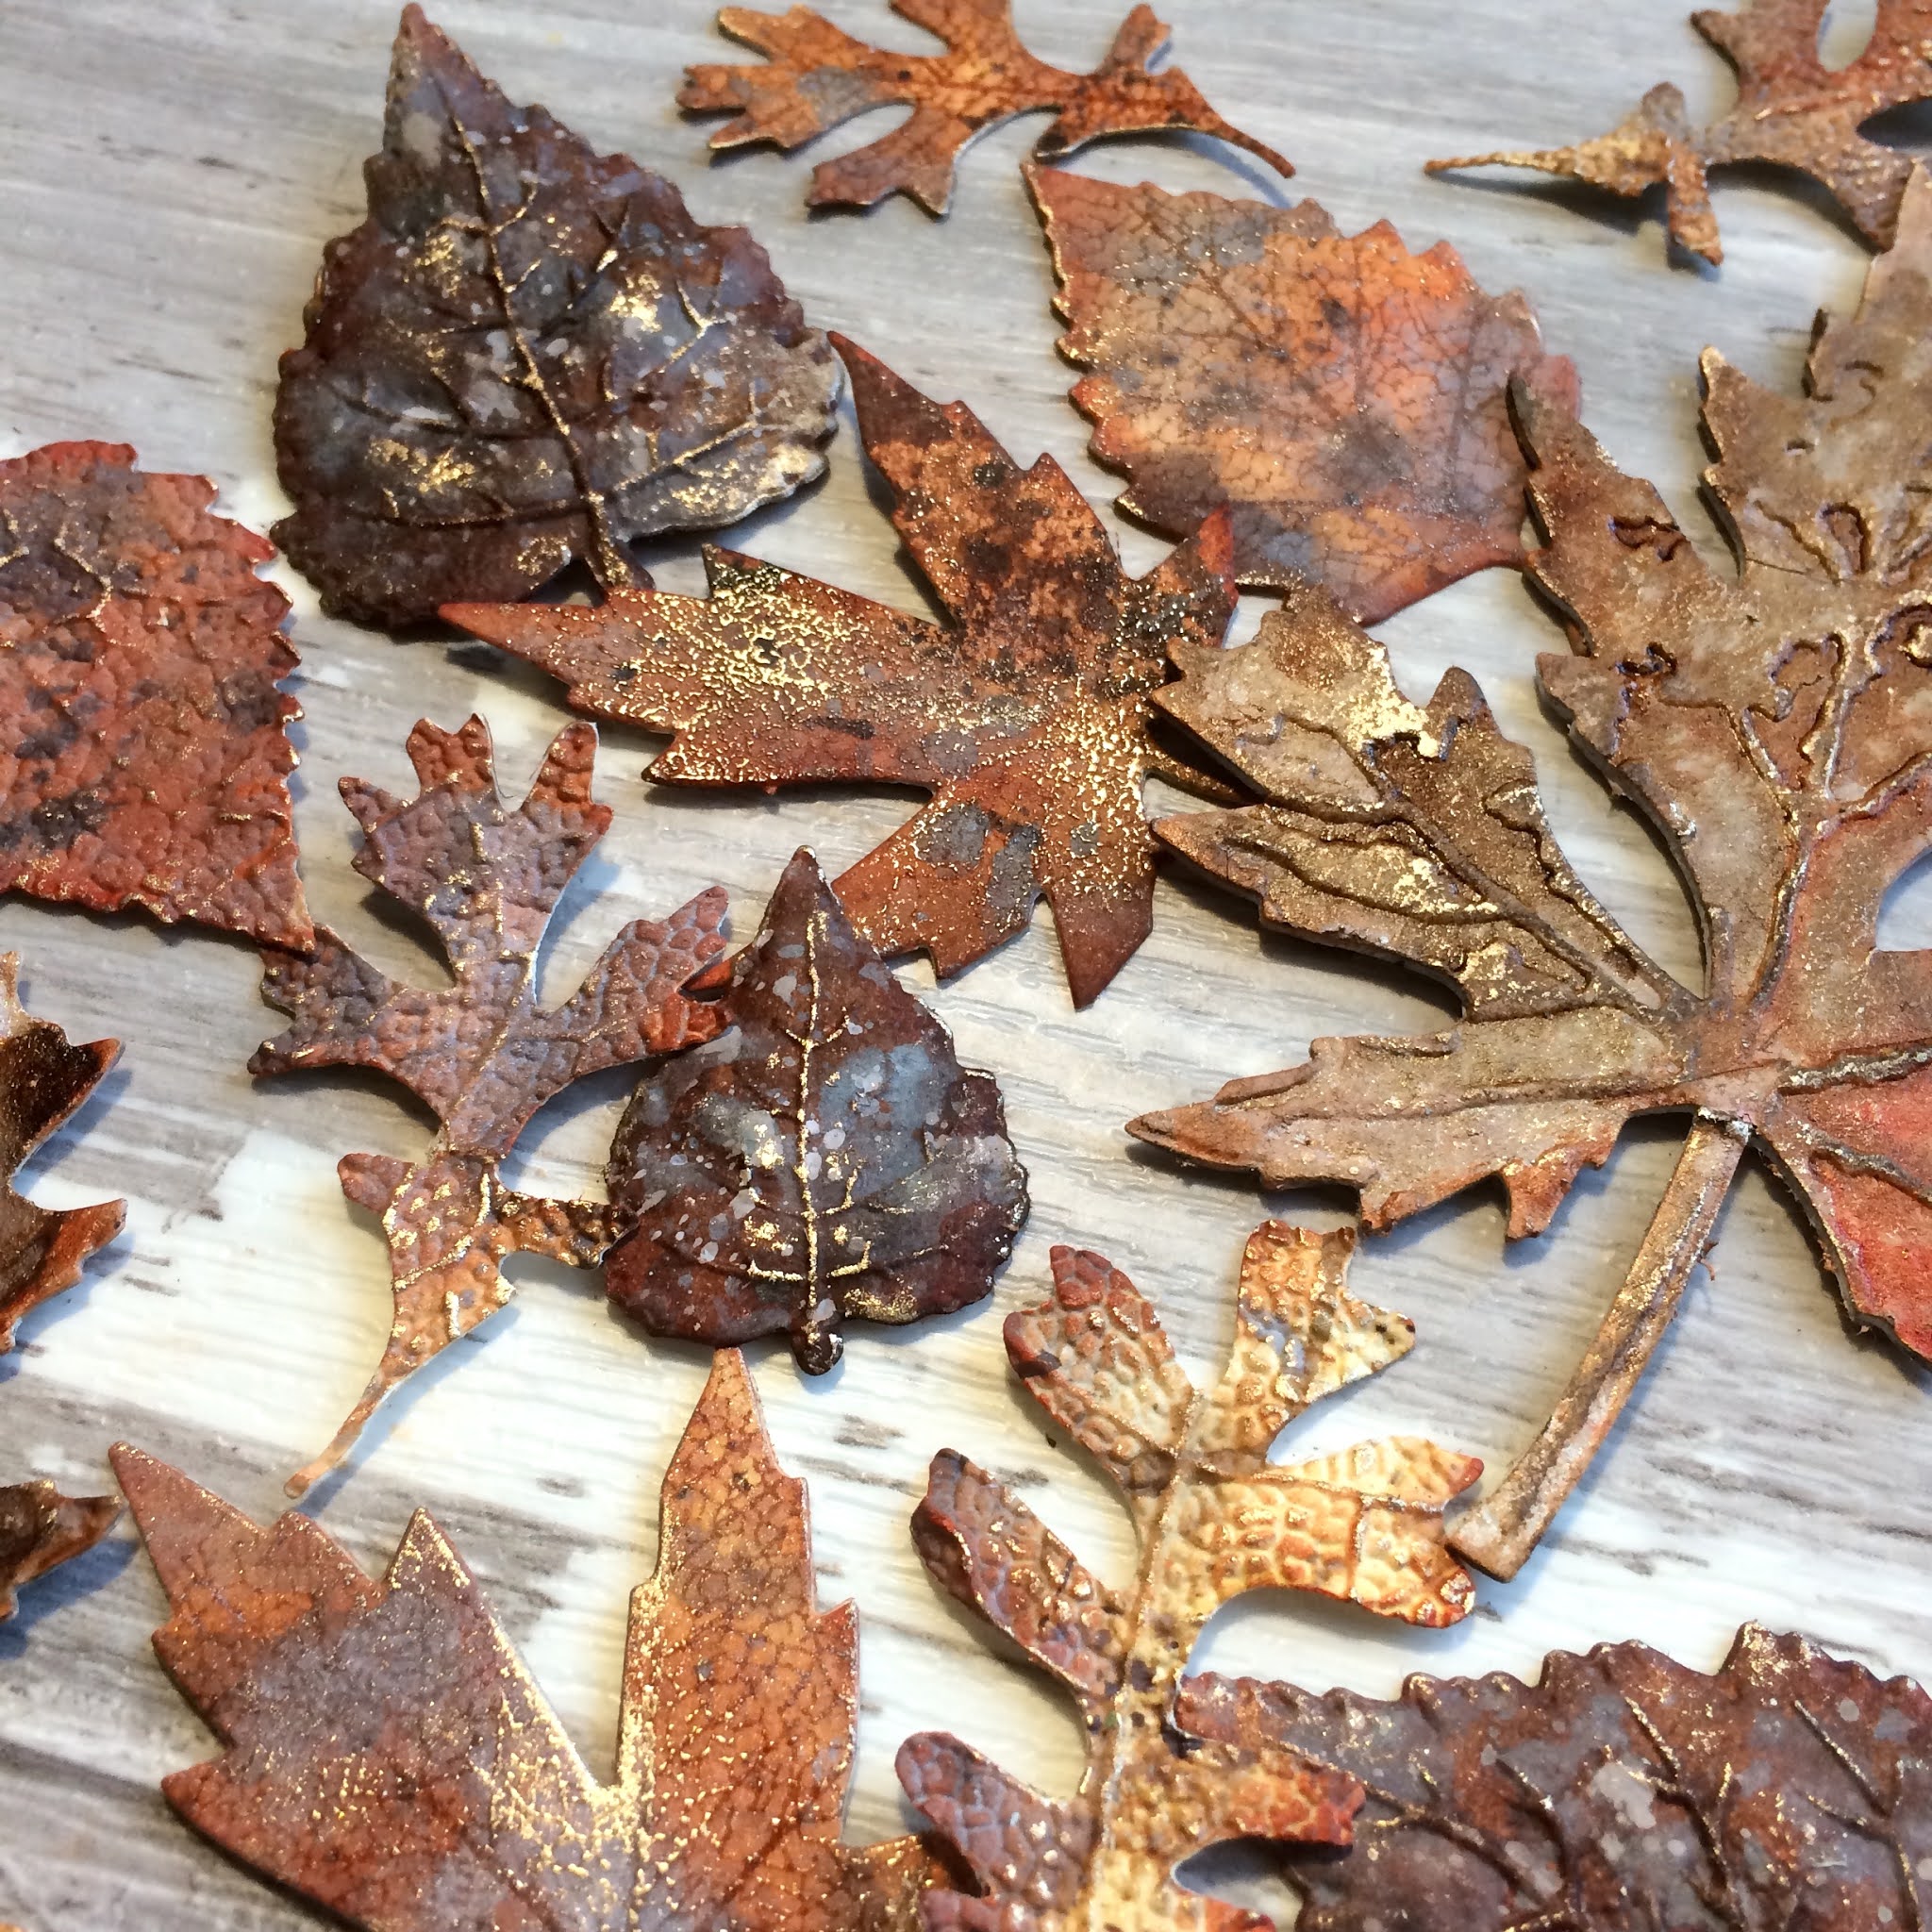
The other crafting session was one inspired by Tim Holtz's Saturday demo on leaf-making... not that I need any encouragement to make autumn leaves, as anyone who's been paying attention around here lately could tell you.


But I did have a lovely time playing with inks, dies, embossing folders, stamps, mica sprays, and gilding wax to create this pile of leaves ready for shushling through.

Many are cut using the Fall Foliage Thinlits dies, some of which have stamping to give the impression of vein texture while some have the wonderful 3D Leaf Veins embossing folder adding glorious actual impressions.

Some come with their own embossing built in - the dark Impresslit leaves, for instance...


And some come with their own embossing folder included with the die - these large Layered Leaf ones, which have been longtime favourites.


The shimmers of Treasure Gold White Fire gilding wax add to the burnishing of the Distress Mica Spray which you can see gleaming in places.

So, with the backgrounds and the leaves all ready to go, it was just a question of grabbing a couple of other bits and bobs to create my little collages for each tag.  I try to position things so that it creates a nice journey for the eyes travelling from tag to tag as well as looking at the whole set.


Photobooth photos often seem to do the trick.  They're really useful when you're creating a set or group because you have an element which is the same, but always different because each face, each personality is different.

Though I will confess I deliberately sought out some nice cheerful expressions for this particular trio... trying to keep my own chin up as moving day draws closer and there still seems to be a LOT to do.

The cheesecloth scraps serve a double function - creating a pale layer between the leaves and the background, so that they show up better...


... and creating lots of movement and delicious organic randomness with the frayed threads escaping all over the shop.


The film strip offers great vertical architecture to give the otherwise organic and scruffy collaging a sense of structure.

It also catches the light beautifully - which, as regulars will know, is an ongoing obsession in my creative journey.

There have to be words - this is Words and Pictures after all...


... so I did a bit of snipping of some Quote Chips to get individual words to suit my mood and the look of the tags.

And a bit of Rusty Hinge/Crackling Campfire/Vintage Photo blending around the edges makes them pop as well as tone in with the autumnal theme all around them.


Some simple fine twine to top things off, and we're pretty much there, I think.

I hope you'll be inspired to create some Pairs, Trios or Sets this month with us.


There are some wonderful projects over at A Vintage Journey to help kick you into action so do take a look.


As always, we'll be picking some of our favourites to feature on our Pinworthies Pinterest boards at the end of the month.  So I hope we'll see you somewhere down the road with your group projects!!


Thank you so much for stopping by today.  Stay safe, stay well out there - or even better, stay in and stay creative.  See you all again soon.

How beautifully leaves grow old. How full of light and colour are their last days.
John Burroughs

Country View Challenges are playing Anything But A Card this month so I'd like to play along

At Tag Tuesday the new theme for this fortnight is Texture - plenty of that going on here!

Almost all these leaves are dry Embossed so I'm sharing them at Try It On Tuesday