I'm travelling into a new way of working, a new country, a new language, and a new hobby which I'm passionate about. Come with me for some of the journey...

Showing posts with label salt. Show all posts

Friday, 12 June 2020

Encore - Salty Watercolour Words

Hello all!  I'm so glad you enjoyed my altered Rustic Plant Pots.  We had very heavy rain (and some hail) a couple of days after I'd put them out in the garden, and you'll be happy to hear that so far they're doing just fine.  I even wiped away the earth which had splattered them pretty much all over, and the paint stayed put perfectly happily.  Time will tell, but so far it's all good!

I'm busy with some stuff behind the scenes at the moment, so I thought I'd fill in with a quick Encore post (see the very end for a definition of that).  And the project I've chosen might give you a clue as to what it is I'm busy with.  Watch this space early next week!  And in fact, maybe watch out for me on camera too... I'll keep you posted!

And if you want something brand new today, rather than just an Encore, there's a (rare) new post over at Cestina's Dollshouses to enjoy.

These wordy watercolour bookmarks were created for the PaperArtsy blog back in March 2018, and here's what I wrote back then...
________________________________


Hi everyone, it's Alison from Words and Pictures with you today, and I'd like to share with you some salty, watery bookmarks.


I fell in love with watercolours a year or two ago, and have been exploring their possibilities since then. I thought I'd combine them with my quote stamps to make some bookmarks. The salt was an afterthought, but one I'm so happy I added!


I love how the pigment of a good watercolour moves in water, and how some colours granulate (the pigment powder floats in the water to create a mottled look) and some are more stable. I was using Daniel Smith watercolours to create my masterboard, and they have lots of fabulous granulation in some of the colours.


I think it was that granulation which suddenly made me think of adding salt - something I've done in the past with Distress Inks, but hadn't done with my watercolours before. I think the effects are spectacular, both while the paint is still wet...
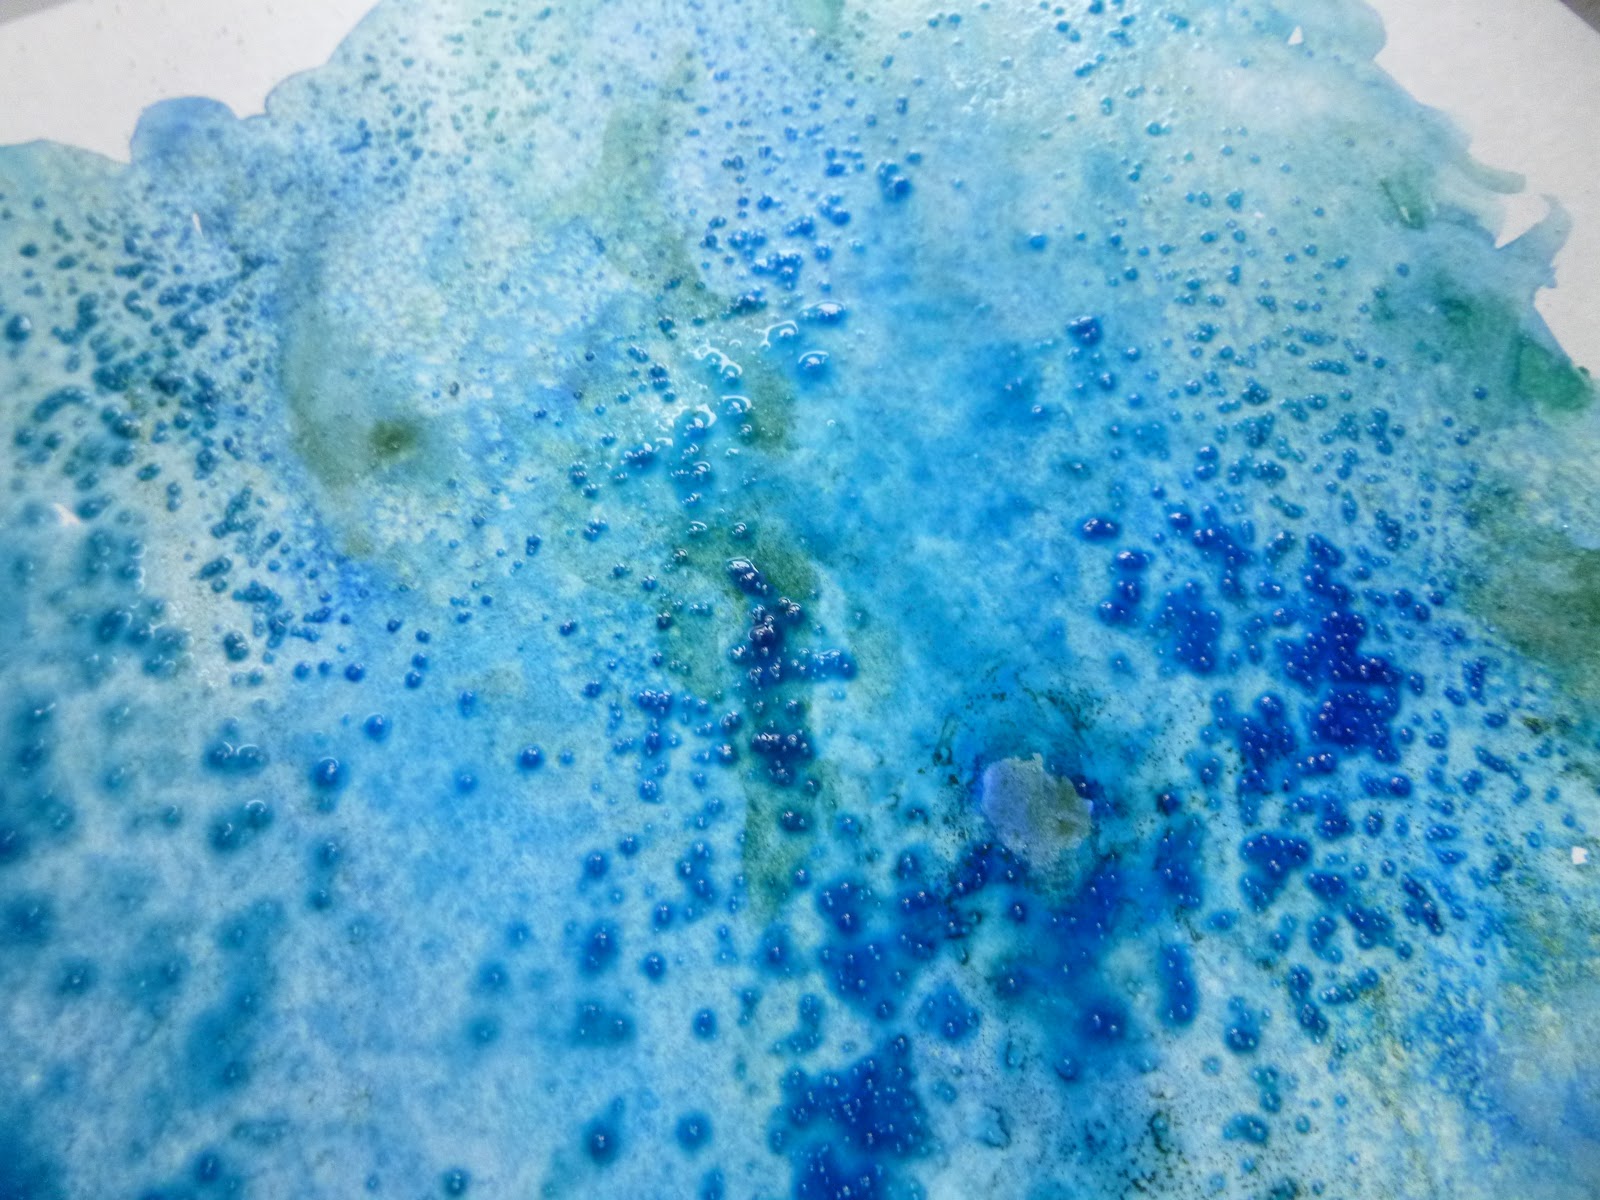

... and once you've brushed the salt away once it has all dried.


I cut a section of the masterboard into strips of equal length and width and then sought out some words to fit onto them.


I used two quotes each from EAB03 Music & Silence, EAB07 Dreaming & Doing and EAB08 Strength & Courage.


On the paler bookmarks, I stamped in Cobalt and clear-embossed the words with Ranger Clear embossing powder.


And where the paint background was darker, I stamped in Versamark and embossed in Detail Fine White powder by Wow.


Some distressing of the edges, and some fine white twine through the punched holes, and now I can keep my place in the several books I usually have on the go at one time...


... and receive a little more food for thought from reading the bookmark too!


I hope you'll have a go at salting your watercolours or water-soluble inks. It really is fascinating watching the crystals at work, soaking up pigment and water and creating the incredible organic patterning. It certainly won't be the last time I craft with added salt!


_________________________________

I gave half the bookmarks to Cestina and kept the other half myself, and mine are in every day use.  I still have several books on the go at once, as well as bobbing back and forth to my Kindle, so bookmarks are just as useful as ever.

I'm heading back to the craft table now... I expect most of you can make a good guess at what I'm busy with there.  For now, I'll wish you a peaceful weekend with plenty of whatever makes you happy, and I'll see you on Monday!

When a bookmark tumbles out of an old book pristine and unwrinkled, it is like a gasp of breath from another century.
Don Borchert

Encore Posts
Projects which made their first appearances elsewhere for Design Team duties or Guest Designer opportunities, but which only had a sneak peek here, are being gathered together in the pages of my virtual scrapbook while I'm busy.
As always, the Encore Posts are formatted differently from the regular ones, so that you can easily spot them.  Please don't feel that you have to comment all over again!

Friday, 6 January 2017

Going Around In Circles

Hello all and happy New Year!  It's time for the first challenge of the year at A Vintage Journey, and this month we are Going Round In Circles with our wonderful host, Brenda.  Circles, bubbles and dots are always lovely to play with, and I ended up exploring the idea in my small journal.

Going around in circles is something I try to avoid in life - I like to be heading somewhere new, with a learning curve for sure, and not stuck in straight lines either, but certainly not going around over the same old ground time and again.


But then there are definitely cycles in life, energy which swoops you upwards and onwards at times, and then other periods where you swing back down again into hibernation and recovery.


That was the theme of some of my turn-of-the-year journalling pages at almost exactly this time last year, and funnily enough circles played a major part in some of those spreads too, like The Depths of Winter.


There's something about the enclosed, protected shape which somehow connects to hibernation, preserving resources.


But there's also a positive energy, an uplifting buoyancy to the bubble shape; the circles rising and moving around the space of the page.


And as long as your circles continue to expand, to orbit new territory, perhaps there's power in going over that ground again, making it your own and then growing your experiences from that secure centre.


For this spread, I used my Movers and Shapers Sized Circles to cut some book page bubbles and hoops (by cutting the smallest circle out of an already cut medium circle).


I glued some of them onto my roughly gesso'd pages (this is the tiny Moleskine journal, 5.5 x 3.5 inches when it's closed) and added more gesso over the top.


Next step was some stamping including some Bo Bunny postmarks and the lovely musical advertisement from Pink Paislee's London Market set (spot the accidental upside-down one!).

Then I tried out Andy Skinner's page-ageing technique shared in his Quick and Easy Media Techniques video.


Over that, I added another round of book page bubbles on which I used Distress Crayons to create some dimensional shading.  (We're working by lamplight now, it was such a gloomy day).


From there, I just followed my fingers...


... adding accents and splatter...


... and shading around the edges of the pages.


Oh, and of course there are some words for the New Year..


... a positive message to take forwards into 2017.


The word stickers are by 7 Dots Studio (just for a change from the Idea-ology word stickers!).


I used pastel pencils and the Distress Crayons again to add the watercolour shading drifting around each phrase.


Around the edges at various points, I added some straight lines of Titanium White with a plastic card.


There was something not quite working until I added them.


I think it needed them to echo the straight lines of the phrases amidst all the swirls and circles.


And I love the texture they add.


These are some circles I wouldn't mind going around in again.  It's such a pleasing shape to work with, and it holds so many meanings and possibilities.


I hope you'll hop over to A Vintage Journey to see the brilliant inspiration on offer from my lovely team-mates.  We'd love to see how you end up Going Round In Circles too this month.


And on Monday I'll be making the first stop at Destination Inspiration for 2017.  I hope you'll be able to join me then but, for now, have a wonderful weekend everybody.

Our task must be to free ourselves by widening our circle of compassion to embrace all living creatures and the whole of nature and its beauty.
Albert Einstein

Ich lebe mein Leben in wachsenden Ringen,
die sich über die Dinge ziehn.
Ich werde den letzten vielleicht nicht vollbringen,
aber versuchen will ich ihn.

Ich kreise um Gott, um den uralten Turm,
und ich kreise jahrtausendelang;
und ich weiß noch nicht: bin ich ein Falke, ein Sturm
oder ein großer Gesang.
Rainer Maria Rilke

I live my life in ever-widening circles
which spread themselves out over all things.
I may not complete the final one
but I will make the attempt.

I am circling around God, around the ancient tower,
and I have been circling for thousands of years;
and still I don't know: am I a falcon, or a storm
or a mighty song.
(translation - Alison Bomber)

I'd like to share these pages at Art Journal Journey where the guest host Erika has chosen Every Journal Page Tells A Story as her theme.  This story doesn't have a beginning, middle and an end - it's about the cyclical journey I'm on, travelling, I hope, in ever-widening circles.
And at Stamps and Stencils the theme is Swirls, Whirls and Flourishes - what could be better?!

Tuesday, 16 July 2013

With added salt...

Hello everyone.  Welcome back to a busy week here at Words and Pictures.  After yesterday's romantic canvas for my Our Creative Corner DT piece, I'm here with my inspiration offering for the new theme at Fun With ATCs.  The challenge for this fortnight is to create a Trio of ATCs - with a clear connection between the three of them... and each of them only 2.5 x 3.5 inches in size, remember.  Can't wait to see what you get up to with this one.

Do hop over to Fun With ATCs to see the trios created by my fabulous team-mates, but before you go, here's my starter for ten... or here are my starters for ten...


When I was plotting my make for this challenge, I was thinking I'd go rusty and grungy (in the style of my Rough Around The Edges tag), using some of the bits and pieces I'd rusted up the previous week.  But as you can see, things changed a bit in the making!


I'd been meaning to have a play with adding salt to some inks for ages, after seeing fabulous results at Maria's Knutselsplezier and, with the deadline for the make ticking ever nearer, I just wasn't in a rusty kind of mood.  So I splashed out into colour.


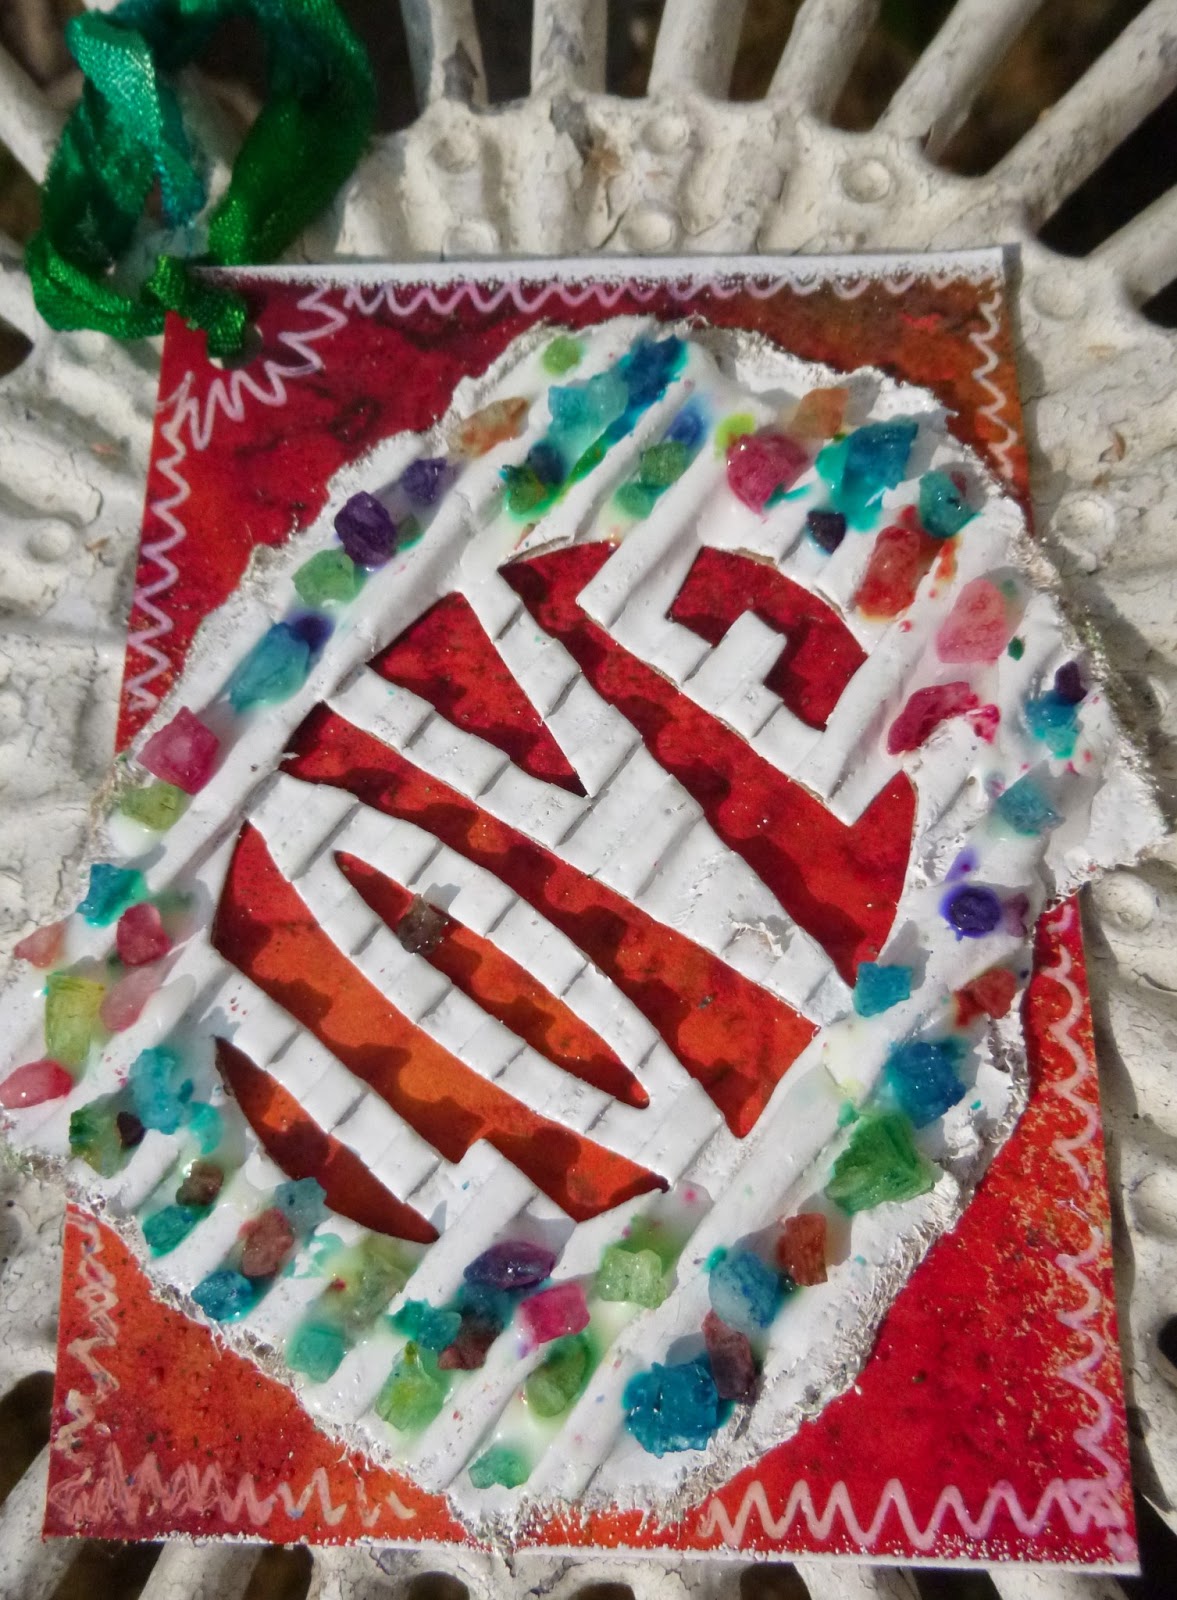
I started out at a grungy point, cutting my trio of words out of corrugated card, using the Movers and Shapers dies.  But when the colour kicked in, the corrugated card had to change.


I gave it a couple of coats of white paint, but that somehow wasn't enough, and in the end I embossed it all over with Wow Bright White embossing powder.  That gave me a glossiness which did the trick.


I spritzed and sprayed some ATC dividers (grabbed as they were being sold off... they're a little bigger than ATCs, obviously, so I had to trim them down afterwards) with lots of Dylusions sprays, and sprinkled rock salt and a bit of table salt on and left it all to dry. 


Very cool!


But as I was scraping the salt off afterwards, I noticed how beautifully it had soaked up the inky colours... can't throw that away, can we? And further ideas started to bubble.


So I deliberately dyed some more salt... 


I made little piles and spritzed them with the specific colours I was after.


Also very cool!


Then it was down to assembling the ATCs themselves.  

I glued pairs of the trimmed dividers back to back... 


Once the white corrugated words were in place, you couldn't see that much of the amazing crystallisation.


So the rear side of each ATC gives you that in all its glory.


Gluing the salt gave me a couple of headaches, as it showed a slight tendency to want to dissolve in the glue rather than stick to it.  But we got there eventually.


I added some seam binding, also dyed with Dylusions sprays... and each ATC got the colour-way to complete the set.


So, for example, if it's red/blue on the front and green/blue on the back, it got the red/orange ribbon to finish it off. Does that make sense?


There's a touch more embossing powder top and bottom, and some doodling round the edges with a white gel pen, and we're all done.


So that's my unexpectedly colourful offering for you today.  Thank you so much for stopping by.  I hope you'll come and play along with us at Fun With ATCs, and I look forward to seeing you soon either here or elsewhere in Craftyblogland.


When you do things from your soul, you feel a river moving in you, a joy.
Rumi

You know you're in love when you can't fall asleep because reality is finally better than your dreams.
Dr Seuss

Once you choose hope, anything's possible.
Christopher Reeve

I'd like to enter this in the Good to be Green challenge over at Simon Says Stamp and Show (or Simon Says Stamp's Monday Challenge, as I understand it's now called!) - both for the greens involved, and for the recycled cardboard packaging.


Oh, and if you want a breakdown of which Artistic Outpost stamp sets were involved in yesterday's romantic canvas, you'll find me over there today too with all the details.

If I'd given you the whole lot in yesterday's mammoth post, we'd still be here now!