I'm travelling into a new way of working, a new country, a new language, and a new hobby which I'm passionate about. Come with me for some of the journey...

Monday, 27 July 2020

Rusty Rustic Houses

Hello all!  Thank you so much for the lovely feedback on the ongoing daily leaf studies for World Watercolour Month.  Sadly, that seems to be almost the only thing my creative mojo is up for at the moment.  An exception is when I meet up on Skype with Brenda Brown of Bumblebees and Butterflies and Nikki Acton of Addicted to Art.

We had another of our online gatherings recently and Brenda's husband Ken got involved too!  He generously offered to cut Nikki and me a trio of wooden houses each, like the ones we'd been covetously admiring when Brenda showed us them earlier in lockdown.  And then we each got to play as we chose...


Yup, no surprises about where mine landed up... some delicate wildflower stems and tendrils and some rusty wire, not forgetting the crackle.  It's a long one, so you might want a nice cup of tea or coffee to hand before you continue...


Funnily enough, despite the joy of having the little wooden block houses (which Brenda had kindly posted), it took us two sessions to get these houses done.


For some reason we all ground to a halt the first day, and agreed to meet up again in a week's time and hope that the creativity would start to flow again.

I think you'll agree when you see the other projects that we did not hope in vain!


I'll take you quickly through my creative steps... chiefly so that I have a record so it doesn't take me so long next time to get my house(s) in order.


I forgot to take a picture of the wood blocks completely unadorned (but I bet one of the others will have one).  My first photo here is of them with a wash of white.

I wanted to keep the woodgrain showing, so I used DecoArt's Vintage Effect Wash rather than an opaque acrylic.


Now a little bit of decorative tissue paper - this is one of the Christmassy Idea-ology rolls, but I tore around the overtly festive stuff just to get some nice text and a few leafy shapes.  That also got a wash of white over the top to blend it in.


Next up, some inking.  I used Coffee Archival so that it would be nice and permanent, blended on with a blending tool.


And then (no apologies for inking it up yet again!) I stamped my favourite Rubber Dance Weed Love tendrils in Olive Green and started to add little flower heads... just tiny dabs of PaperArtsy Fresco Finish Chalk Paint in Lavender and Wisteria.   (Wisteria only in this photo, I think.  You can see the darker Lavender added below.)


Once I'd added flowers all over, that's when I ground to a halt.  I really, really, really wanted to add some crackle, but I knew that would mean a big pause in my making while I waited for it to do its thing.  And beyond crackle I really couldn't see where I was headed next.  Thankfully, I wasn't the only one struggling and Nikki and Brenda were more than happy to throw in the towel and try again another day!


So we magically jump a week to where my crackle has crackled, and had some dark paint trickled over it to highlight that glorious texture (a dirty wash of Raw Umber, Quinacridone Gold and Paynes Grey). 


I added the same paints to the roofs - delighted that the wash was translucent enough to leave those woody whorls and lines perfectly clear.


It was still slow going, but gradually I fought my way through.  I'd always known I wanted some rusty wire wrappings (of course) but nothing else was particularly clear.

Part of the problem was I really liked the houses in their very simplest form.  I could easily have stopped at the whitewash and inky edges stage!


But these tiny strips of butterfly and script Design Tape over some torn Tissue Tape were a big step forward.  I decided the corners would be my focal focus rather than having the houses decorated flat-side-on.


(Funky, but not so easy when it came to photographing them - if you have to have them at an angle to see the corner, you pretty much always get one side in shadow!)


But once the tapes were on, things started to fall into place more easily.  Obviously the wire-wrapping was next - always a delicious moment - and I kept things simple with a few cogs and bolts and some short Small Talk sticker phrases.


The largest of the three houses got a Philosophy Tag all to itself.  (I suspect these have been discontinued, but I still have a small supply.)


And I really like the words on the big house too... going around the corner.
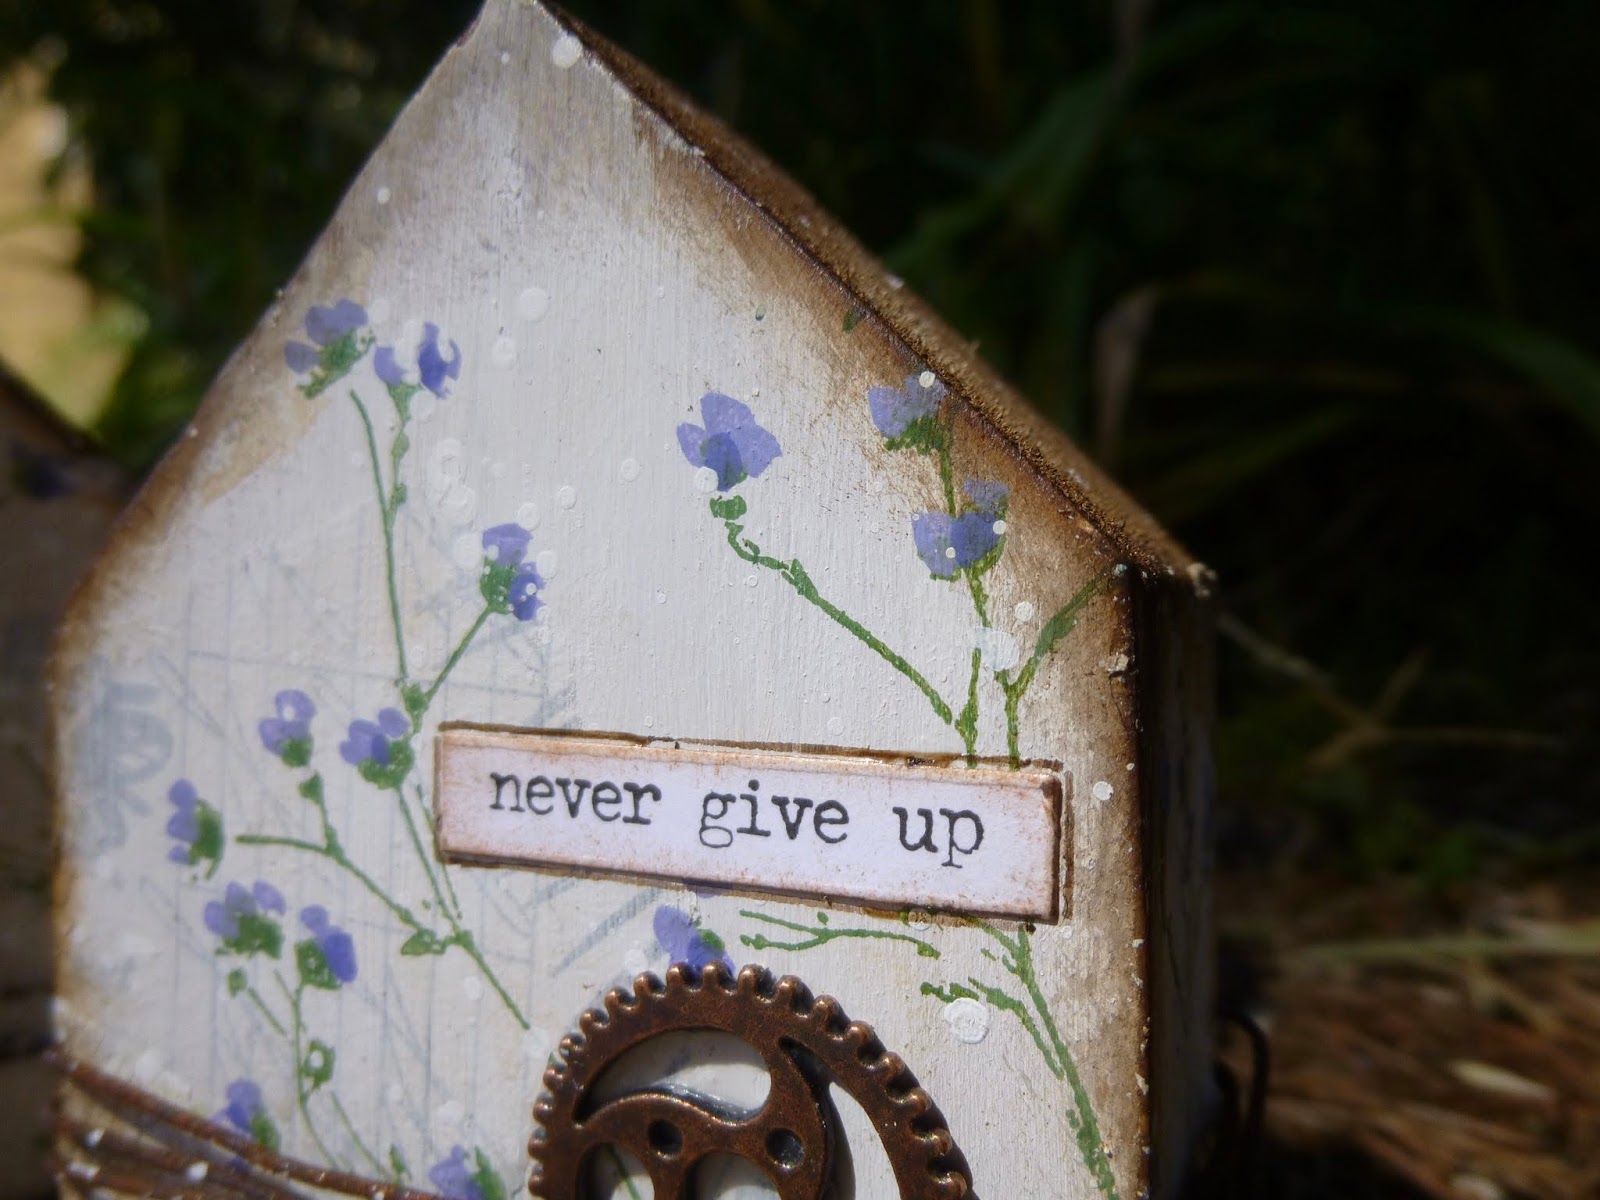


I thought it would be too cutesy to have them all going round corners.  Besides, the positioning of the cogs wouldn't allow for it.


So for the two smaller houses the words go on the front side - one high, one low, so that overall we get a nice balanced look.


I'm so happy with my trio of houses now.  The crackle is fabulous, though I do say so myself!


(Such a relief... at first it looked as though it wasn't going to do anything, but I put a bit more of another kind of crackle paste over the top and away we went.)


I love the simple stained rooftops with their slightly rusty undertones to complement the rusty wire.


Of course I love the rusty wire!


And I'm really happy with my little blue flower vines too.  (If some of you are thinking this looks familiar, I was shamelessly CASEing one of my favourite tags from earlier this year, Rusted Hope.)


And given that I'd wanted to stop at a much earlier stage, if I really want things even simpler then I can just turn my three houses around and enjoy them from behind...

Best of all possible worlds!


Well, that's more than enough from me for today.  Just take a look at how differently Nikki and Brenda's houses turned out.  Do hop over to their blogs to see all the magic happening... you'll find Nikki's fabulous trio here at Addicted to Art, and Brenda's adorable little scene here at Bumblebees and Butterflies


I'm so grateful that these online crafting sessions have nudged me into mixed media action, otherwise things would have been even more sluggish around here lately!  It's always such fun to chat and laugh and set the world to rights, even when the crafting isn't going well... and even more so when it is!


Thanks so much for stopping by today.  I hope you're finding ways to nudge your creative mojo into action, or just enjoying taking some time for yourself now and then.  I'll see you again soon, either here or elsewhere in Craftyblogland.  Stay safe, stay well all.

Houses are like people - some you like and some you don't like - and once in a while there is one you love.
From Emily Climbs by L.M. Montgomery

I'd like to share these at Country View Challenges for the theme Do What Makes You Happy - all my favourite things, and eventually they made me happy!

Friday, 24 July 2020

Leafy Watercolours Part III

Hello all, and I hope you are all well.  Thanks so much for dropping in today.  I haven't been hopping round much in the last few days as my brain has already turned to making packing lists (especially to trying to decide what goes in the travelling craft stash!).  But I should have some time this weekend before I start the actual physical packing, so I hope to be round soon to see what you've been up to.

In the meantime, one thing I have been making time for is my daily watercolouring for World Watercolour Month, so I'm back with the next batch 17 - 24.  As regulars know, I haven't been following the official prompts.  I set myself my own challenge to create some leaf studies daily.


I knew my challenge would have to be something I wanted to do, rather than panicking over a prompt which might not inspire me.  It's the daily practice as much as anything else that I wanted to develop... it's now part of my morning routine along with feeding the birds, watering the plants, tidying the kitchen and doing my Czech lesson (with coffee - vital part of the routine!).


This week, I've been enjoying the flow of pigment in water which has been happening around the edges...


... and the grassy energy of some of the undergrowth at the foot of the paintings almost as much as the leaves themselves.  And why not?


(If you want to know about the paper/paints I'm using for my July leafy watercolours they're all listed in Part I of these updates, Leafy Watercolours.  You can, of course, catch up with Leafy Watercolours Part II if you missed it!)


Also, if this link works, it should take you to a bit of video footage (if you swipe to the second photo) showing how magically Daniel Smith's Kyanite Genuine sparkles as it catches the light.  These still photos really can't do it justice.


A couple of times this week, I've sort of wished I'd stayed at an earlier stage with a couple of them.  This is Day 19's progression, and I like the spare first stage...


... and also the second layer with the shadowy background stems, as well as the final overgrown look.  At least I have a record of them all in photographic form.

Here they are in turn for you to pick your favourites from this batch.  (Yes, they're still in pairs.  I'm not going to cut them up into individual paintings until I've completed them all... that's going to be my "reward"!)

Days 17 and 18...


Days 19 and 20...


Days 21 and 22 (left very soft and loose with hardly any touching up for detail)...


Days 23 and 24...


You can see I was alternating between branches drooping down and stems reaching up throughout this batch.  I can't even decide which of those two options I like better, let alone pick favourites.  Over to you...

Thanks so much for stopping by today.  Everything is a bit topsy turvy at the moment what with packing to go away, but I'm hoping to squeeze in some blog visiting at some point too.  I hope you are all staying safe, well and creative.  Happy crafting all!

It is often the simple daily practices that influence our lives in dramatic ways.
From Living Peace by Alaric Hutchinson

I'd like to share these at Paint Party Friday, where it's Week 21 of Year 10
At Country View Challenges you still get to Do What Makes You Happy 

Tuesday, 21 July 2020

Encore - Trailing Ivy

I'm squeezing in a quick Encore post (see the end of the post if you've not encountered these before) between all the leafy watercolouring.  Apart from those leaf studies, there's not a great deal going on at the craft table, and even less now that I'm getting ready to travel across Europe to the Czech Republic to check (czech?!) on the building work).  Yes, it's time to pack the travelling stash again.

In the meantime, here's an ATC I absolutely love, made back in January 2018 for A Vintage Journey.  (It seemed appropriate to post a Destination Inspiration travel bag given what I'm about to do!)  Here's what I wrote back then...
_________________________________________

Hello all, Alison here, arriving at Destination Inspiration with a travel bag of goodies to play with.  Let's take a look inside and see what we have:

Product: Sprays
Technique: Stamping
Colour: Blue & Brown
Substrate: Wood or Chipboard

It's a bag I might have packed all by myself!  And here's what I've created with some of my favourite things...


It was a lucky travel bag for me!


I hope I'll be allowed my slight variation on the substrate - it's actually an MDF ATC from Calico Craft Parts - so it's somewhere between Wood and Chipboard, I suppose.


I stuck down some book pages scraps and an ivy die-cut, added some DecoArt One-Step Crackle and lightly gesso'd over it all once the crackle was dry.  I then added a few spritzes of Distress Stain Sprays in blues and browns and sprayed with water to soften them.  Next, I took the spray nozzle out of the bottle and added some inky spray directly to the edges, softening again with water; and then flicked a few droplets of Ground Espresso from the end of the tube onto the ATC.


So that all that would stay in place as I added more layers, I covered it with a layer of DecoArt Ultra Matte Varnish before going any further.  The next step was a layer of Antiquing Cream in White, knocked back to give this lovely misty effect.


Of course it stays in the cracks though, which I love.


For my stamping, I used some tiny brambly branches - I think they may be by Penny Black - stamped in either Coffee or Potting Soil Archival.


(It's a long time since I made this, I'm afraid, so I'm not quite sure any longer.)


I wanted to make the ivy leaves stand out a little more so I gave them a coat of DecoArt Triple Thick Gloss Glaze.  I love the subtle gleam when it catches the light.


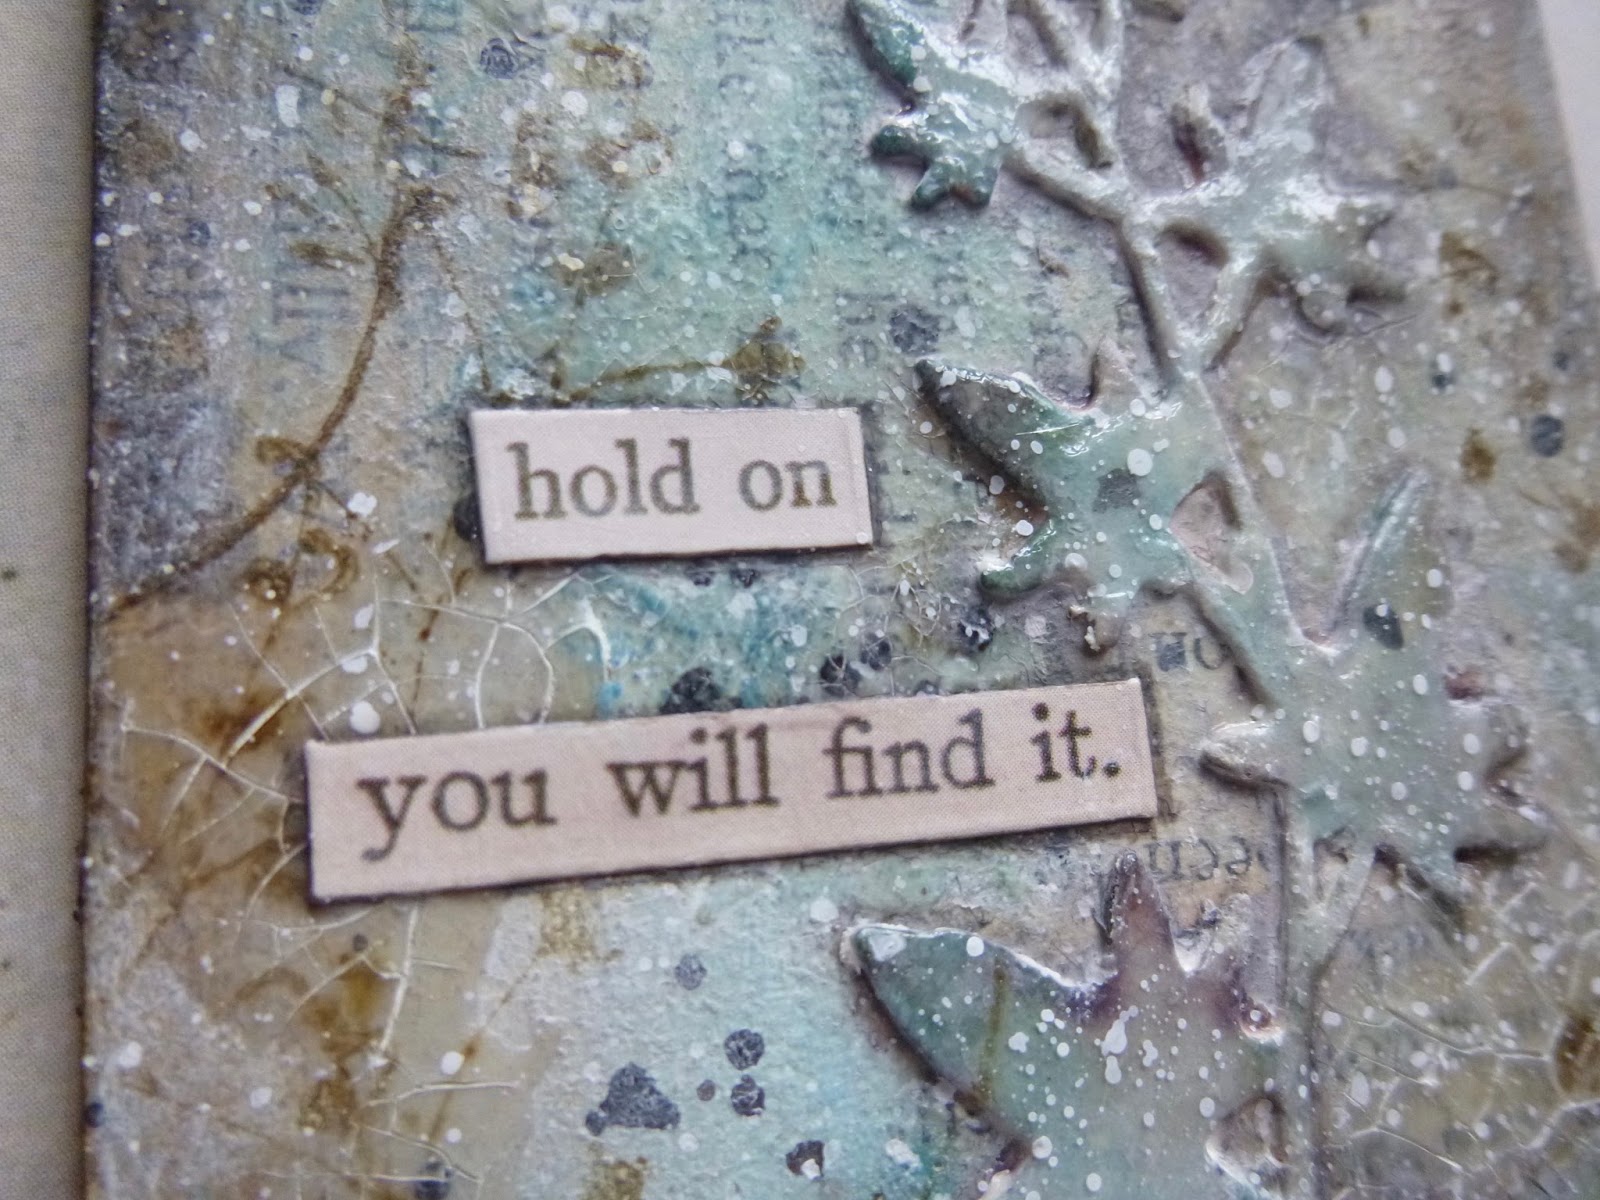
Some Clippings stickers provide the words...


... a good New Year thought to take me through the year ahead.


And of course there's plenty of white spatter...


It may be a tiny ATC, but I think it packs a punch.  I love all the layers, and the soft, smoky blues and browns.


_______________________________________

So here we are back in the present day.  This ATC really was a tiny experimental laboratory.  Lots of the techniques I used here have appeared in all sorts of projects since.  When it's an ATC, there's really no pressure.  You can try things out because, well, if things go wrong, it's a tiny thing to give up on.  I hope you enjoyed seeing this again.  And I'll be back again soon (probably with some more of this month's watercolouring).  Stay safe, stay well and happy crafting all.

Like ivy, we grow where there is room for us.
Miranda July

Encore Posts
Projects which made their first appearances elsewhere for Design Team duties or Guest Designer opportunities, but which only had a sneak peek here, are being gathered together in the pages of my virtual scrapbook while I'm busy.
As always, the Encore Posts are formatted differently from the regular ones, so that you can easily spot them.  Please don't feel that you have to comment all over again!