We had another of our online gatherings recently and Brenda's husband Ken got involved too! He generously offered to cut Nikki and me a trio of wooden houses each, like the ones we'd been covetously admiring when Brenda showed us them earlier in lockdown. And then we each got to play as we chose...


Funnily enough, despite the joy of having the little wooden block houses (which Brenda had kindly posted), it took us two sessions to get these houses done.

For some reason we all ground to a halt the first day, and agreed to meet up again in a week's time and hope that the creativity would start to flow again.
I think you'll agree when you see the other projects that we did not hope in vain!

I'll take you quickly through my creative steps... chiefly so that I have a record so it doesn't take me so long next time to get my house(s) in order.

I forgot to take a picture of the wood blocks completely unadorned (but I bet one of the others will have one). My first photo here is of them with a wash of white.
I wanted to keep the woodgrain showing, so I used DecoArt's Vintage Effect Wash rather than an opaque acrylic.

Now a little bit of decorative tissue paper - this is one of the Christmassy Idea-ology rolls, but I tore around the overtly festive stuff just to get some nice text and a few leafy shapes. That also got a wash of white over the top to blend it in.

Next up, some inking. I used Coffee Archival so that it would be nice and permanent, blended on with a blending tool.

And then (no apologies for inking it up yet again!) I stamped my favourite Rubber Dance Weed Love tendrils in Olive Green and started to add little flower heads... just tiny dabs of PaperArtsy Fresco Finish Chalk Paint in Lavender and Wisteria. (Wisteria only in this photo, I think. You can see the darker Lavender added below.)

Once I'd added flowers all over, that's when I ground to a halt. I really, really, really wanted to add some crackle, but I knew that would mean a big pause in my making while I waited for it to do its thing. And beyond crackle I really couldn't see where I was headed next. Thankfully, I wasn't the only one struggling and Nikki and Brenda were more than happy to throw in the towel and try again another day!

So we magically jump a week to where my crackle has crackled, and had some dark paint trickled over it to highlight that glorious texture (a dirty wash of Raw Umber, Quinacridone Gold and Paynes Grey).

I added the same paints to the roofs - delighted that the wash was translucent enough to leave those woody whorls and lines perfectly clear.

It was still slow going, but gradually I fought my way through. I'd always known I wanted some rusty wire wrappings (of course) but nothing else was particularly clear.
Part of the problem was I really liked the houses in their very simplest form. I could easily have stopped at the whitewash and inky edges stage!

But these tiny strips of butterfly and script Design Tape over some torn Tissue Tape were a big step forward. I decided the corners would be my focal focus rather than having the houses decorated flat-side-on.

(Funky, but not so easy when it came to photographing them - if you have to have them at an angle to see the corner, you pretty much always get one side in shadow!)

But once the tapes were on, things started to fall into place more easily. Obviously the wire-wrapping was next - always a delicious moment - and I kept things simple with a few cogs and bolts and some short Small Talk sticker phrases.

The largest of the three houses got a Philosophy Tag all to itself. (I suspect these have been discontinued, but I still have a small supply.)

And I really like the words on the big house too... going around the corner.
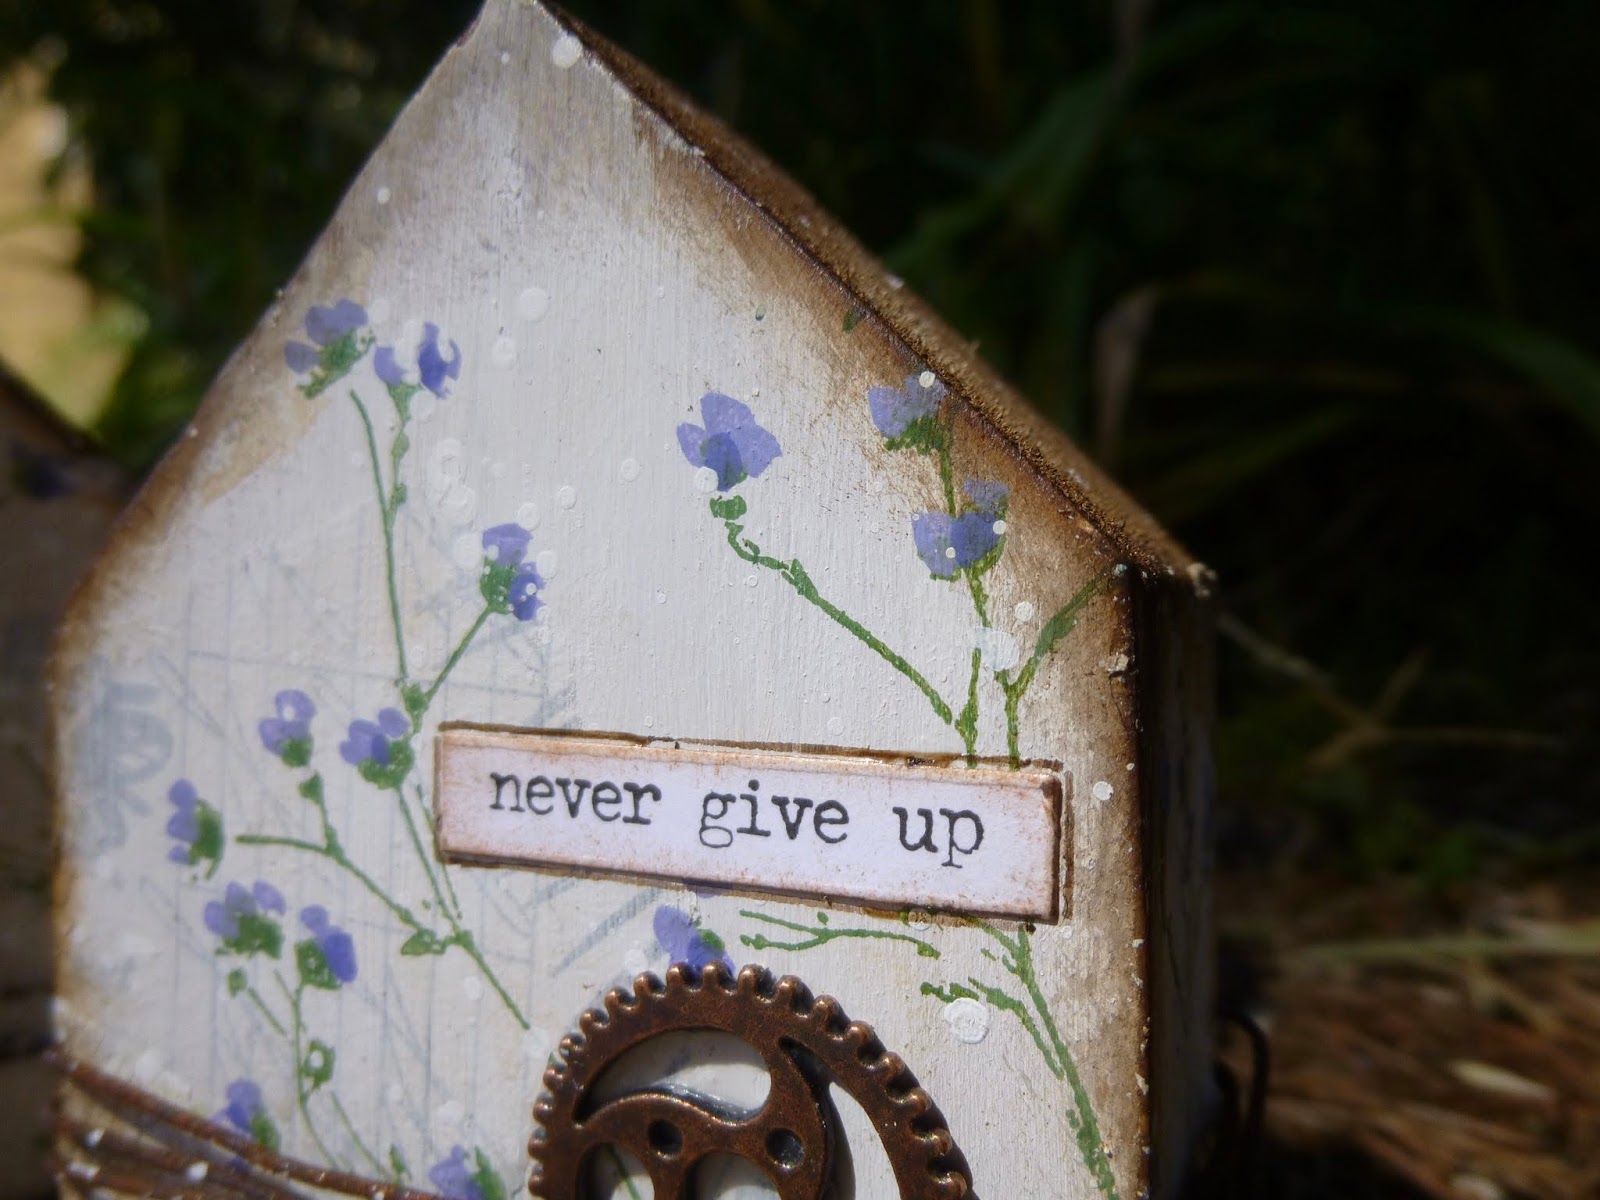
I thought it would be too cutesy to have them all going round corners. Besides, the positioning of the cogs wouldn't allow for it.

So for the two smaller houses the words go on the front side - one high, one low, so that overall we get a nice balanced look.

I'm so happy with my trio of houses now. The crackle is fabulous, though I do say so myself!

(Such a relief... at first it looked as though it wasn't going to do anything, but I put a bit more of another kind of crackle paste over the top and away we went.)

I love the simple stained rooftops with their slightly rusty undertones to complement the rusty wire.

Of course I love the rusty wire!

And I'm really happy with my little blue flower vines too. (If some of you are thinking this looks familiar, I was shamelessly CASEing one of my favourite tags from earlier this year, Rusted Hope.)

And given that I'd wanted to stop at a much earlier stage, if I really want things even simpler then I can just turn my three houses around and enjoy them from behind...
Best of all possible worlds!
Well, that's more than enough from me for today. Just take a look at how differently Nikki and Brenda's houses turned out. Do hop over to their blogs to see all the magic happening... you'll find Nikki's fabulous trio here at Addicted to Art, and Brenda's adorable little scene here at Bumblebees and Butterflies.


Thanks so much for stopping by today. I hope you're finding ways to nudge your creative mojo into action, or just enjoying taking some time for yourself now and then. I'll see you again soon, either here or elsewhere in Craftyblogland. Stay safe, stay well all.
Houses are like people - some you like and some you don't like - and once in a while there is one you love.
From Emily Climbs by L.M. Montgomery
I'd like to share these at Country View Challenges for the theme Do What Makes You Happy - all my favourite things, and eventually they made me happy!