Hello all, and welcome. It's another grey, damp day here as I write this, and it's not even chilly, so I'm having to get my fix of proper winter weather via the craft table.
I've been playing with the brand new Curio Box just released by Tim Holtz. I couldn't resist it. I can see it being useful in all sorts of ways.
Given it's brand new, it fits in well with the Something New theme at the Simon Says Stamp Monday Challenge.
And the Funkie Junkie Boutique Blog are playing a Tic Tac Toe challenge so I chose to play the line across the top to fill up my shadow box - Layers, Winter, Heat Embossing.

Unfortunately, I'd already been experimenting with the Curio Box die before I decided what was going inside. I tried it out with some Idea-ology papers - working out which side of the paper the creases for the folds would turn up so that I could get the side of the paper I wanted either on the inner box or the outer frame.

The die comes with a number of Thinlits frames so that you can cut different apertures for the opening of the shadow box. This is the largest of the apertures. There's a smaller one also this shape, and a couple of ovals which will give the shadow box a very different look.

When it turned out I needed to add some layers for my night sky, I had to snip open the tissue tape fastening the inner box together so that I could lay it out flat again for the paint sponging...

... and then the star-stencilling. Next time, I'll work out what I'm doing before building the box!
The night sky is sponged in PaperArtsy Fresco Blueberry, and the snowy landscape in Snowflake (of course). And the star stencil is one of Tim Holtz's.
I sponged some more Snowflake through the stencil and applied some ancient Ranger Silver Pearl powder which was hiding in my stash.

It has a lovely shimmer to it - just right for starlight. And the top layer is, of course, a spattering of snowy white paint droplets.

I cut one of the houses and a couple of trees from the Thinlits Ghost Town set (also new to me - picked up at a bargain price) from the same paper as the outer box frame. But I then gave the trees a coat of my favourite Wow Primary Bark embossing powder to darken their silhouettes.

This is the house with the reverse side of the paper showing, but my camera seems to have decided I didn't need the photos I took of the before and after with the trees. It does that annoyingly often at the moment. Hopefully I just need a new SD card rather than a whole new camera.

I glued the house down onto some plain card - right way up this time - and added some Antique Linen Distress Ink to the windows with a water brush, to give the illusion of warm glowing lights within.

I then had great fun adding snow to the roof and windowsills with some heavy body white acrylic paint. I'm very happy with the dimension of those heaps of snow!

This fence is part of a set intended for a Christmas model village. I spotted them on sale and I thought they looked useful!

Of course, I had to do a bit of weathering... PaperArtsy Crackle Glaze to create my flaky paint, and in the long run a bit of extra Pumice Stone shading and "dirt".

It was easy to cut the railings with scissors so that I could put a couple of posts the other side of the frame, creating a gateway to walk through.

The Paper Doll was a slight afterthought... the scene still needed a little something even with all that lovely snowy texture around. I think she's exactly right standing just inside the gate there.

She seems to have trodden in a pretty deep snowdrift (a.k.a. a mound of White-tac - same as Blu-tac only white!

I also added extra heavy body white acrylic to the mound, to blend it into the ground.

There's plenty of snowy splatter...

... both inside and out.
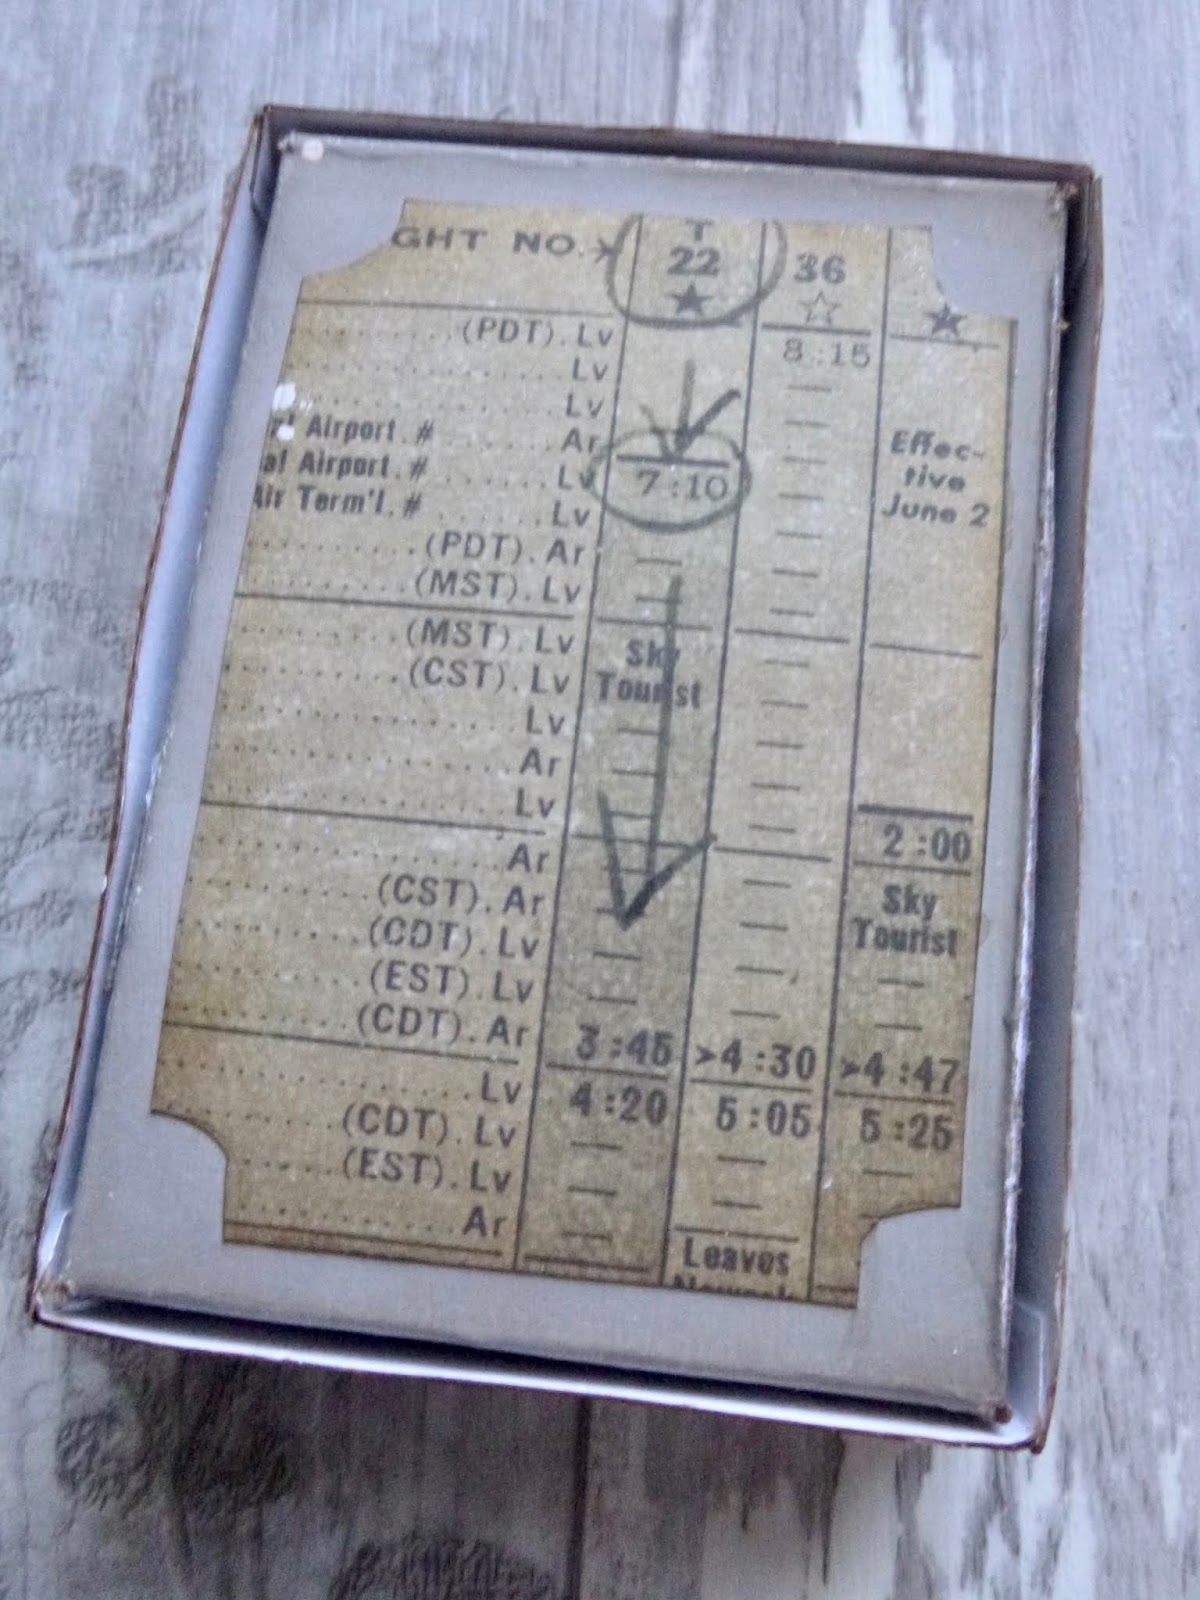
And I used the cut-out from the frame to add a little interest to the back of the box. It's not that anyone's likely to be looking at that side, but you never know.

It was, yet again, a tricky photographic job. The shadow box casts shadows - of course! - so from some angles the sky looks really dark...

... but then from others, with a slight tilt, you can get a much better look at that lovely Blueberry blue and the twinkling stars.

You simply can't catch all the angles at once!

Nonetheless, I hope you've enjoyed stepping into the winter night garden with me - and I hope you are wrapped up warm and snug like the little girl.
Thanks so much for stopping by today, and I'll see you again soon.
Snow was falling,
so much like stars
filling the dark trees
that one could easily imagine
its reason for being was nothing more
than prettiness.
Mary Oliver

I'd like to play along at the Funkie Junkie Boutique Blog where the challenge is Let's Play Tic Tac Toe - and I'm playing the top line across... Layers, Winter, Heat Embossing
At the Simon Says Stamp Monday Challenge they want to see Something New