I'm travelling into a new way of working, a new country, a new language, and a new hobby which I'm passionate about. Come with me for some of the journey...

Showing posts with label doily. Show all posts

Friday, 26 July 2013

Golden Memories

Hello everyone... Well, it's been another week of sneak peeks here at Words and Pictures so far, but I'm here with an actual project today!  I'm not sure it's really me, but it's nice to experiment occasionally.

It's another canvas with a combination of Artistic Outpost stamps and Pion Papers (like the romantic canvas of last week).


This time I've used the wonderful Bluebird plate with some of the Pion Vintage Garden papers.

I started with a piece of white corrugated card, but things started to gather and grow, and in the end it needed a larger canvas as the base.


The Artistic Outpost images are stamped on some of my tea/coffee-dyed tags.  I love these birds over the music manuscript...


... and they seemed perfect with the little Pion birds.


The bluebird boy is fast becoming one of my favourite images (he put in an appearance on my little hanging recently), and I edged his tag with some of the lovely typescript stamp from the same set.


That text also appears on the other little tags...


... and on the bunting in the top corner.


The flowers are by Wild Orchid, layered with some cheesecloth...


... and a little heart cut from the white corrugated card - inked of course - to link with the other side of the canvas.


I cut some kraft glassine with the Tim Holtz Doily, and also layered in some other pieces of kraft glassine in various places to add a bit of depth to the colour palette.


I added the lovely Thinking of You stamp to this little postcard from the papers.


And I just love this tiny little bird on the stamp...


I altered one of the Idea-ology bookplates with some layers of Distress Paint, wiping back and adding layers until I was happy with the look.

My trusty Hero Arts alphabet was pressed into action for the word Memories, stamped on another bit of tea/coffee stained tag, to go inside it.


There are doilies layered in too, and where they overlapped the edge, I folded them around to add decoration to the edges of the canvas.


Also around the edge I added music manuscript washi tape.


I not only like the look of this, but it came in very handy for securing the bunting too!


So there are my Golden Memories - hope you enjoyed the tour.  Thanks so much for stopping by, and I'll be back touring around Craftyblogland with a bit more time soon, I hope...


Don't forget you've still got time to join in with the Artistic Outpost Referral Program this month.

All you need is at least one AO image to qualify for the prize draw.  Hope to see you there, or elsewhere very soon!


Memories warm you up from the inside. But they also tear you apart.
Haruki Marukami

True nostalgia is an ephemeral composition of disjointed memories.
Florence King

I'd like to enter this in the following:
At the Wild Orchid Challenge where they are playing Blues and/or Purples
A second entry at this month's Hobby House Challenge where the theme is Vintage
At the Fashionable Stamping Challenge they are looking for Flora and Fauna


Saturday, 6 July 2013

Rough Around The Edges


Hi all and welcome, with an especially big welcome to the newest followers - I'm absolutely delighted you decided to join the journey.

I'm here to share a tag inspired by some playing around I did with rustification the other day (more about that very soon), and by the arrival of my first ever Stampotique stamp - the wonderful Moth Fab, a lucky bid on ebay - yay!

And it seemed only right to create a piece that would fit in with the current Stampotique Designers Challenge, which is to Recycle It.

And we go from oodles of colour back to the rusty neutrals that give me so much pleasure.

I started with corrugated cardboard, ripped from one of the packaging boxes I keep under the table.  And I gathered up washers, muslin and various other bits and pieces lying around the craft room to subject to some rusting.


While they were busy oxidising, acidifying, or whatever it is they're doing, I gave the cardboard a rough coat of white paint, and then added Vintage Photo Distress embossing powder in tiny amounts around the edges.


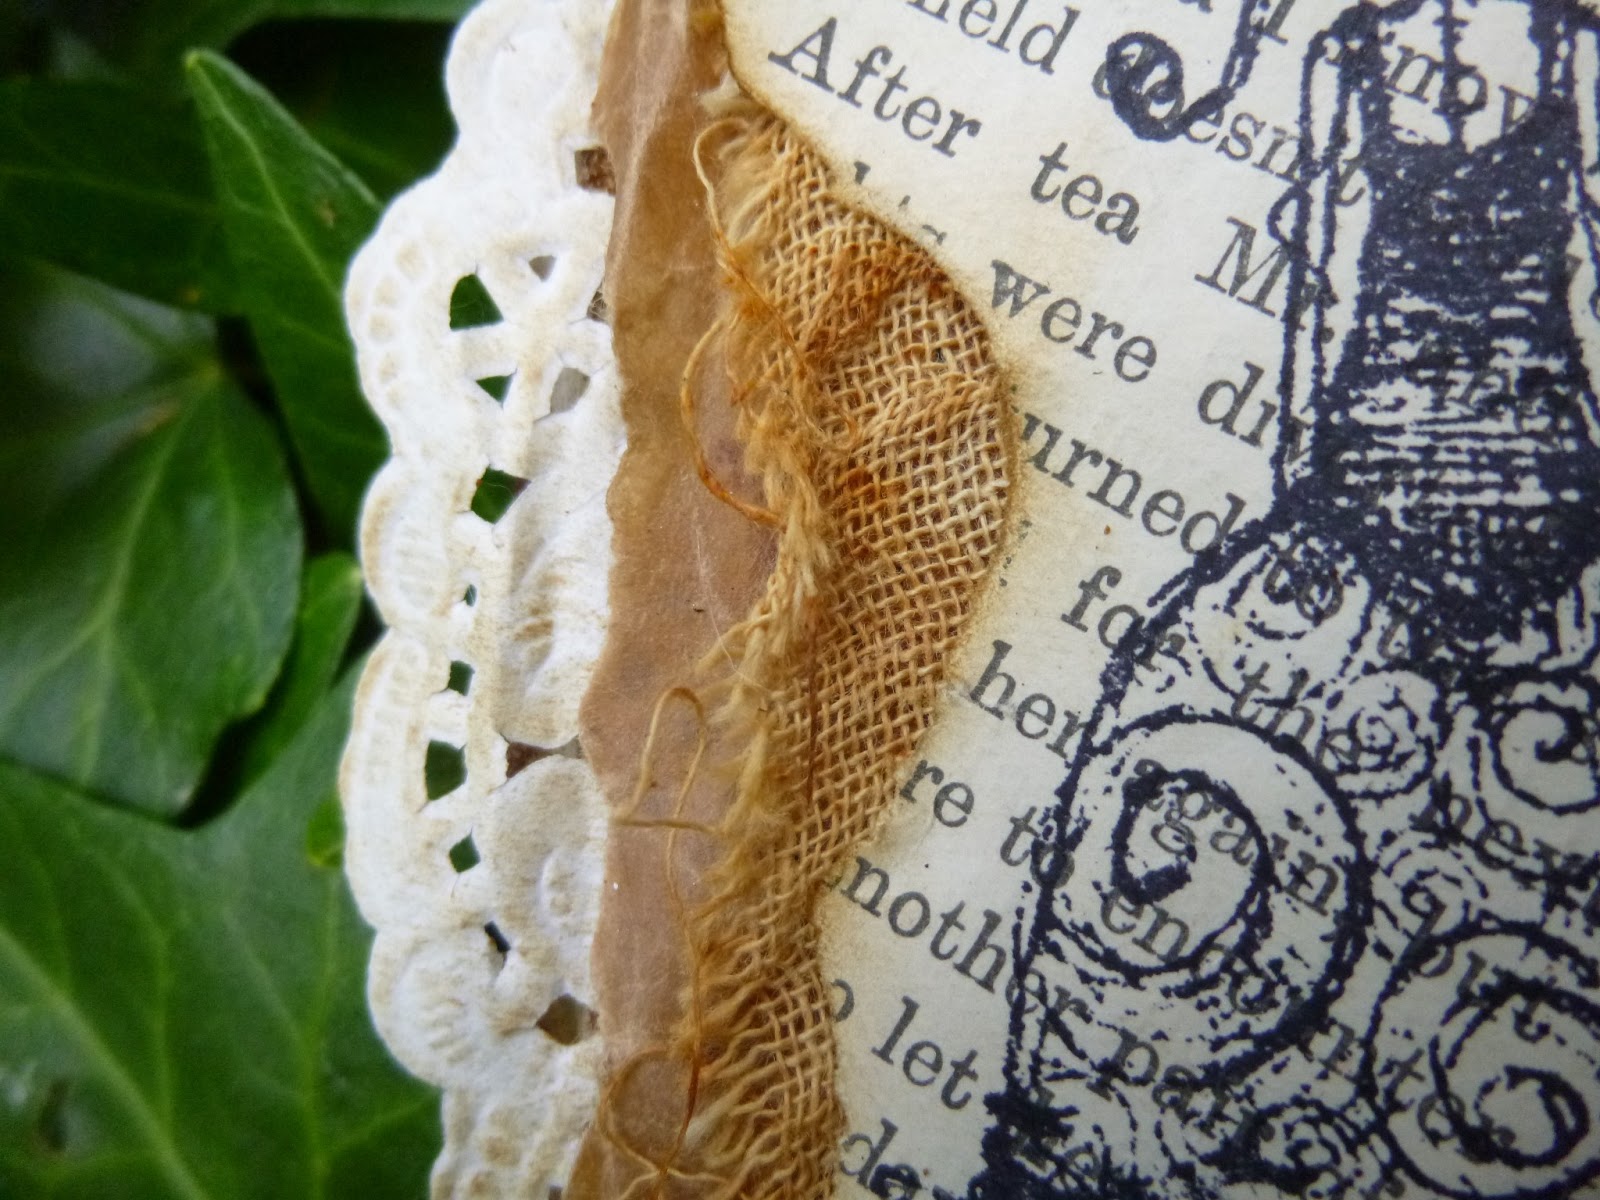
I distressed a paper doily with some ink and then grabbed some kraft glassine paper, discarded from a previous make, for my next layer up, and then - all rusting done and dusted - layered in a scrap of the now rusted muslin, fraying the edges for an even more lived-in look.


Moth herself (well, I had to have the one named after a character in Shakespeare, didn't I?) is stamped on an old book page, which I've then torn and inked to frame her.  I added a little snippet of lace left over from my Love of Vintage canvas which was lying on the table - inking it, and fraying it a little more as I went.


The words came to me as I was playing (and no I wasn't suffering from a hangover!), and seemed to fit perfectly - not only with what was appearing on the desk in front of me, all distressed and frayed and decaying, but also with my mood in recent weeks, when I've felt very unsettled and uncertain quite a lot of the time.  

(I've started to get the bit back between my teeth now.)


I stamped them onto one of the leftover tags from a previous tea-dying session which had been lying around for ages and which, at some point, had got itself a rough border of gesso'd brush strokes. 

Since this was becoming all about the edges, I stamped around the edge of the tag, so that all the words also got a touch of the gesso'd area.


I layered some of them onto some rusty tin wire net from The Funkie Junkie Boutique, teasing and twisting the edges for a lovely grungy effect.


The Idea-ology flowers, thoroughly rusted (fastener and all!), and some differently-sized washers, also thoroughly "decaying", add the metal touch to the tag.


I'm a little bit sad that the act of gluing everything down robbed me slightly of some of the fabulous dimension from the creased glassine and wrinkled material that the tag had when I was in the layering up stages... but overall, I still love the look of the thing.


A little bit more of the rusty muslin tops the whole thing off, tied together with some rusty wire, curled around some dowelling.


I had an absolute ball with this... I'd forgotten how much I love altering things for a rusty look.  And all the fraying really tickles me.  And of course I love the book pages...

Part of the trouble with all this crafty adventuring is that there's always something new to try (and I strongly feel I'm still in exploration and discovery mode with it all), and while that's wonderful, it's easy to let the things you've really gelled with slip into the background.


Well, they're all here with a vengeance: book pages, stamping, distress, ageing and good old layering, and it felt good to just play again.

I may still be feeling a little rough around the edges, but I'm ready to start living closer to the edge...

Come to the edge, he said. 
They said: We are afraid. 
Come to the edge, he said. 
They came.  
He pushed them... 
and they flew.
Guillaume Apollinaire

I'd like to enter this into the following:
Recycle It at the Stampotique Designers Challenge
Anything Goes at Simon Says Stamp and Show
Show Us Your Metal at Try It On Tuesday


Tuesday, 22 January 2013

The Dollshouse Collector


Hello all, and a warm welcome to a snowy Words and Pictures today (for the second time, if you've already seen this)...

I'm sharing with you one of the gifts I made for my mother's birthday at the weekend.  It's a small book of words and pictures (surprise, surprise!) about dollshouses.

Some of you may know my mother as Cestina, and have visited her blog about creating a museum in the Czech Republic out of her dollshouse collection.

So as soon as I saw the amazing Our Dollies images from Nicecrane Designs, I knew it was a perfect fit to make something for her with.


Well, almost a perfect fit... Cestina is a big fan of the neutral projects (she's not so keen on my recent turquoise kick), and the images were all very brightly coloured.  So I decided to see whether I could alter them in my photo software and happily ended up with all the images in a gentle sepia.


I hope the lovely Ignacio of Nicecrane won't mind that I've altered his images, but it's good news for fans of neutrals to know that the option exists, I think!


I used my new Tim Holtz Cabinet Card die (happy find in the Christmas sales - I used the mini-version to make my Good Old Days project, which Cestina requested - demanded, perhaps, is a better word - as another birthday present) to cut the pages from chipboard.

To start with, I gave all of them a couple of coats of gesso and white acrylic paint.


For the front cover, I used the Tim Holtz book cover stamp (love this stamp), edged it with Vintage Photo Distress embossing powder for a textured look, and added some highlights with Treasure Gold in White Fire.


The Idea-ology flowers and bookplate also got a little touch of White Fire, and I used the Hero Arts alphabet stamps to stamp the title.


Ah yes, the title is the title of the poem by Jacob Polley which forms the "words" element of the book.  It was found by a friend of ours (amazing Andrea who shares her musings at Eclectic Meandering) who wrote it in Cestina's Christmas card this year, so I borrowed it for this project.

Fortuitously (since I didn't check before I started) the poem has four verses (the whole thing is at the foot of the post as today's quote), so that meant one for each page for the four images I'd chosen to use.


And since my printer is playing up at the moment - I'd had to beg another friend to print the images for me! - I'd've been really scuppered if I'd suddenly needed another picture!

The inner pages were all stamped with my favourite Stampology flower corner, and inked with Vintage Photo, and on each of the the poem pages, I added one of the tiny chipboard windows from Retro Café Art and did some doodling by hand in the remaining space.


For the picture pages, I layered up inked paper doilies, frayed cheesecloth, and the beautiful Memory Box die, Madera Corner, cut from some Basic Grey paper from the Serenade collection.


I tried to get the Madera Corner into a different place on each layout, which meant working out where it caused least obstruction to the picture underneath in each image.


I added corners from the ATC and Corners die to all of the verses and pictures, to look as though they're held in place in an album, and I used some Idea-ology bead chain to "bind" the book.


Nearly there... this is the last verse!  (And don't forget you can click on the photo if you'd like a closer view.)


For a finishing touch, I added some brown gingham ribbon to the bead chain at the front.

As you can see, I had to clear the snow off my favourite tree in order to take the pictures today!


I hope you've enjoyed having a look at my mother's birthday book...  I was so happy to find such perfect pictures for a dollshouse collector.

You can go direct to Our Dollies here, or hop over to Nicecrane Designs for a browse of all the amazing images - there are so many wonderful sets, you're bound to be able to find something appropriate to make cards or gifts for even your most particular friends!  And they really are great value.


Thank you so much for taking the time to stop by today - I so appreciate your visits and your feedback, and though I've been a bit behind with my visiting in the last couple of days, I'm hoping to get back on track as the week goes on, so with luck I'll see you again soon!

I'm entering this in the following:
At Simon Says Stamp and Show they're asking the question What Are You Known For?  Well, very long posts, for one thing... but as much as anything else, I hope it's the combining of words and pictures (hence the blog title), and I guess most people who visit would also recognise the shabby chic vintage look, the distressing and stamping, Vintage Photo Distress Ink overload... and also many of my favourite projects have been handmade books of one kind or another - so this is a pretty good example of all that!
Ah, go on then, a third and final entry for Frilly and Funkie's challenge to Follow Your Muse (see all of the above!!)
At Anything But A Card they've asked us to Tie It Up... in another adventure in "book-binding", I've got the chain tying my pages together as well as the ribbon bows decorating it 
And Out of a Hat Creations want us to show off our Most Useful Stamp - the Stampology Autumn Leaves floral silhouette gets rolled out here at Words and Pictures time and again to add that little touch of magic... it simply delights me!
At Vintage Stamping Challenges the challenge is Vintage, and I'm making this a second entry there

Doll's House by Jacob Polley

A table set with tiny plates,
the chairs around a paper fire:
diminishment has simplified
the aims and objects of desire,
while blinder faith must still provide
the mincemeat in the wooden cakes,

the creaking stair and wind outside.
For you have held your breath to peer
along the shelves of depthless books
lining a room where nothing's read;
and now, effortlessly giant, look
up to the eaves and in at the beds.

Be brave. To live is not to fear
despite the scale of what's at stake.
Two children lie in matchbox cribs.
Next door a couple, stiff as pegs,
are tucked together, rib to rib,
the bedsheets bound around their legs.

What happens if you turn away?
Every god has asked the same,
crouched at a sideboard, just in case
sudden little laughter shakes
a heaven like an empty house
where not a plate nor day will break.

Thursday, 15 November 2012

Bewitching White


Hello all, delighted to welcome you to Words and Pictures today; it's great to have your company.

I'm sharing a card with you today which is inspired by The Stampsmith Challenge this month, which is to work in Monochromatic White (using at least one Stampsmith stamp).  

This was a real challenge, and I'm not sure I've cracked it yet - so I hope to play again before the end of the month!  But for now, here's my White Witch...

It's stated in the challenge that of course you will need to stamp in a colour other than white, but I'm not generally inclined to meekly do as I'm told!


So I had a couple of goes at using white embossing powder on the bewitchingly beautiful Serena.  I thought it looked pretty cool, but then of course you need to stand there altering the angle of the card the whole time in order to be able to see it.

In the end I conceded that they were probably right about using a colour to stamp with - and I stamped her using the blue from the  Colorbox Archival Coffee House set.  

Much better - now you get to see her properly.  I find this stamp absolutely enchanting - I'm serious about Serena being bewitching!


The sentiment is stamped in the same ink.  And one of the things I'm really pleased with is the subtle sparkle in the background.

It's a simple spritzing of Tattered Angels Chalkboard Glimmer Mist in Chalk...

... and you'll spot that the Tim Holtz paper distresser has been in action on the edges everywhere!


The next layer up is white card embossed with the Tim Holtz Distressed Frame folder - and here's where my monochromatism started to get in trouble.

I just couldn't make it work in pure white... so I put some of the same ink onto the craft mat and, using a water brush, I added an extremely diluted wash of it onto the frame.  It really is almost white...


I've used the delectably delicate Madera Corner die from Memory Box and glued only in places so that you still get some extra dimensionality from the branches.


Between Serena and the Distressed Frame, there's a little paper doily and some frayed cheesecloth.


Those who know me and my work well will be able to imagine how hard it was to refrain from getting out the Vintage Photo - or at least the Antique Linen - to do some edging on the doily, but I decided to be firm with myself, and left it in pristine white.


I do like what I've ended up with... but I have to admit, I'm not quite sure whether it counts as white on white.  Having really enjoyed the challenge, though, I'm willing to give it another go, and see where it takes me next time!


Thank you so much for stopping by... I hope you've enjoyed my White Witch, and if she's now got you in her thrall too, hop over to The Stampsmith and have a look at all their beautiful stamps.  I promise you'll find plenty for your Christmas wishlist!


I'm entering this in Monochromatic White, using at least one Stampsmith stamp, over at The Stampsmith Challenge.

The first of all single colors is white ... We shall set down white for the representative of light, without which no color can be seen; yellow for the earth; green for water; blue for air; red for fire; and black for total darkness.
Leonardo Da Vinci

White...is not a mere absence of colour; it is a shining and affirmative thing, as fierce as red, as definite as black.
G.K.Chesterton

I used to be Snow White, but I drifted.
Mae West