I'm travelling into a new way of working, a new country, a new language, and a new hobby which I'm passionate about. Come with me for some of the journey...

Showing posts with label Treasure Gold. Show all posts

Monday, 5 October 2020

Caught in a Cobweb at Simon Says Stamp

Hello all!  I'm absolutely thrilled to be guest designing for the Simon Says Stamp Monday Challenge for the month of October.  It's always an honour and a pleasure to create alongside the extraordinary team of creative geniuses (genii?) there, and I'm so happy to be back (even if I am squeezing it in amidst moving house to a new country!).

We've got a great theme to kick of the month... Dry Embossing, with a focus on Tim Holtz products.  I have a lot of Tim's Texture Fades (his name for embossing folders), but I often forget to use them.  I need to make sure they are stored more accessibly when I set up my new craft space since I had so much creating fun with them for this XL tag.

Yes, I'm in the throes of packing up my life and my craft supplies ready to move across Europe, so these projects for Simon Says Stamp will probably amongst the last things I make in the old space.  (I do plan to keep some inks/tags/stamps accessible throughout the process... I can't be without the option to craft in between sorting, clearing and packing!)  And here's today's tag...

There's quite a lot of dry embossing going on here, but also plenty of crackle, plenty of ink, crayon, paint and shimmering wax, along with some autumnal gatherings and of course that tiny spider... nothing to be afraid of, right?


There was no doubt about my first choice given the time of year... it had to be the glorious Layered Leaf.  It comes as a set with a coordinating die and folder.  I created a background with Distress Inks and Oxides and cut and embossed the large leaf.


From the same background, I cut some of the smaller leaves from the Fall Foliage Thinlits, and then ran them through the Layered Leaf's embossing folder.  Of course the folder isn't sized for them, but I think it adds a nice bit of extra texture.

You can see I was already trying them out on the jumbo MDF tag (8.5 x 4.25 inches).


And with another subtler background I cut the Impresslits Leaf in both sizes several times.  This does the cutting and embossing all in one go as well as creating a 3D curve to the leaves.  Layered up together, I think they all look pretty good.


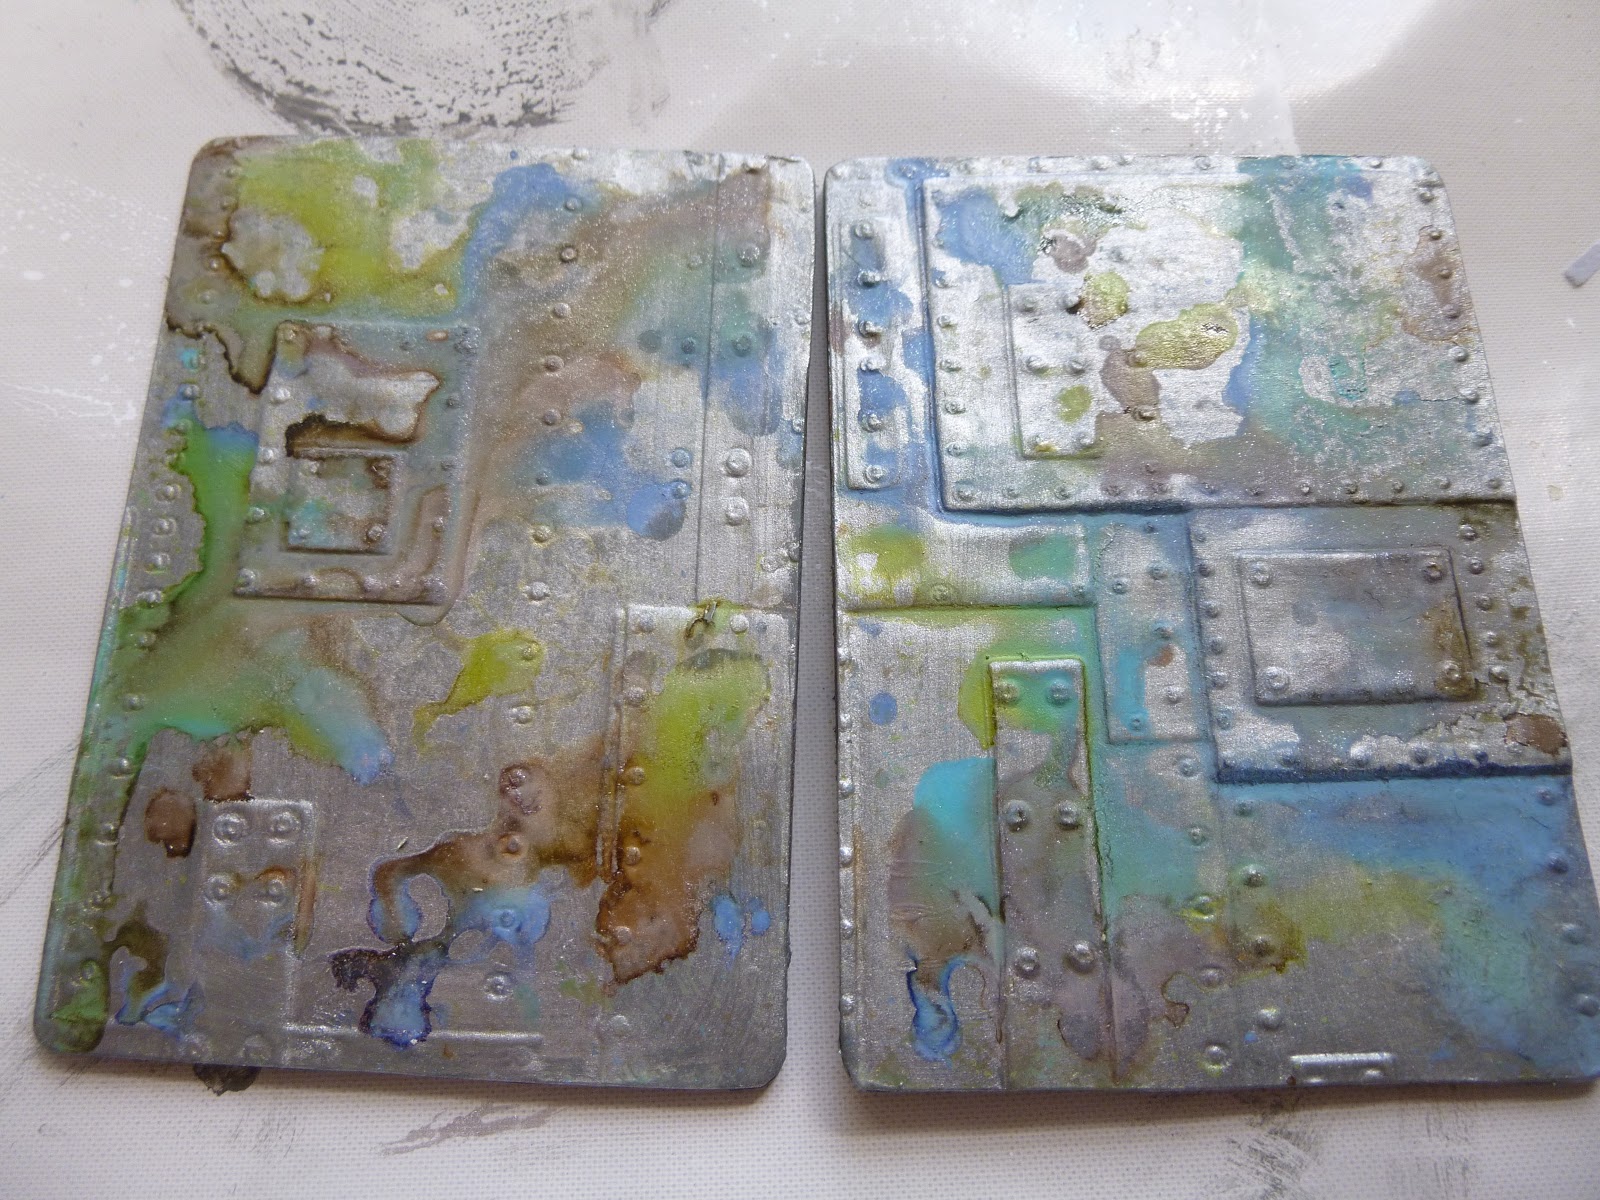
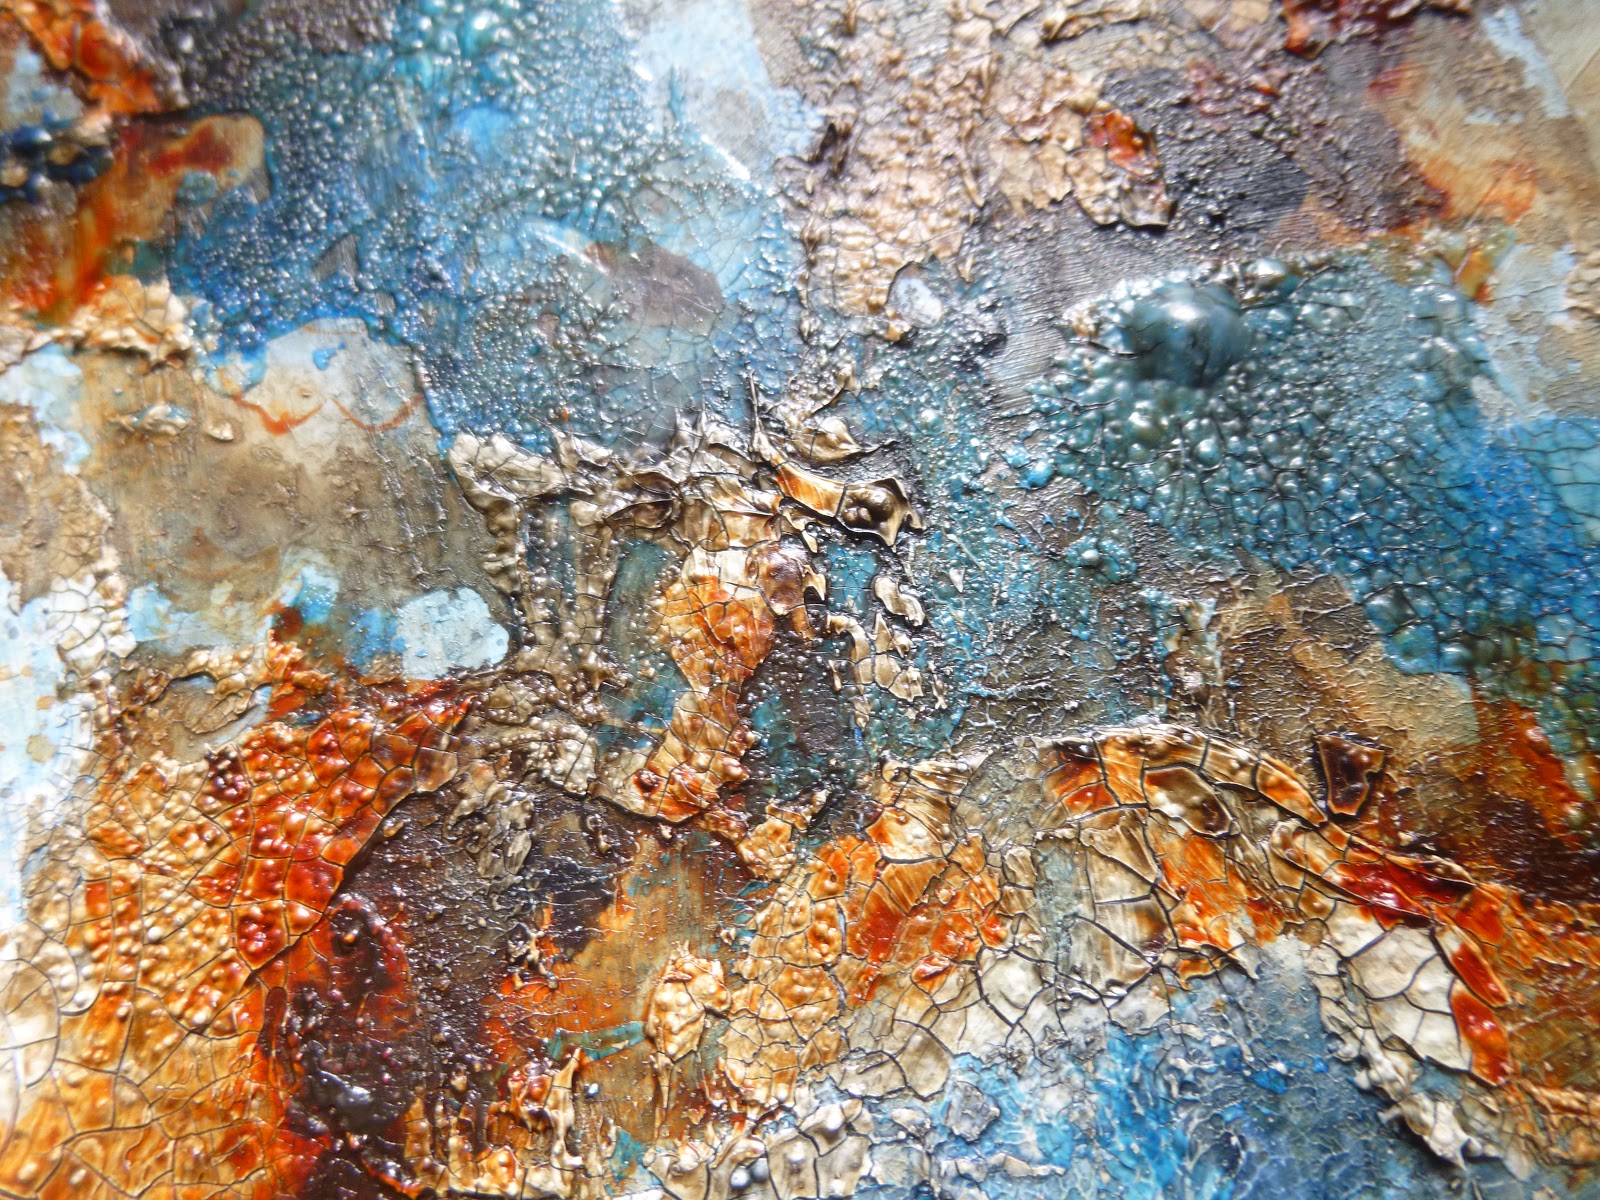
The other embossing folder getting in on the action is an oldie but a goodie... Tim Holtz's Cobwebs Texture Fade.  (A similar one is here.) I ran it through with some plain card and then scraped DecoArt Crackle Paint into the depressions and let it do its thing.


I realised too late that if I wanted it to blend into the background as though the cobweb were just hanging there in a crackled sky, then I should have glued it down to the MDF tag before putting on the crackle paint!


So I had to draw round it and then try and apply crackle paint to my background so that it would just slot in.

I thought you'd like to know that it's not always all plain sailing around here!  There's more trouble to come...


I'm not going to take you through the entire chapter of difficulties (with a functional Blogger I would, but with New Blogger I just haven't got the time to mess around #newbloggersucks).  Suffice to say that I ended up having to peel away my glued down cobweb, to find it left a slightly less dimensional version of itself, which I then re-added crackle to and started applying colour with Distress Sprays.


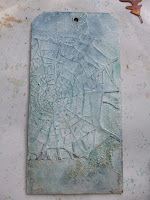
Trouble is because it wasn't as deep there's less of a crackle compared with on the MDF.  I'm also a bit disappointed at how no matter what colour medium I put on it seemed to fade to almost nothing... even the paint - what's that about?  It doesn't usually happen...


In any case, with all the layers of paint and ink and Treasure Gold which eventually got added, you can hardly see the crackle in the cobweb at all now!


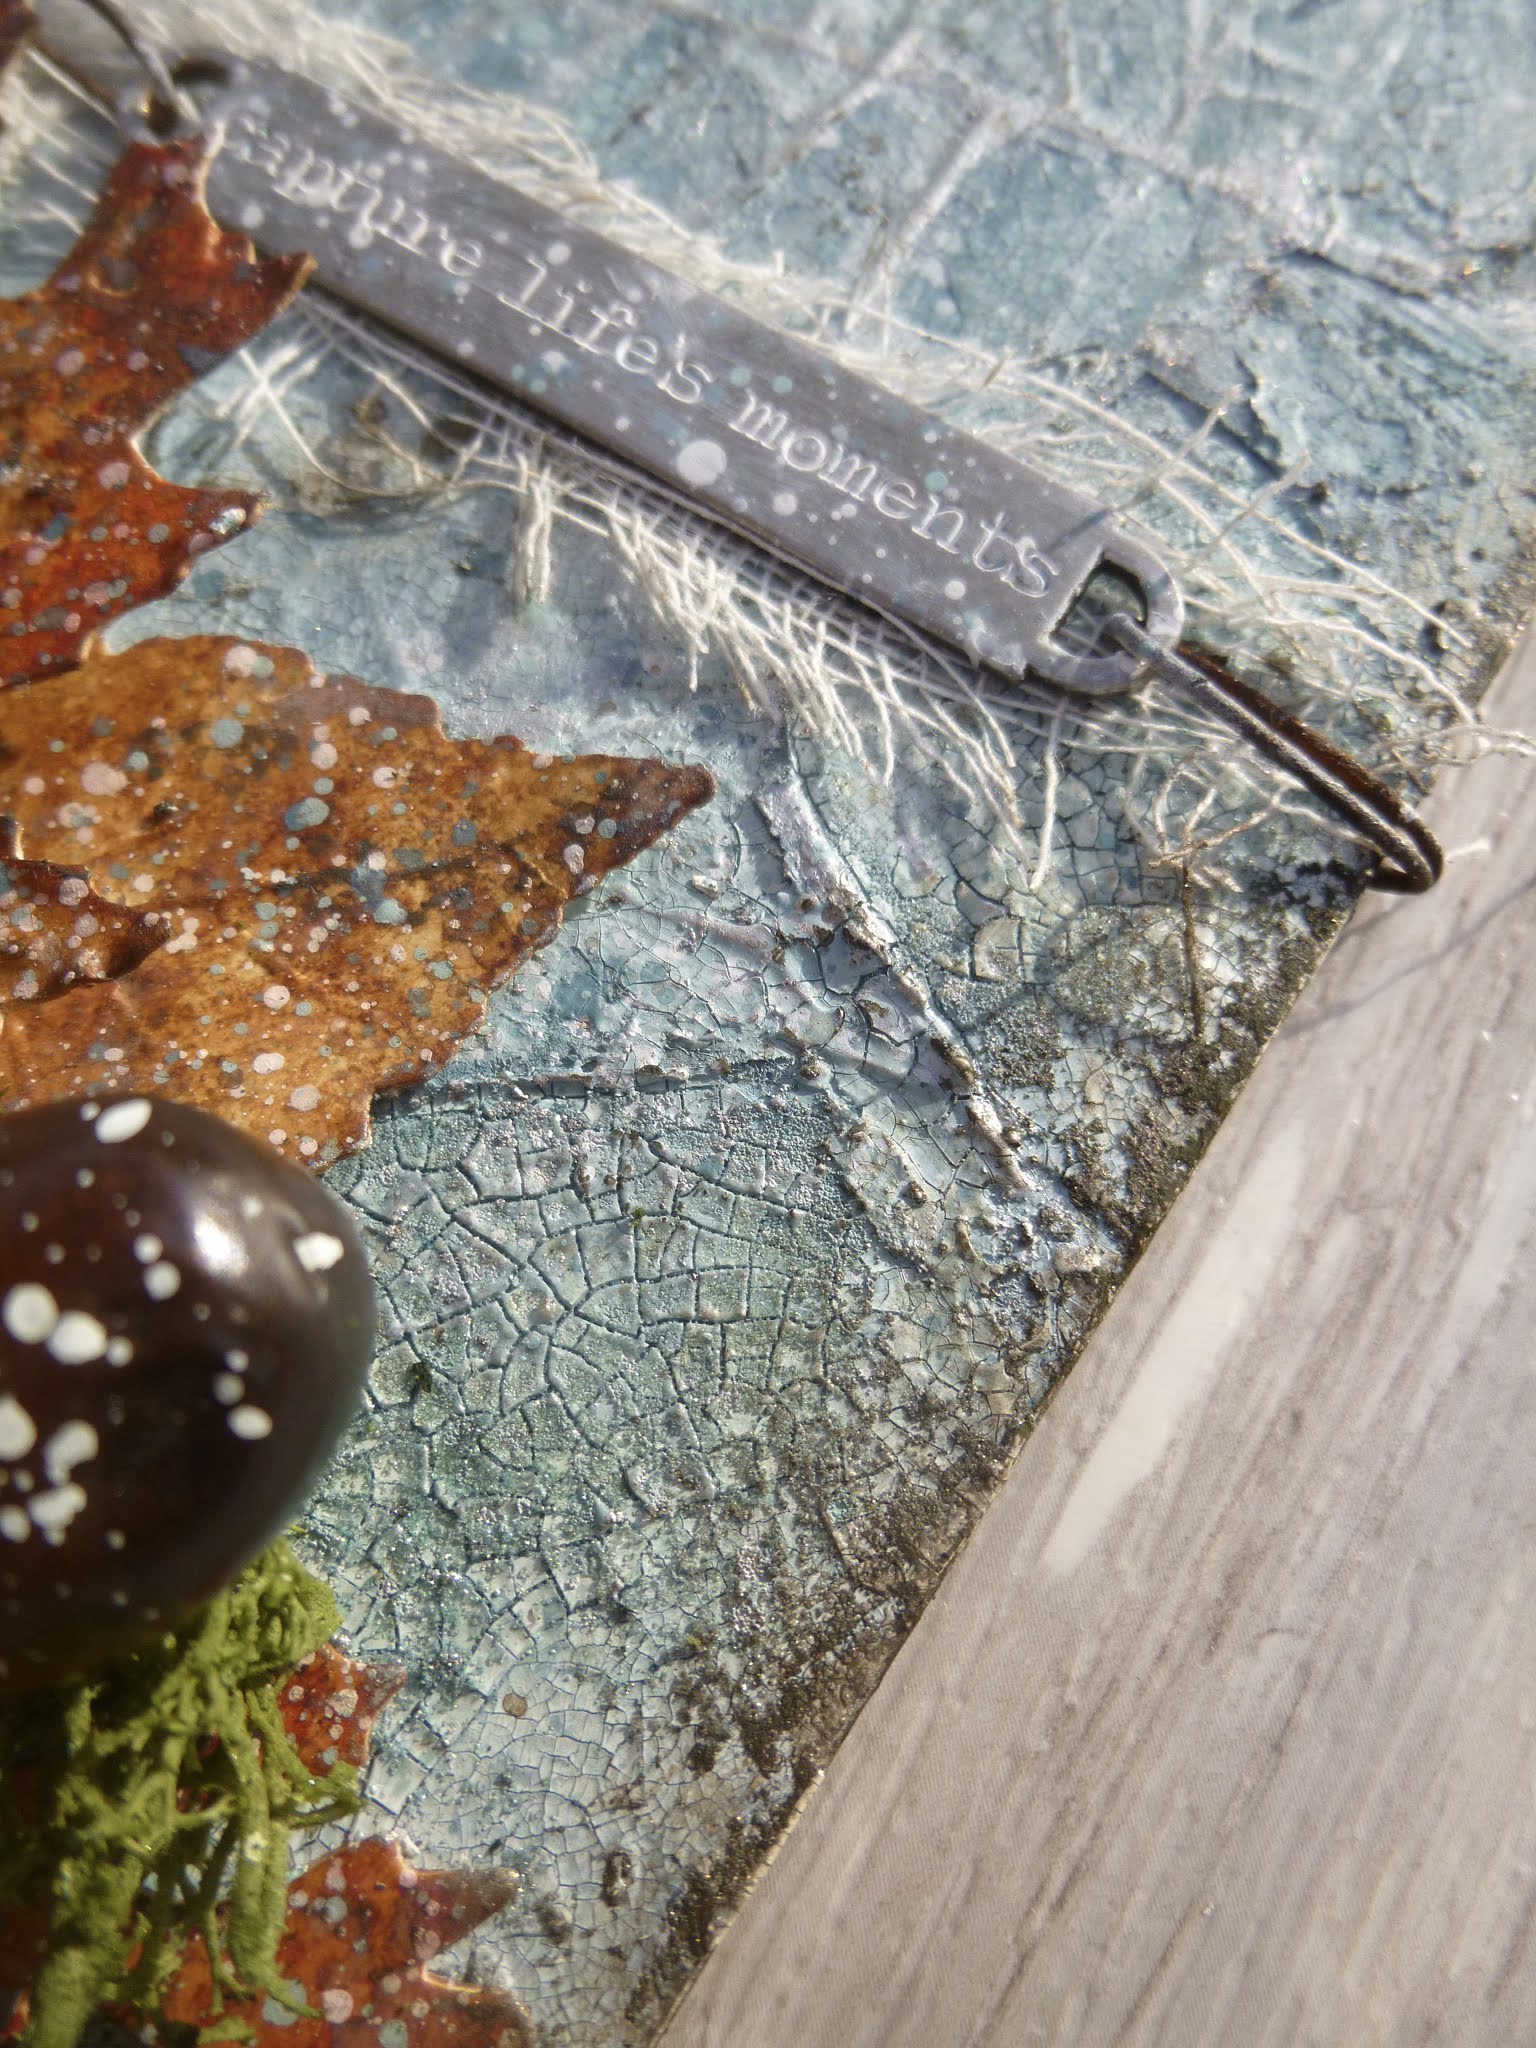
Ah well, it looks pretty darn cool around the outside of the cobweb at least... highlighted with Walnut Stain Distress Crayon, amongst others.


Yes, that crackle definitely makes me happy!  You can also see here the fine wire I silvered up to create a web for my Idea-ology spider to dangle from (again there's a similar one here) ...


... and here he is, right at the centre of the cobweb, waiting for his prey (or for you to walk through the trees and get the whole web caught in your hair - ugh!).


I used the pad of my fingertip to swipe on some Treasure Gold wax in Silver and in pewter to give the cobweb that lovely shimmer you sometimes see the fragile fibres get when the sunlight catches them.


At this time of year, I can rarely resist adding some pinecones and acorns when I get the chance, and since this is an MDF tag it can handle both the weight and the dimension.


I also tucked some moss in and around the leaves as I felt the tag needed a bit of green going on.


I'm sure you spotted the Idea-ology Word Band with some shredded Mummy Cloth adding some extra cobwebby texture behind it.  There's more of the cloth and more of the rusty wire at the top of the tag to finish it off.


So, overall, despite all the frustrations along the way, I ended up very happy with my autumnal tag - with the dry-embossed leaves and the spider at the heart of it, glistening on his silvery web. 


I hope you'll be inspired to come and play along at the Simon Says Stamp Monday Challenge.  If this isn't enough, there is of course phenomenal inspiration from the full-time Design Team there.

As ever, the team will be spotlighting some of their favourite entries at the end of the week, and of course there's that $25 voucher to spend at Simon Says Stamp for one lucky randomly drawn winner.

Thanks so much for stopping by today, and I'll see you again soon.  Happy crafting all!


Laws are like cobwebs, which may catch small flies, but let wasps and hornets break through.  Hah!
Jonathan Swift 

Truth is by nature self-evident. As soon as you remove the cobwebs of ignorance that surround it, it shines clear.  Double hah!
Mahatma Gandhi

I'd like to share this tag at Try It On Tuesday where the theme is Autumn Colours
And at the Funkie Junkie Boutique Blog they are looking for Fall Foliage

#newbloggersucks

Friday, 5 July 2019

Heavy Metal


Hello all!  Thank you so much for your lovely feedback on my little miniatures excursion Around the Fireplace at PaperArtsy.  We're back to regular crafting today with a new challenge starting at A Vintage Journey.

Our host, the amazing Amanda, would like us to do some metalwork for her theme Precious Metal.  You can go with the real thing with metallic embellishments, or create metal effects with paints, inks, mediums or anything else you can come up with.

As always, there's lots of inspiration from my fellow Creative Guides, which you should definitely check out, but before you go, here's my offering.

I've created a pair of heavy metal ATCs using Oxides, Fluid Acrylics, and Treasure Gold.  Not bad for some scraps of paper, eh?!


I'd been planning to try to stick to the "precious" part of the metal theme title, and go with some gleaming metals, but I found myself back in the world of rust again before I knew it.


I was pressed for time, so I decided to go small (not that small is always quick, as we know from the dollshouse work!).  Who hasn't got time for a couple of ATCs, especially when you've got some ready-to-go MDF ones from Calico Craft Parts waiting for you?


There was a leftover piece of embossed card, done with Tim's Foundry 3D Texture Fade, hanging around the craft table (you can see it's been scribbled and stamped on in the meantime), so I glued it down onto the ATCs and trimmed the edges.


Time to start with the mixed media layers... first of all a coat of DecoArt Dazzling Metallics in Dark Patina (hmm... photo missing, stoopid camera), and over that a good spritzing of Brushed Pewter Distress Spray.


I then dribbled some Distress Oxide Sprays onto the surface, just flicking them on from the bottom end of the tube of the unscrewed nozzle.


Next up, the DecoArt Fluid Acrylics, mainly Paynes Grey and Quinacridone Gold in different intensities and mixes.


After that, I did some drybrushing with the Dark Patina and added some Treasure Gold in Pewter with my fingertips to highlight the raised areas.

I kept going back and forth adding rust, colour or shimmer until I was happy.  They've also had some splatters of leftover Quin Gold from the craft mat, of course.


I really like the finished effect.  This is a look I may well want to re-create, so these reminder details are for me as much as they are for you!


The words are just some kraft ChitChat stickers which have had an extra burnishing with some more leftover Quin Gold paint.


There's also some shading with diluted Paynes Grey, and I used a fine-tipped black pen to outline them.


I added some simple twists of rusty wire...  Who can resist rusty wire?!


The positioning of the wire and some of the rustiest bits of "metal" was pure serendipity.


I didn't plan it in advance, but it's clear that the rusty wire has "caused" those particular bits of deep rusty texture!


I suppose maybe my subconscious was controlling my hands as I was wrapping the wire!


I have got a little bit of "precious" shimmer to my metal.


Treasure Gold always comes into its own when there's any texture to be found.


And I'm pretty happy with the blues and greens of my rusty patina...


... though of course some of those lovely inky edges and splotches got a bit smoothed out with the later applications of other media.


Because they're on the Calico ATCs, these have a really substantial feel to them...


... maybe not quite as heavy as actual heavy metal, but pleasingly chunky nonetheless.


Do check out the other Precious Metal projects over at A Vintage Journey - they're well worth stopping off for - and we hope you'll be inspired to come and join us somewhere down the road this month with your own metallic marvels.  Happy crafting all!

I were better to be eaten to death with a rust than to be scoured to nothing with perpetual motion.
Falstaff in Henry IV Part 2 by William Shakespeare

At the Simon Says Stamp Monday Challenge this week they would like you to Make Your Own Background - done!
At the Mix It Up Challenge they are playing Anything Goes with an Optional Twist of Foiling - I didn't get quite as far as foil, but since it's optional, I'll offer up my metallic pair there too

Wednesday, 26 June 2019

Wild and Organic

Hello all and welcome to a rusty post!  It's been a while since I got my rust on, but that old distressing itch took hold with this page.  (I mean the itch to weather and distress things, rather than a nasty rash, if you see what I mean!)


There are some more words from the Neal's Yard catalogue on this textural spread, so it's another chance to join in over at Art Journal Journey for Halle's Words To Live By theme.  


I recommend clicking on the photos for a close-up view of all the textures, but I'm not going to give you much in the way of a step-by-step, sorry.


That's partly because there aren't any process photos (I was too busy with the process itself), and partly because I don't really remember much about it.


I find that when you're in a state of flow you don't necessarily know much about what's going on.  You're just channelling it.


I know there's some tissue wrap buried somewhere under there on this 10 x 10 page...


... and blue Colorex ink deep down in the layers.


There's crackle, both paint and glaze, but both DecoArt, I think...


... and then plenty of paint - mainly DecoArt Media Fluid Acrylics, with Quinacridone Gold playing a major role.


I super-heated it in places...


... creating these glorious bubbles of texture.


And I've used some of the Rusty Patina made by Imagination Crafts...


... for the turquoise and aqua touches of extra texture along the cracks and fissures.


Here are those words from the catalogue.  I meant to use the dip pen and ink over the top of them, as I did with the Inspiring Herbs page, but I forgot.  And now I quite like them like this, not taking too much attention.


Any paint or medium left over on the craft mat got mopped up with a watery brush...


... and splattered across the page to create even more deliciousness.


I seem to remember adding a burnishing touch of Florentine Treasure Gold to highlight the textures even further.


And the whole thing has a really pleasing glimmering sheen which catches the light.


That's where I think I'll leave things for now, with a final close up of my favourite bubbles!


After all this wild, organic, rusty decay, the next post will take you somewhere far more tidy and controlled.


I hope you'll be able to drop in again for that at the weekend (especially if you're one of those people who enjoys the miniatures side of things) and, in the meantime, happy crafting all!

All things that have form eventually decay.
Masashi Kishimoto

I'd like to join in with Words To Live By over at Art Journal Journey
And I'll make this my third and final entry over at the Creative Artiste Challenge Blog where they are on their 50th Anything Mixed Media Goes theme