_______________________________________
Hello all, Alison here from Words and Pictures with a very extravagant card for you today. There are so many decorative elements to choose from in the Calico Craft Parts Corners, Flourishes & Ornaments section that you are really spoilt for choice when it comes to ornamentation. Plenty of influences at work here (a glance at my "cards I love" Pinterest board will give you some of the main ones), but also a determination to use some of my long-hoarded "pretty things" in my craft stash. I've got plenty of photos for you, so grab a coffee, sit back and enjoy the ride!

It started with some very basic layered panels and one of the wonderful new Corner Wood Shapes in two different sizes. I definitely took some photos at this earliest stage but, again, my camera seems to have been playing up and they haven't materialised.

Basically, it's a square kraft card, with a couple of layers of patterned paper shabbily die-cut, and finally another kraft panel on the top for the sentiment. The large Leafy Vine Wood Corner was the perfect size for the main card background, and the smaller one was just right for the sentiment panel.

I applied rough coats of gesso to all the layers, and applied some embossing powders to the Leafy Vine Wood Corners. It's mainly white embossing powder, but I added some sprinkles of blue and green too. This is the earliest process photo I've got, and here I've already started adding extra goodies and a touch of paint for colour.

Once I started adding more stuff, I couldn't stop!

A couple more Flourish pieces made their way on - these are all fragments from larger pieces - perfect for tucking in between layers...

... or for adding just a little more ornamental detail in places.

The main corner flourishes have benefitted from some of the spritzing and spraying that I did over the basic gesso and paint layers.

I love how the inks have pooled on the embossed curlicues and ornamentation...

... and the contrast of the slightly glossy dimension with the rougher painted layers on the other flourishes.

The metal flower has also had a coating of gesso and then paint and ink-spritzed added over the top.

Mostly, I managed to keep my paper flowers nice and white to provide some contrast.
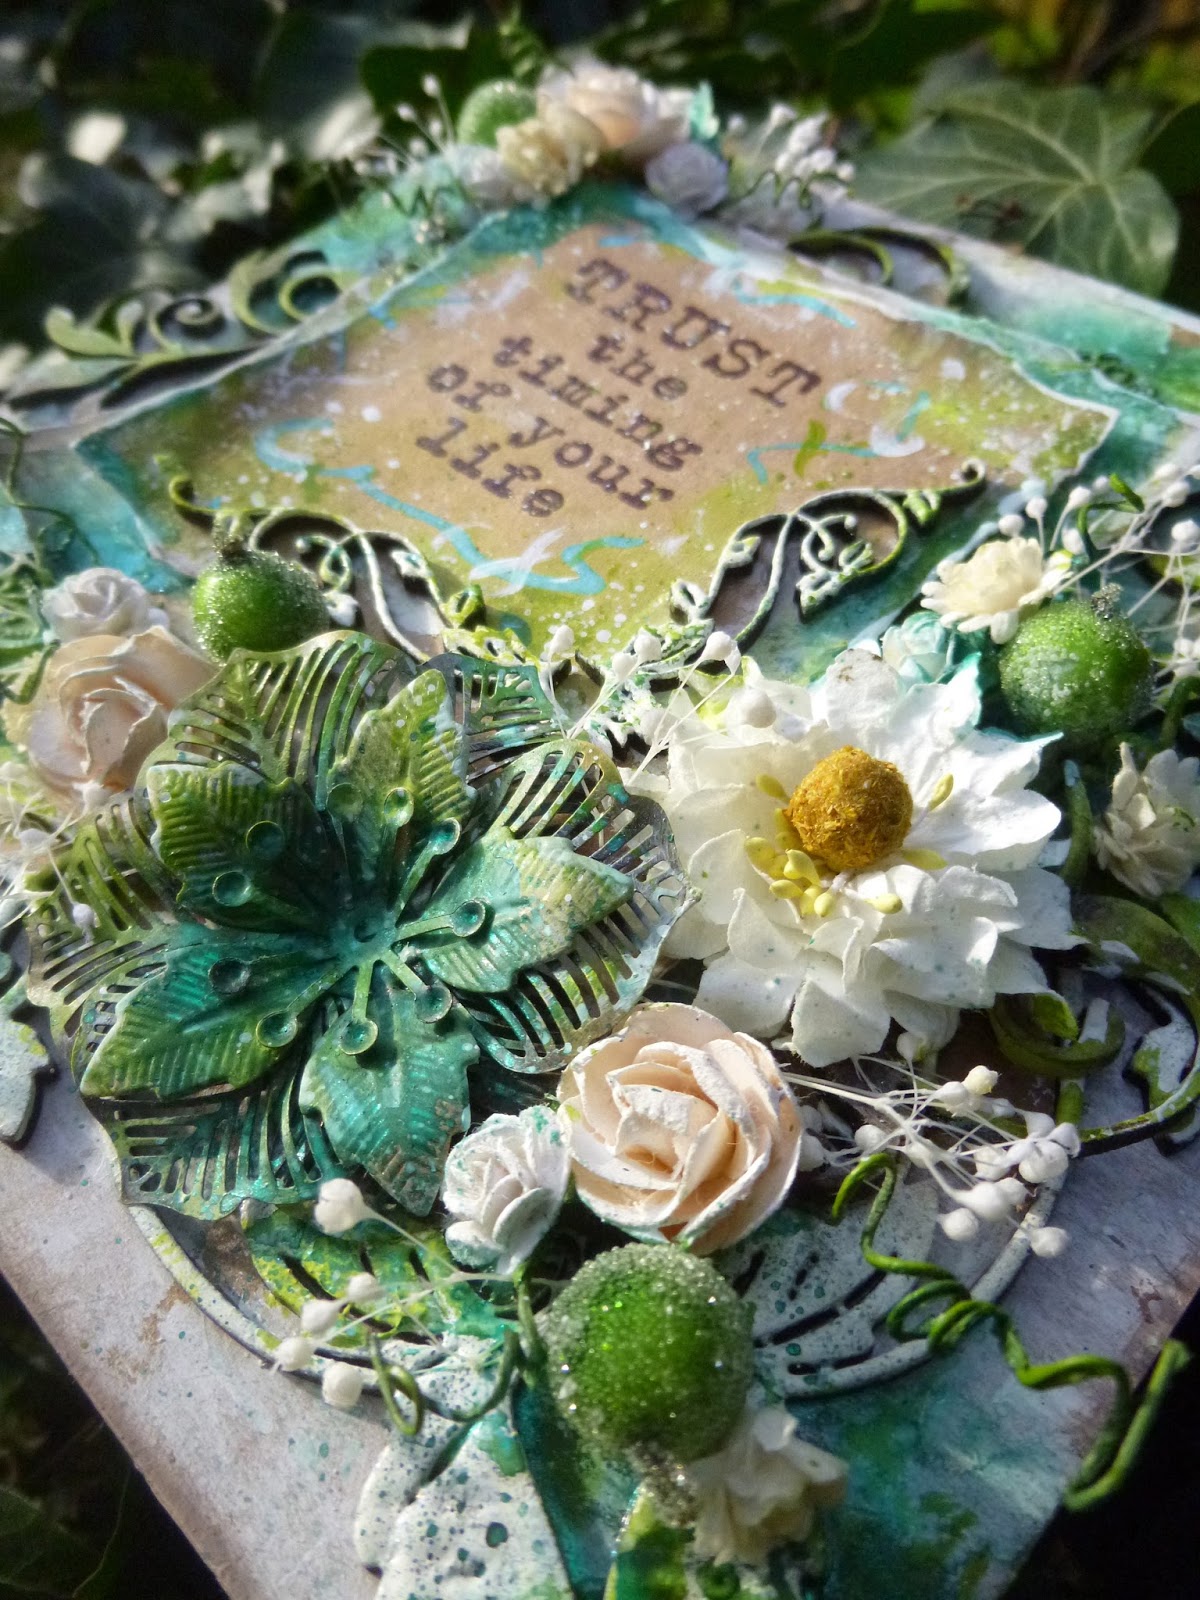
I love the extra fun of the curly wires from the flowers coming out in all directions.
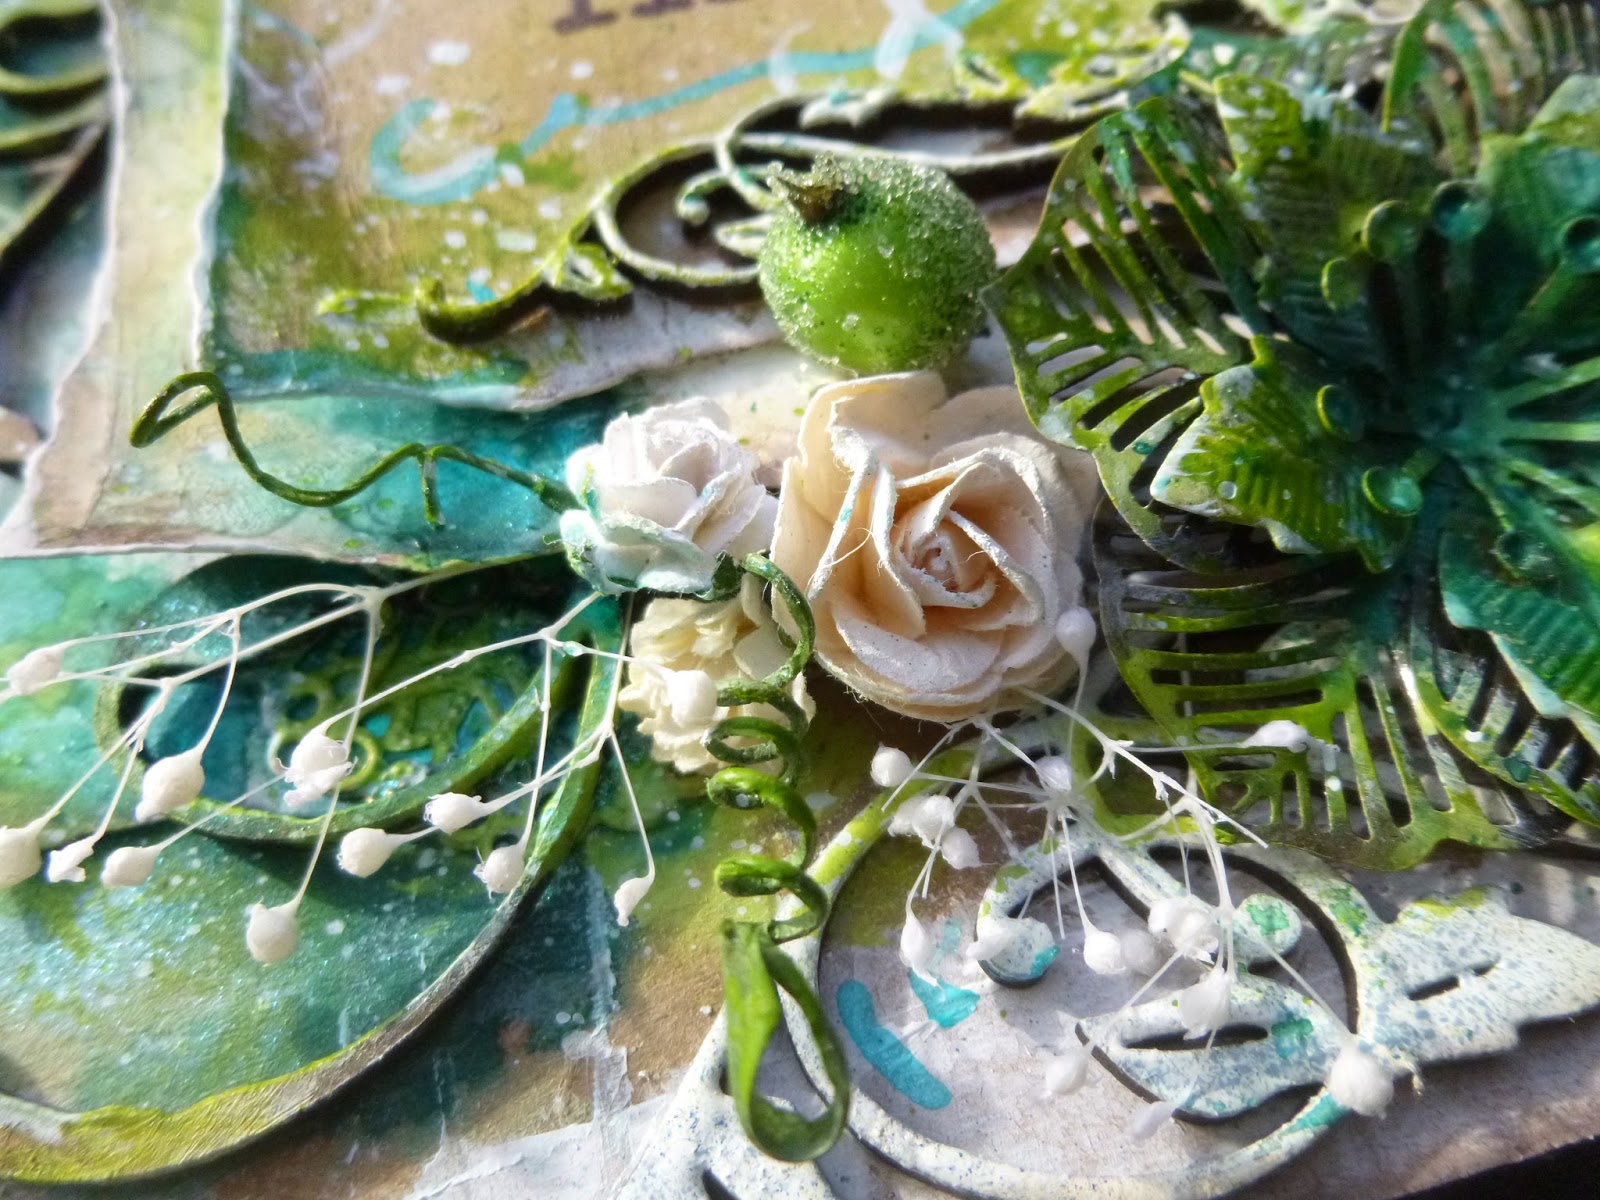
The berries had their stems cut off because they were a bit too thick and unwieldy...

... but I love the touch of glittery sparkle which they bring to the card. When I go full on, I go full on!

You may well recognise the delicate flower sprays which are dotted here and there.

They were on my recent Imagine Simplicity tag - I said it was ironic that that tag grew from such an extravagant creation as this!

There are also some filigree metal pieces layered between the panels. I think they provide a good contrast to the organic flow of the flowers and flourishes by echoing the more formal decorative style of the corner pieces.

And I love all the inky painty layers and edging to make the panels pop.

A few words in the centre of things, surrounded by inky scribbles, and we're pretty much there.

I hope you like this excursion into flourishing florals. Alongside my exploration of simplicity, I have a feeling there might be more explosions into full on extravaganzas like this on the side. When the sun comes out, this just makes me really happy.

_________________________________
The whole point of extravagance is to act like a fool and feel like a fool, but enjoy it.
Alfred Bester
Encore Posts
Projects which made their first appearances elsewhere for Design Team duties or Guest Designer opportunities, but which only had a sneak peek here, are being gathered together in the pages of my virtual scrapbook while I'm away.
As always, the Encore Posts are formatted differently from the regular ones, so that you can easily spot them. Please don't feel that you have to comment all over again!