I'm travelling into a new way of working, a new country, a new language, and a new hobby which I'm passionate about. Come with me for some of the journey...

Showing posts with label crackle paint. Show all posts

Monday, 24 October 2022

Rusty Rosehips

Hello all, I'm here to share some Rusty Rosehips with you today.  These tags have so many of my favourite things... nature at her finest, rusty wire and plenty of crackle and weathering!

I mounted my tags - cut with a Tim Holtz die from some plain card - onto some stiff waste cardboard before I started, so that they wouldn't curl up once the crackle paste started doing its thing.

And I kept things nice and messy around the edges as I was spreading the paste on, so that you get all those nice distressed edges.

The rosehips are from my PaperArtsy botanical stamps - EAB26 Rosehips Edition.

I had a glorious time painting them.  Look at this array of rainbow colours of PaperArtsy Fresco paint... not my usual jam, but it was such fun using them!

I generally put a dot of each paint onto the craft mat, spritz it with a bit of water and then use a water brush to apply the paint.  So really it's a kind of "watercolouring" even though it's using acrylic paint.  The watery technique gives me the ability to get a really subtle application...

... and to add layers of colour, even when the paints are opaque rather than translucent (PaperArtsy has some of each in their line-up, and semi-translucent paints too - worth keeping an eye on which type you're playing with).  The blue sky behind provides contrast to make those berries really pop!

I created some especially rusted bits of weathered crackle where I wanted to wind my rusty wire around the tags.  DecoArt's Quinacridone Gold, Raw Umber and Payne's Grey Fluid Media Acrylics do a grand job of rustiness.

And I added an Idea-ology Muse Token to each wire, keeping the words to a minimum on these tags. 

Actually, if you look closely, you'll see there are quite a lot of words.  There's text detail going on over the crackle background, as well as the Latin name for the rose (all also from the same stamp plate).

So I hope you like that quick tour of these rusted, crusted, crackled tags, with the glowing rosehips at the heart of them.

The to-do list in the garden to get ready for winter seems to keep getting longer rather than shorter, and there's some very big stuff going on behind the scenes at the moment... watch this space on Thursday, that's all I'll say!  Do hope all is well with all of you and I'll see you again soon.  Thanks for stopping by and happy crafting, all!

It is the time you have spent on your rose that makes her so important.

From The Little Prince by Antoine de Saint-Exupéry


Tuesday, 2 March 2021

More backgrounds in progress

 Hello all... it's still slow-going here.  As soon as the floors go down and there are some unpacking/organising the craft room pictures, I'll be sharing those, but for now here are some more inky backgrounds in progress.  

They're a combination of springtime colours and an ongoing wintry feel... They were made before Christmas (sorry - see I told you it was slow-going around here!) but this is exactly what the weather is doing here at the moment.

We had a wonderful week of sunshine and warm temperatures, but now we're back to freezing fog this morning and there's snow forecast again later in the week.

Ah well, I did know that spring would be later coming here in Central Europe, but it's still a little sad to experience it for real.

Still, the fog adds a touch of mystery to the landscape, and the birds are extra grateful for the food I'm putting out.

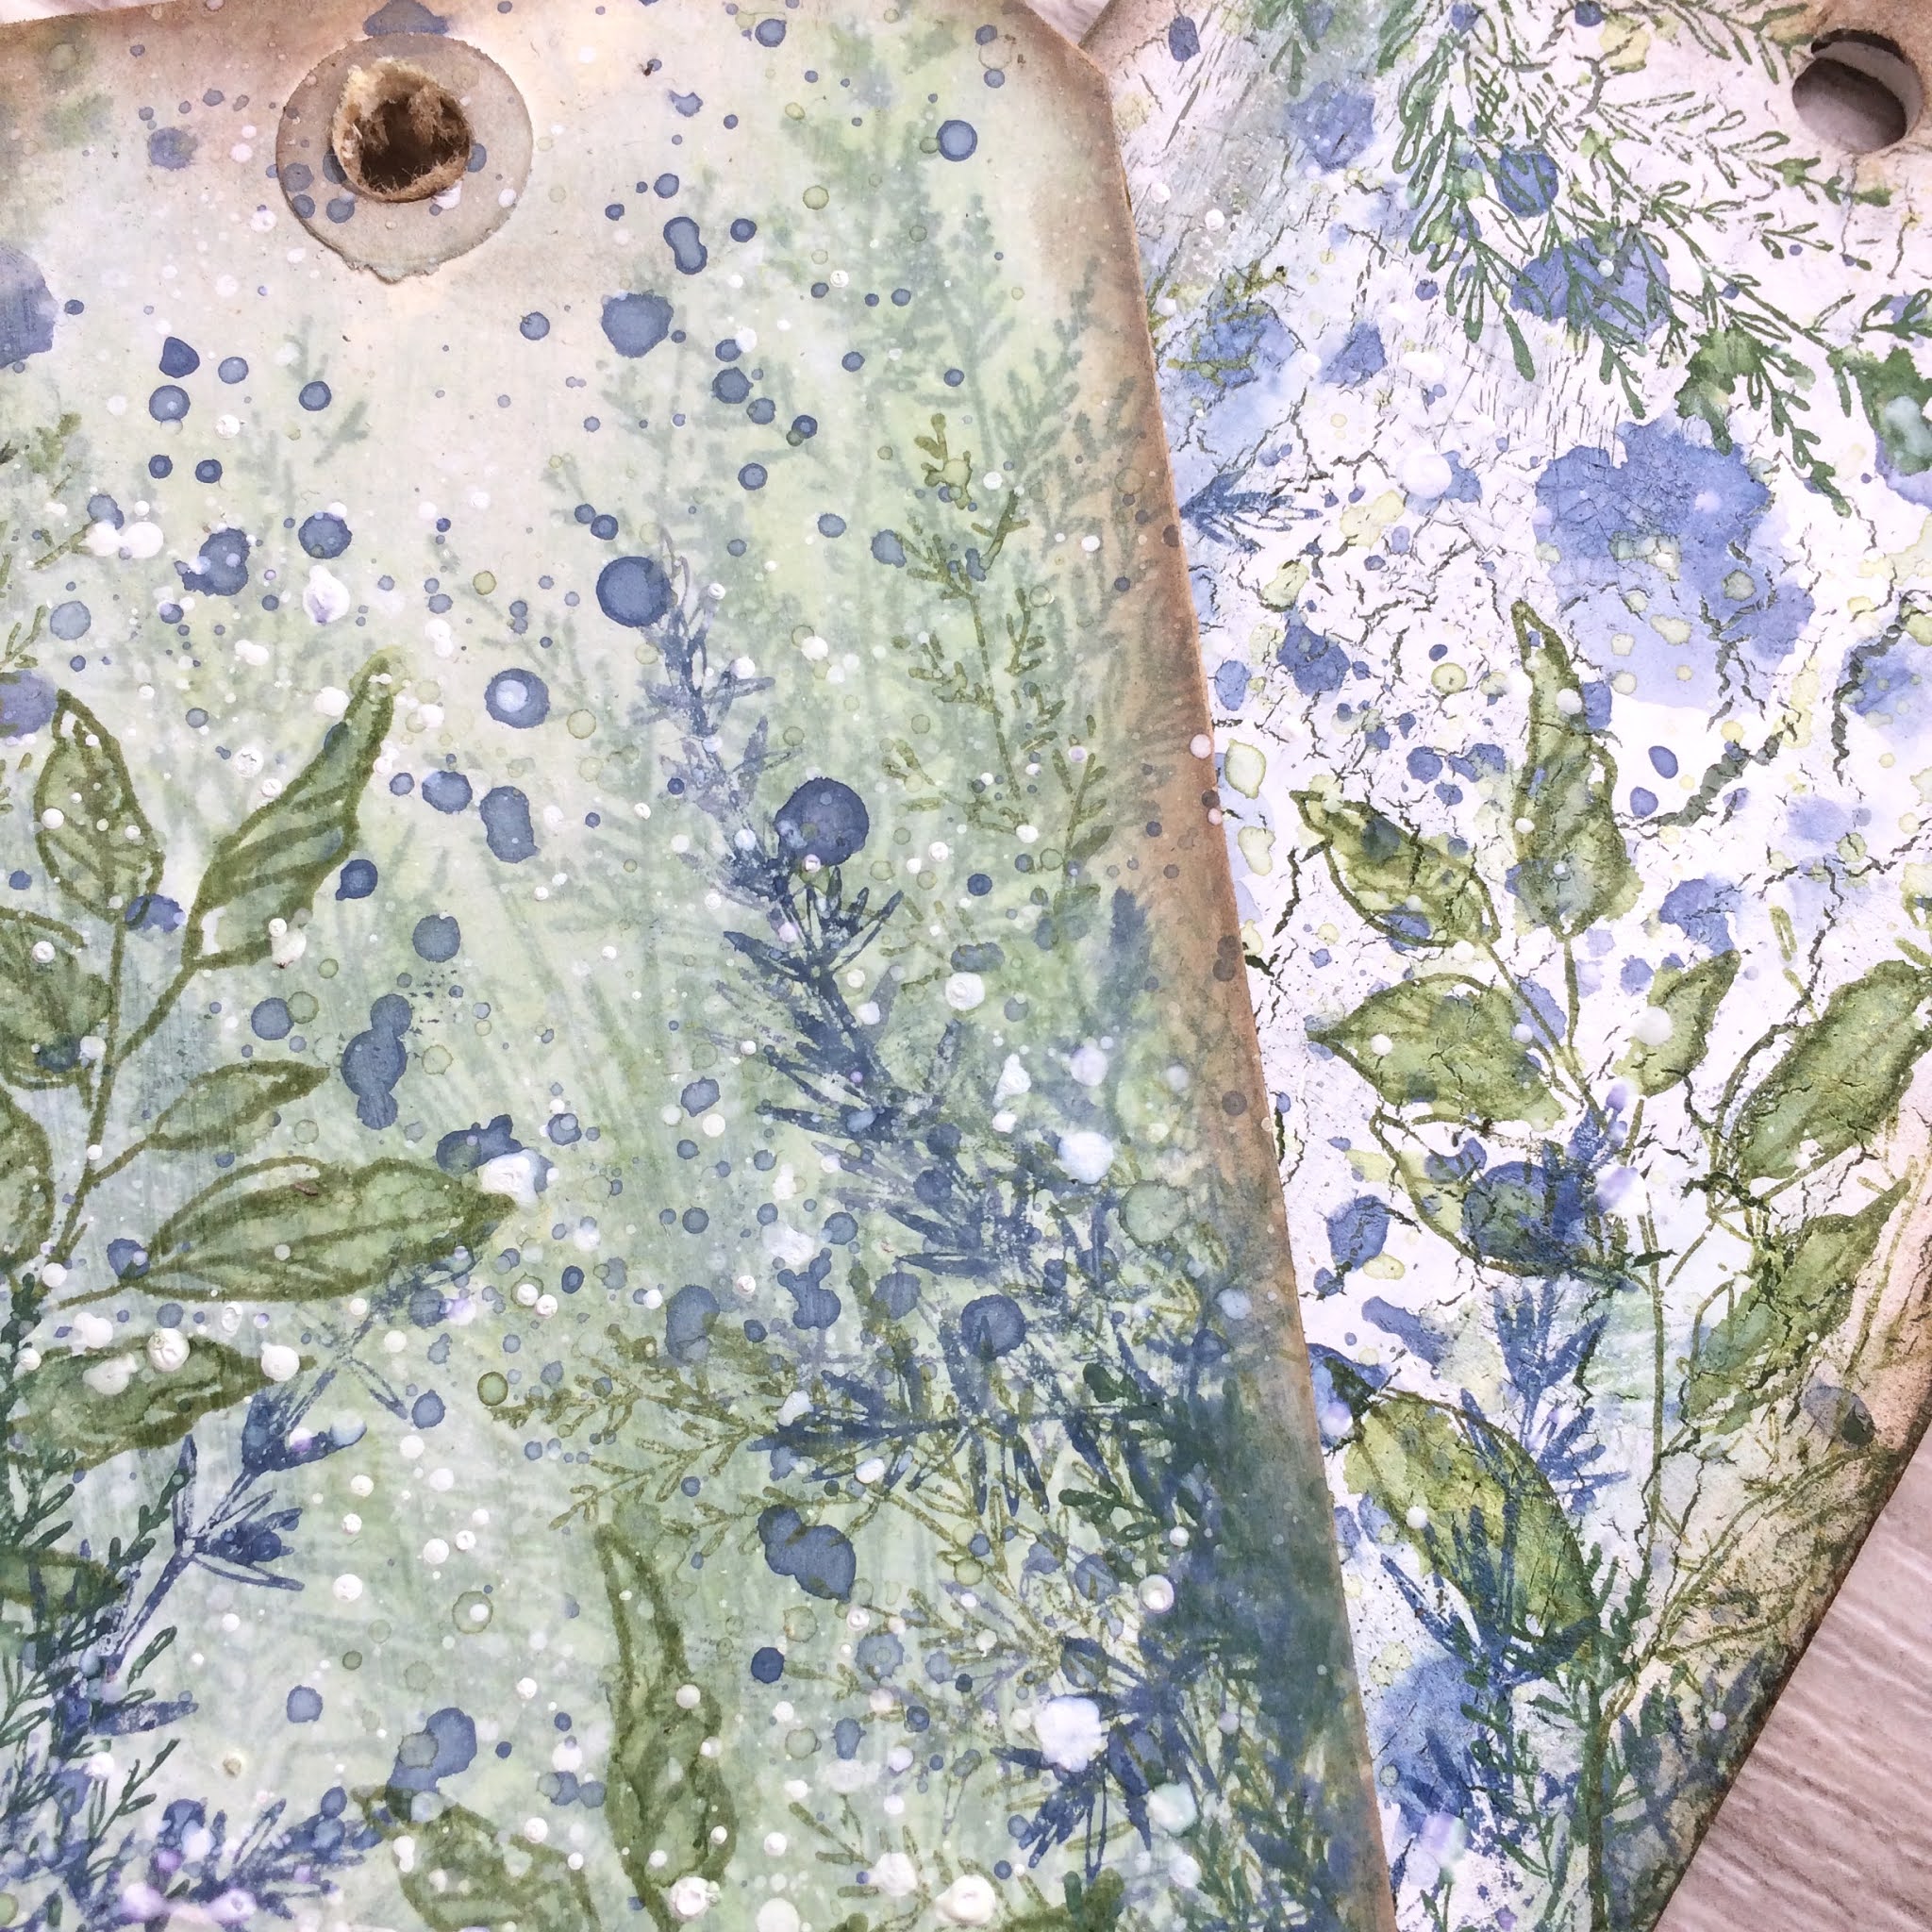
For those who want to know a bit about what I used here... one tag has a PaperArtsy crackle background (Snowflake over Crackle Glaze over something dark... don't know what any longer I'm afraid!) and some inky splodges of Stormy Sky and Chipped Sapphire Distress Oxide (and maybe other Inks and Oxides too).

The other has a soft smooshing of, I think, Speckled Egg and Rustic Wilderness over a white painted background, with Stormy Sky and Faded Jeans splodges over the top (there may be some Faded Jeans in both tags, come to think of it).

Then all the stamping is greenery from Tim Holtz's Sketch Greenery stamp plate - which I was lucky enough to win as part of a wonderful goody package from Tim and Mario.

The greens involved are Olive and Leaf Green Archival, tinted with Rustic Wilderness and Peeled Paint Inks and Oxides, and I think there's some Faded Jeans and Speckled Egg stamping too.

I hope you like them.  One has already made its way onto a card, and I'm sure I took some pictures, but at the moment I can't find a photograph of it.  The other is still waiting for some finishing inspiration to strike (and has joined the pile of backgrounds waiting for the same thing!).

I hope you're all doing okay, and I'm looking forward to spending a bit of time catching up with you again soon.

If we had no winter, the spring would not be so pleasant: if we did not sometimes taste of adversity, prosperity would not be so welcome.
Anne Bradstreet

To be interested in the changing seasons is a happier state of mind than to be hopelessly in love with spring.
George Santayana

Saturday, 29 August 2020

Encore - Calico Flourishing Butterflies

Here's a blast from the past - a project for Calico Craft Parts from all the way back in June 2015.  There's a wealth of different crackle products in the background, and I had a lovely time adding colour with sprays - something I don't do very often.  It's a slightly different vibe from some of my creations, but you'll recognise the colours and of course my passion for crackle!  Here's what I wrote back then...  (Oh, and if you're not sure what an Encore post is about, you'll find the explanation at the end of the post.)
_____________________________

Hello everyone, Alison here from Words and Pictures, and I've brought along some Flourishing Butterflies to share with you today.


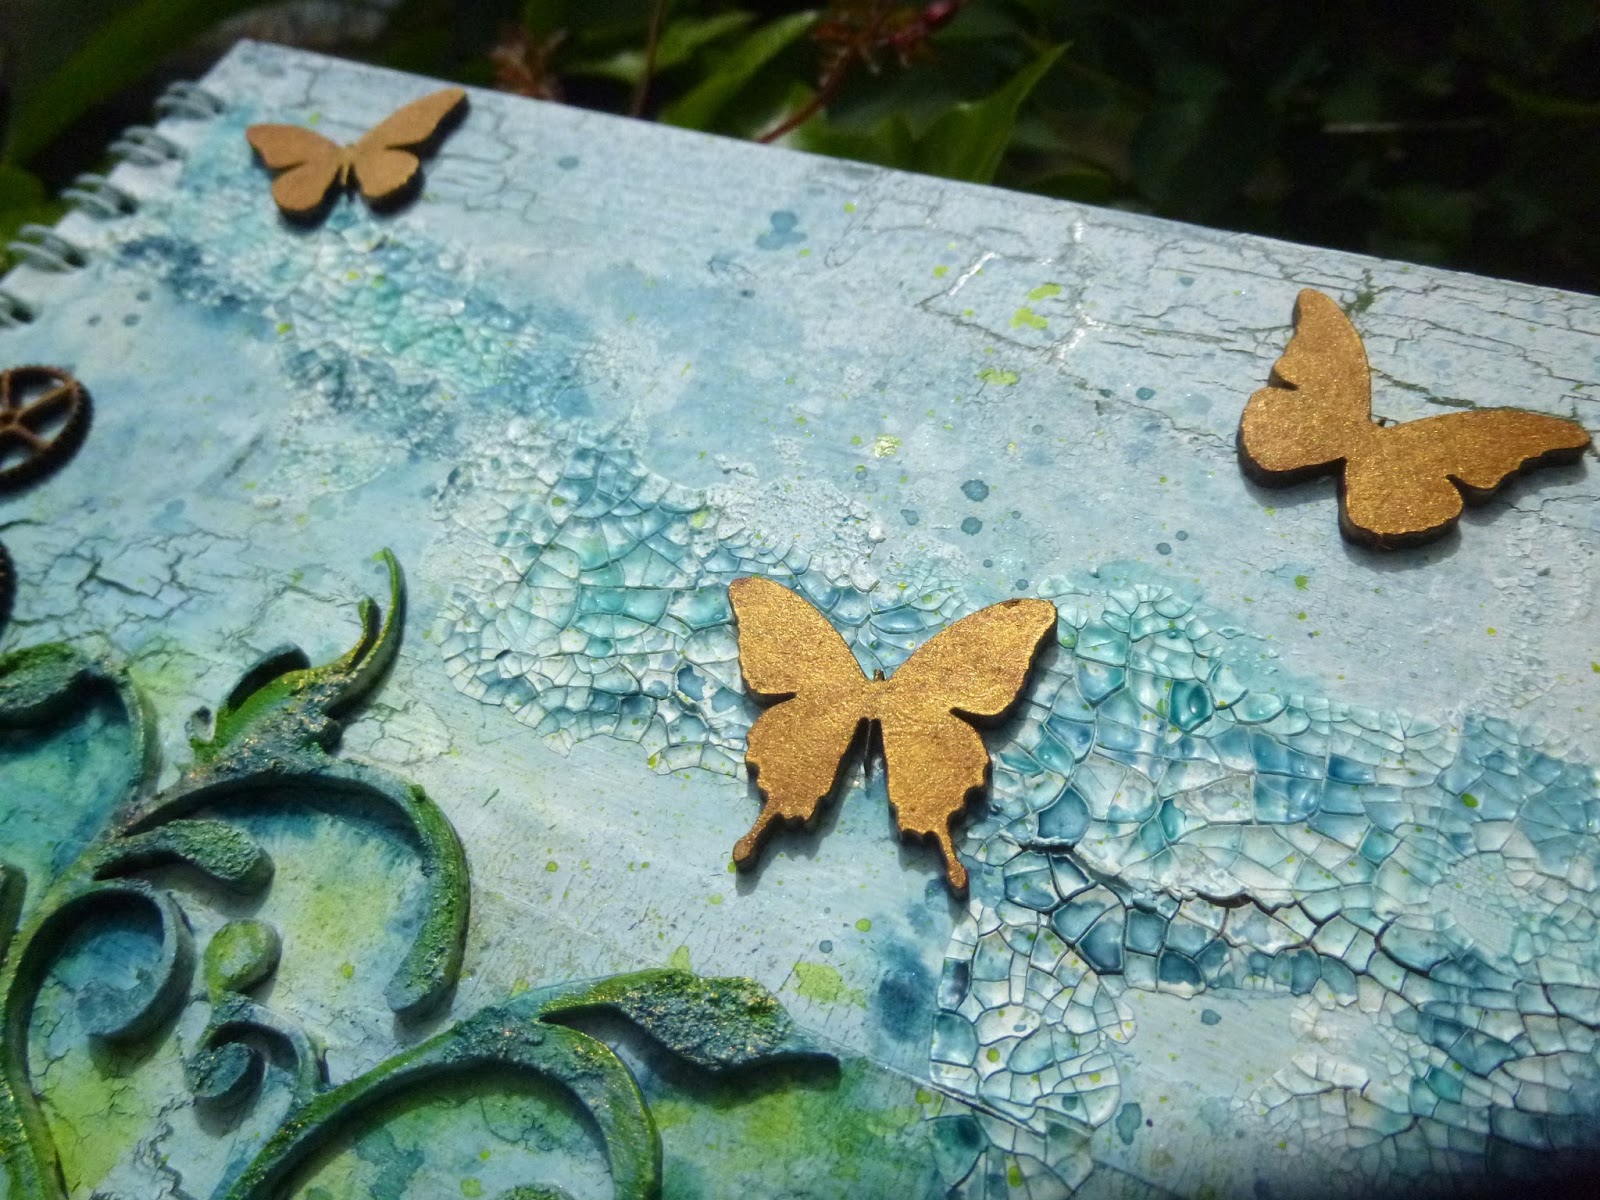
What I mean by that is that I've been playing with the fabulous Mini Butterflies again, as well as some of the scrumptious Mini Cogs, and they're all nestled around one of the glorious ornate Flourishes now available to create an altered notebook cover which, I will confess, I'm rather in love with!


I played with the layout first of all - you'll notice I ended up with fewer butterflies in the end.


I had a lovely time creating the background - book pages, masking tape and various layers of gesso and crackle mediums are at the heart of it.


I also applied texture paste and gesso to the large flourish before gluing it in place.  I added the metal flowers and filigree pieces, and gesso'd all of it.


I decided I needed a bit of extra crackle texture, so I applied that and let it dry before going on to the next stage.


Ah yes, the next stage - lots of spritzing inky colour over and around it all - such fun.


As well as spraying on inky colour, I also used a paintbrush to apply paint (shockingly conventional, I know) to intensify the colour in places.


That also gave me a bit more control in deciding where and how much colour I was applying to the flourish, the flowers and the crackled "sky".


Both the butterflies and the cogs have been given a touch of golden shimmer using some iridescent gold paint - Interference Gold, which changes as it catches the light.


I've used some of the same stuff to add highlights and gilding on the flourish texture and the metal elements too.


The butterflies gleam as they catch the light...


... and the cogs add a little hint of Steampunk glamour...


(... or should that be Glampunk? - something I explored with one of my first ever posts for Calico way back when - my Glampunk Birdhouse!!)


I love how they glow amongst the other elements.


There are spots and splatters of ink to add extra detail, all in colours to complement the main colours on the flourish.


I quite often leave my Calico Craft Parts "naked" as I find them so beautiful, but as you've seen in my last couple of projects, they're also fabulous when altered, and so much fun to play with!


So there's my notebook cover for you - I hope you like it.  See you again soon.

________________________________

There you have it.  I hope you've enjoyed this little wander down memory lane.  I still have lots of these fabulous flourishes in my stash.  I must dig them out when I get home (or make sure they're near the top of my packing when I pack up to move house!).  I hope you all have a wonderful weekend, and I'll see you again soon.  Stay safe, stay well and happy crafting all.

Nothing is ever really lost to us as long as we remember it.
L. M. Montgomery

Encore Posts
Projects which made their first appearances elsewhere for Design Team duties or Guest Designer opportunities, but which only had a sneak peek here, are being gathered together in the pages of my virtual scrapbook while I'm busy.
As always, the Encore Posts are formatted differently from the regular ones, so that you can easily spot them.  For some of you they will be new, but if you've seen them before, please don't feel that you have to comment all over again!

Wednesday, 26 August 2020

Washi Wings


Hello all!  There's been a shift in perspectives here at Words and Pictures. I've been spending less time at the computer and more time actually at the craft table... all of which means there's a backlog of tags to share with you here on the blog. 

Since I'm working with a travelling stash at the moment (albeit a largeish one), there are certain limitations on what I can do, but I've found those limitations liberating.

The other thing which has given a much-needed kick to my mojo is the arrival of Speckled Egg as the new Distress Colour (well, it was new - the next new one is being announced later today!).

This particular tag was also inspired by the arrival of some glorious new washi tapes from Paper Garden, a Finnish shop I discovered via Instagram... well worth checking out.


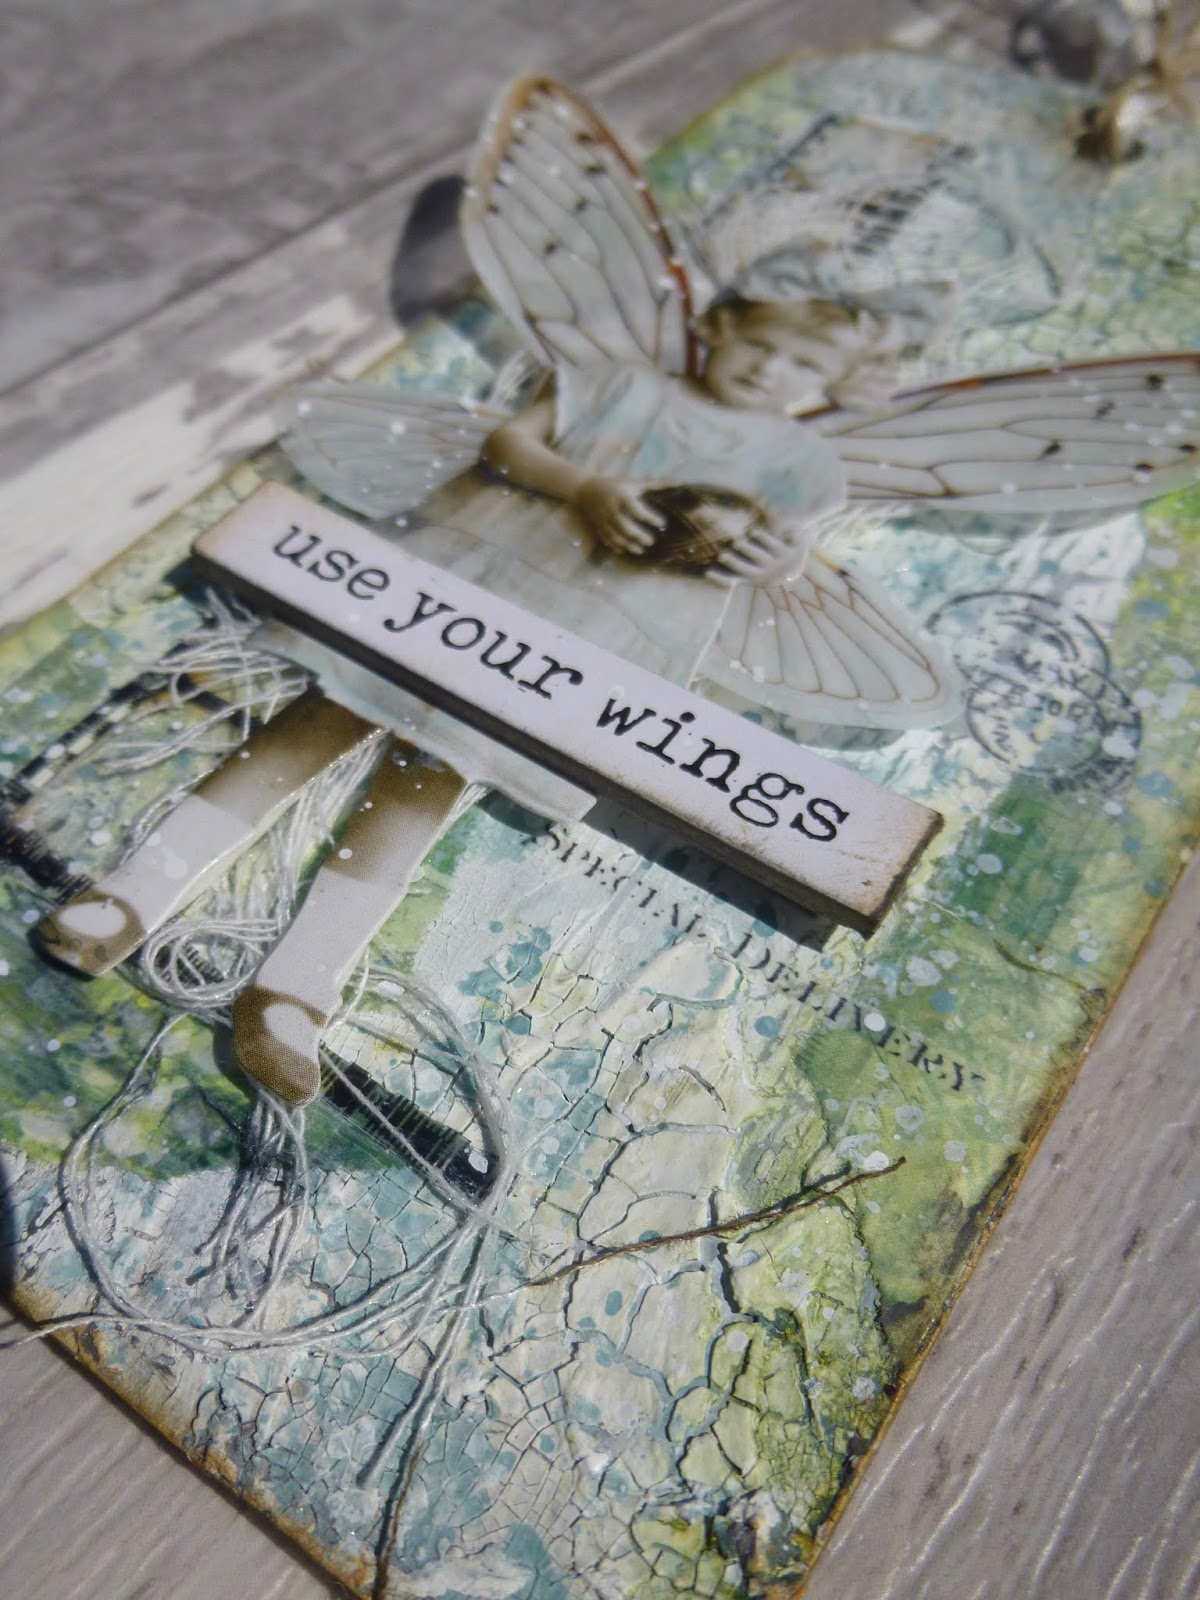
This all happened on an MDF tag because I knew I wanted lots of crackle going on.  In fact, there are two different kinds of crackle here - a two-step weathered paint crackle glaze and some crackle paste simply spread on and left to do its stuff.


Next step, the addition of the washi tape.  This one is a very broad tape, so even torn in two it provides a lovely edging to the tag.  I added some Speckled Egg Distress Paint and spritzed with water to let it trickle into all the cracks and crevices.


That's enough to make me happy!  In fact, at the moment I am having a ball with backgrounds and then struggling a little to work out what goes on top.


Not having any die-cuts available is often frustrating (I'm particularly missing my Wildflower Stems!), and often I'll know exactly what I'd like to put on the tag... only it's not with me here, it's at home in the full stash!


The Paper Dolls have been putting in plenty of appearances as a result - even more than usual.


This little girl got some magical wings to go with her magical garden background.


And an Idea-ology Quote Chip provides the advice.


I've become fairly obsessed with the acetate Film Strip too - it provides good structure or architectural bones for a collage (something I exploited on my Winter Journalling last December, if you remember).


And some Remnant Rubs made their way onto this one, encouraged by that black edging to the film strip.

I'm generally pretty wary of black on projects.  It always feels very full-on to me.  I almost never stamp in black, which I realise is pretty unusual!


But in a balancing act with all those deep cracks, the film strip, and the words on the Quote Chip, I was willing to allow a little more black into the mix with the rub-ons too.


However, I will confess I brushed over them with a wash of gesso to knock them back a bit!

I particularly like the "Special Delivery" one, tucked just below the Quote Chip.


There's some fine twine at the top along with a ribbon which was cut out of the shoulder seam of a top (one of those loops that's meant to help the clothes stop falling off the hanger, but I never use them).


I hope you like the magical garden on this crackled tag and the little girl getting ready to use her Washi Wings.


Thanks so much for stopping by.

I'm aiming to fit in some blog-visiting, but I'm so enjoying having some creative mojo again that I may continue to prioritise the craft table while it's here!!

Stay safe, stay well and happy crafting all.

If you were born without wings, do nothing to prevent them from growing.
Coco Chanel