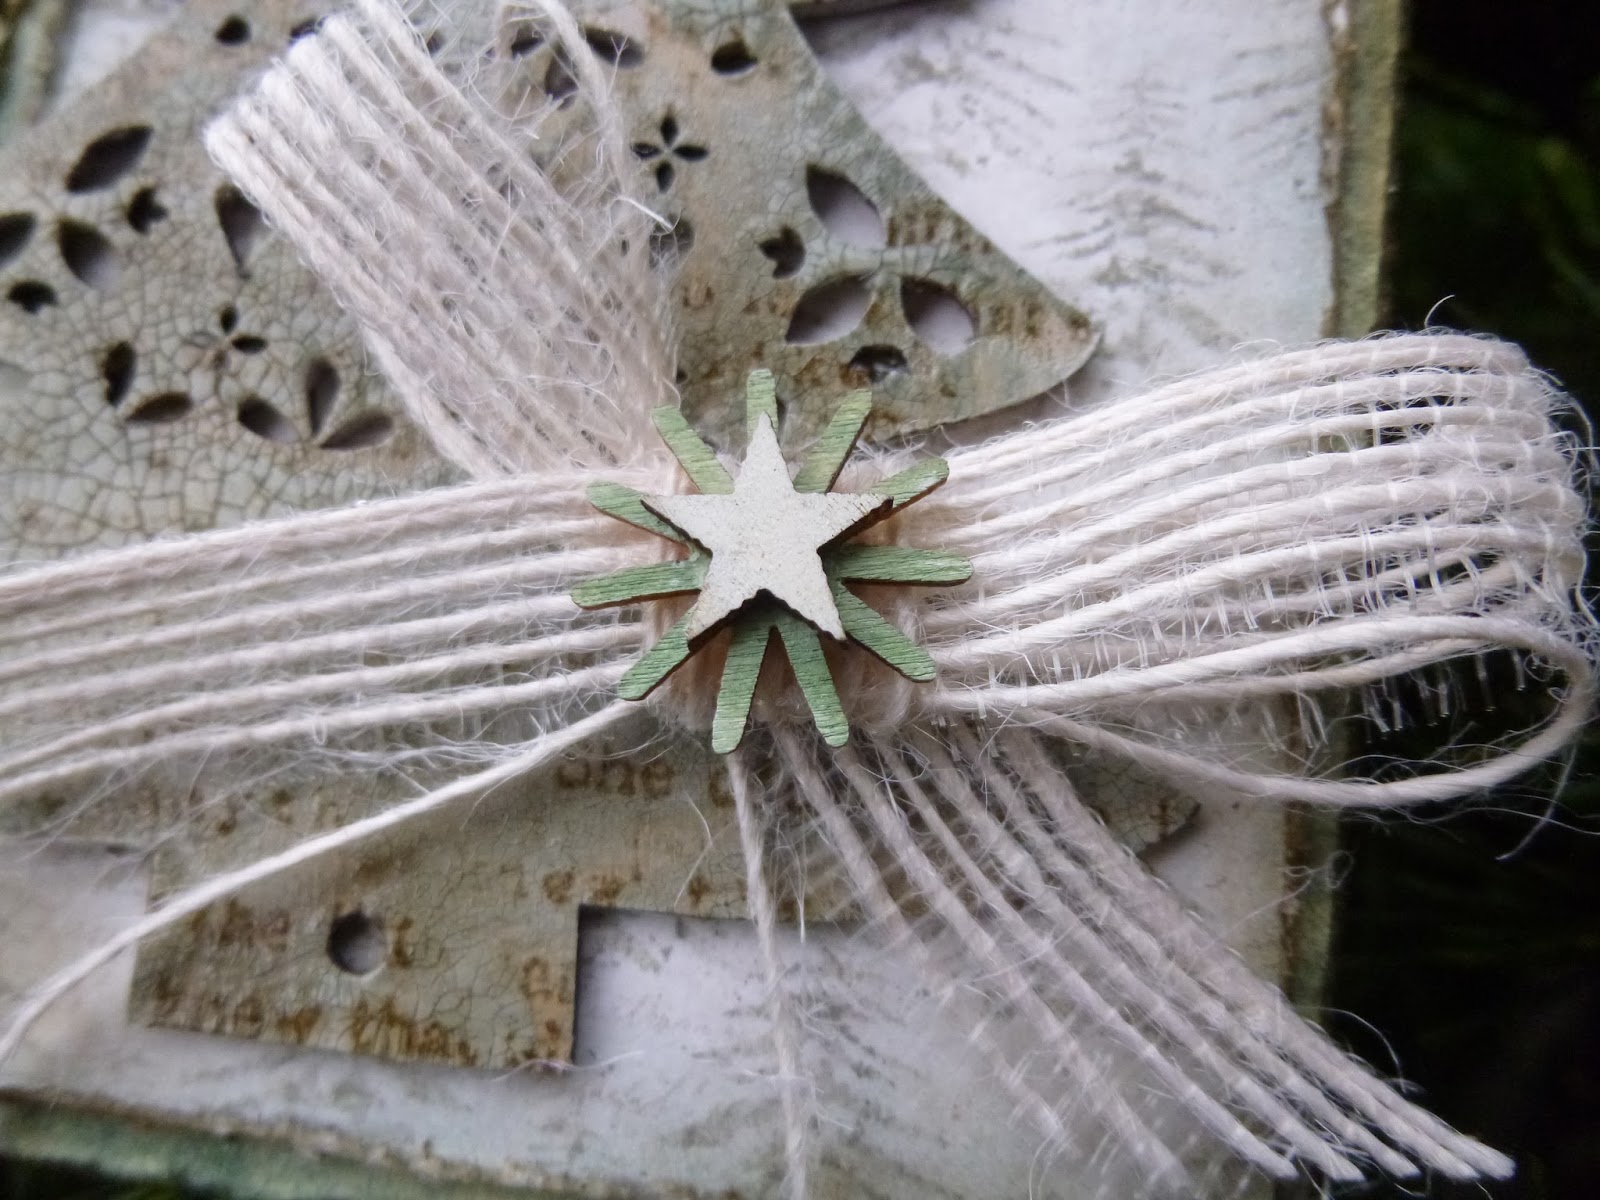
I'm here to share what I created, and let you see what I received. I'm afraid it's a rather long post - but this creation keeps on opening up to reveal more of itself. I want to show you all that, and I want a record for myself of how I got there, so there are also some how-to details as we go. And then you'll want to persevere to see the glorious things I received from my Secret Santa. So, cups of coffee at the ready...

Right, first things first. I drew the lovely Julia Aston of Create With Me out of the virtual hat so I knew I'd have to get my skates on to meet the deadline transatlantically (so to speak!).
Here's what she'll have found when she opened her packet...

And then you undo the twine and open it up...
... to reveal something completely different on the inside!


They started with a sheet of Ranger Manila A4 card to which I applied some Chalk Fresco paint with a palette knife, keeping it rough and uneven.

I built up some colour by sweeping the card through Distress Stains on my craft mat, and doing some wrinkle-free distress technique with them.
There's a layer of Broken China at the top for the sky, and then a layer of Iced Spruce creating some shading behind the Tim Holtz fir trees, which are also stamped in Iced Spruce.
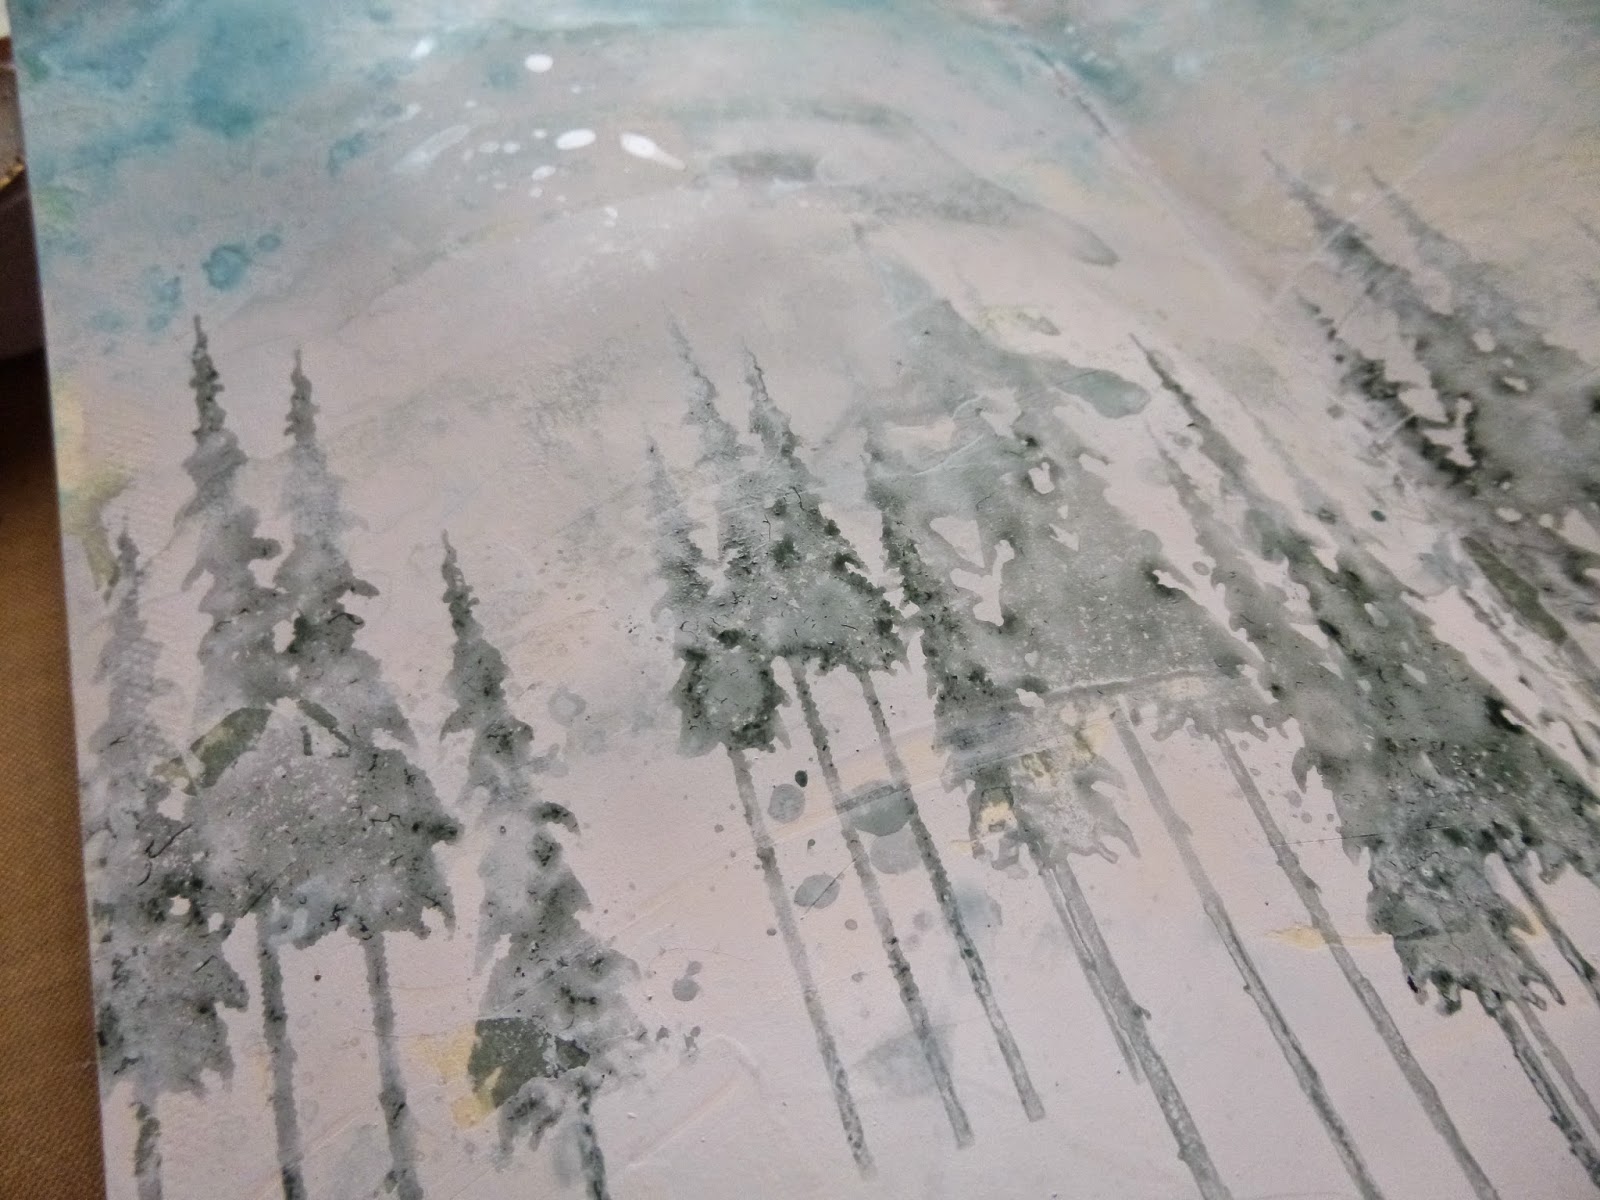
I sponged and splattered on some Picket Fence Distress Stain for an extra snowy look.
Right, so there's a background... what now? I thought it should be a bit more involved than just a card, since it was travelling all that way, so I decided to turn it into a wallet containing tags. Okay... now I need some tags.

I grabbed a couple of the Prima Ledger tags, and did some stencilling in Broken China and Evergreen Bough through the Latticework stencil, flicking some water at it once it was done.
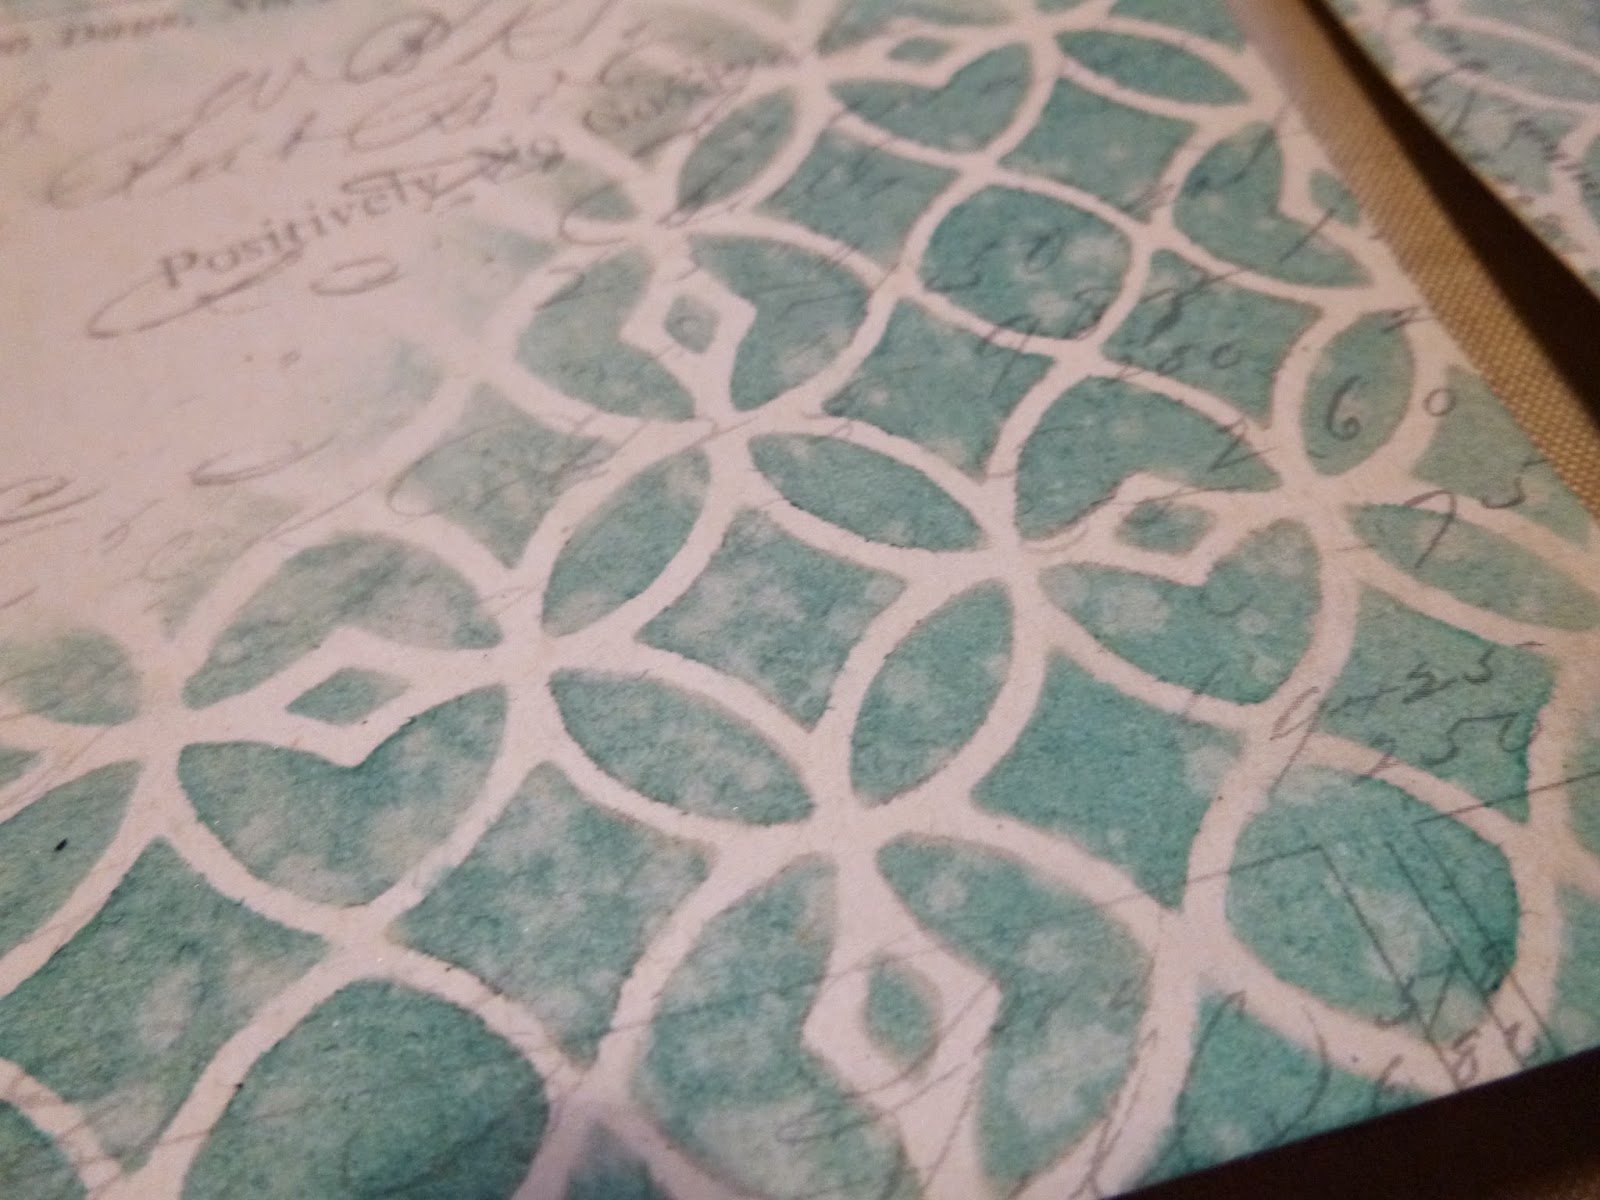
Already very happy with the delicate writing through the translucent colour!

I thought I'd carry on the fir trees from the background onto the tags themselves. But here they're stamped in Coffee Archival.

I started adding snowflakes, stamped in Versamark and embossed in either Detail White or Clear powder.
And I rather love that where the Coffee Archival was still a bit wet, the trees have a dusting of snowy embossing powder too!

The deer are die-cut from some of the gorgeous Maja Designs It's Christmas Time 6x6 pad (hence the really tiny writing), backed onto card before cutting, and edged with some Vintage Photo Distress Ink afterwards.

Once they were in place, I used a couple of Big Brush Pens to create the shadows underneath them.

I used a water brush to give the soft watercolour effect to the shadows. Now at least they are "rooted" in the landscape around them.

I added some of the fabulous Tim Holtz pine cone fir branches around the edges...

... and of course some Vintage Photo for the aged look.
Love it over the clear snowflake!
So that's the tags...

Now, how do I keep them in the wallet without covering up too much of either the tags or the background?

Leftovers to the rescue!
There was a tag sitting around on my desk - been there for months - on which I'd been playing with crackle and texture pastes and which I'd then used to mop up inky and painty messes.

I added a bit of extra Evergreen Bough, and some DecoArt Patina Antiquing Cream to make the colours tone even better with the inside of my wallet, and then cut some strips to create the tag holders.


So I was very happy with the overall look of the inside, but the reverse was just plain (and now slightly messy) manila.
Onwards...
Since we're full of trees inside, I grabbed the woodgrain sheet from the Motif Resist Paper Stash and set to with some of the new Distress Spray Stains.

The sprays are such a quick way to add inky colour! I think there's Vintage Photo, Walnut Stain and Rusty Hinge in here, and I blended on some extra Walnut Stain around the edges to really add depth.
I cut it to fit the A4 sheet as the outside of my wallet.
For the front cover, I created a crackled embossed panel, using the techniques learned at the Andy Skinner workshops I went to recently (more of that another day).

I love the crackle in between the embossing - such a cool effect.

There's added Quinacridone Gold for an aged rusty look...

... and some more of the rusty nail heads which regulars will be getting to know well (they're just cardboard, honestly), "nailing" the panel to the wooden background.

I used the same rusted cardboard to cut the large Noel, so that we'd have a nice festive focal point (well, a grungy festive focal point, at any rate).

There was just enough card-backed Maja paper left over from the deer to cut the 25 too. I used PITT pens to shade around both the Noel and the numbers.
(Here 5's been done, 2 is yet to do.)
As you can see above, I then used a water brush to soften the look, bedding them into the background.

The panel is layered over some white-washed hessian (I just needed a touch more texture in there!) and I glued down some twine underneath it, so that there is a way to fasten the wallet closed.

So there you go - from a rusty, crackled, grungy, wooden exterior...

... to the snowy forest interior...

... with the deer leaping...

... and listening.

And of course it's only when you take the tags out that you find the greetings on the reverse, surrounded by lovely prickly fir boughs.

On the very back is the little butterfly I always add (as long as I remember!). He had to be embossed this time to show up against the woodgrain.

I even zhuzhed up the rather dull brown envelope using some of the Postale Tissue Wrap...

Well, that's what I sent to Julia. I hope it survived the journey, and I hope you like it, Julia.

And I was absolutely thrilled to find, when my Secret Santa packet arrived, that my "Santa" was the amazing Astrid. And what a parcel of delights it was...

Not only a wonderful card, with one of my favourite ingredients - corrugated cardboard - at the centre of it...

... but also the most beautiful Christmas mini-album, based around the words of a poem and full of the most glorious textures and shimmering colours (again, my favourites - blues and browns!).

There was even an envelope full of lovely little bits and bobs to play with. A completely enchanting gift - thank you so, so much, Astrid!
I'm only supposed to show you one picture (oops!) so hop over to Astrid's Artistic Efforts to see lots more gorgeous details.
If I haven't completely exhausted you, do head over to A Vintage Journey to see what other gifts have been exchanged. And if you manage to hop around and leave some love for all of us by 21st December, and then link up to the Secret Santa linky at A Vintage Journey, there's a prize draw for a Christmas Giveaway for you too.
Find all the details over at A Vintage Journey, and enjoy the ride!
Snow was falling,
so much like stars
filling the dark trees
that one could easily imagine
its reason for being there was no more
than prettiness.
Mary Oliver