I'm travelling into a new way of working, a new country, a new language, and a new hobby which I'm passionate about. Come with me for some of the journey...

Friday, 3 November 2017

Mini Marvels

Hello all!  Time to set out on the next leg of A Vintage Journey.  The wonderful Anne is our host this month and she wants to see your Mini Marvels.  You can read all the challenge details over at A Vintage Journey, but basically she'd like you to apply your creativity to anything four inches or smaller in size.  My fellow Creative Guides have, as usual, provided a wealth of inspiration but before you hop off and take a look, here's my offering for you.


If anyone mentions miniatures to me, my mind goes immediately to dollshouses (unsurprisingly) - so I headed for tiny houses and this is what I ended up with.  You might want to grab a cup of tea if you're planning to see all the details!


My little houses range from four inches in height (the peak of the tall, thin house's roof) to a tiny two inches high (the smallest of the houses), so they fit right in to Anne's Mini Marvels rules.


They're made with some Calico Craft Parts house kits - they have a lovely range of dwellings in different shapes and sizes.


Depending on how you're decorating the houses, it may be easiest to do some work before gluing the houses together...  (Here's proof, in case you need it, that they're all smaller than four inches!)


... but since I wanted to work with paint and mediums, I glued them first and then started with gesso and then white acrylic for my first layers.


Next up some book page fragments and tissue tape scraps.


I have these great Inkylicious Greyboard Wildflower Silhouettes, which work with the matching stamp set, so I thought they'd make a nice focal point on the front of each house.


Then I used the complementary stamps on all the other sides.


It's only rough stamping since there are more layers to come, and a perfect image won't be necessary.


I inked some Broken China through the That's Crafty Distress Harlequin Dinky Stencil.  These tiny stencils are perfect for small scale work - the diamonds are sized perfectly for a Mini Marvel!


I clear-embossed the inky Harlequins, so that they'd stand a chance of making it through the layers still to come.


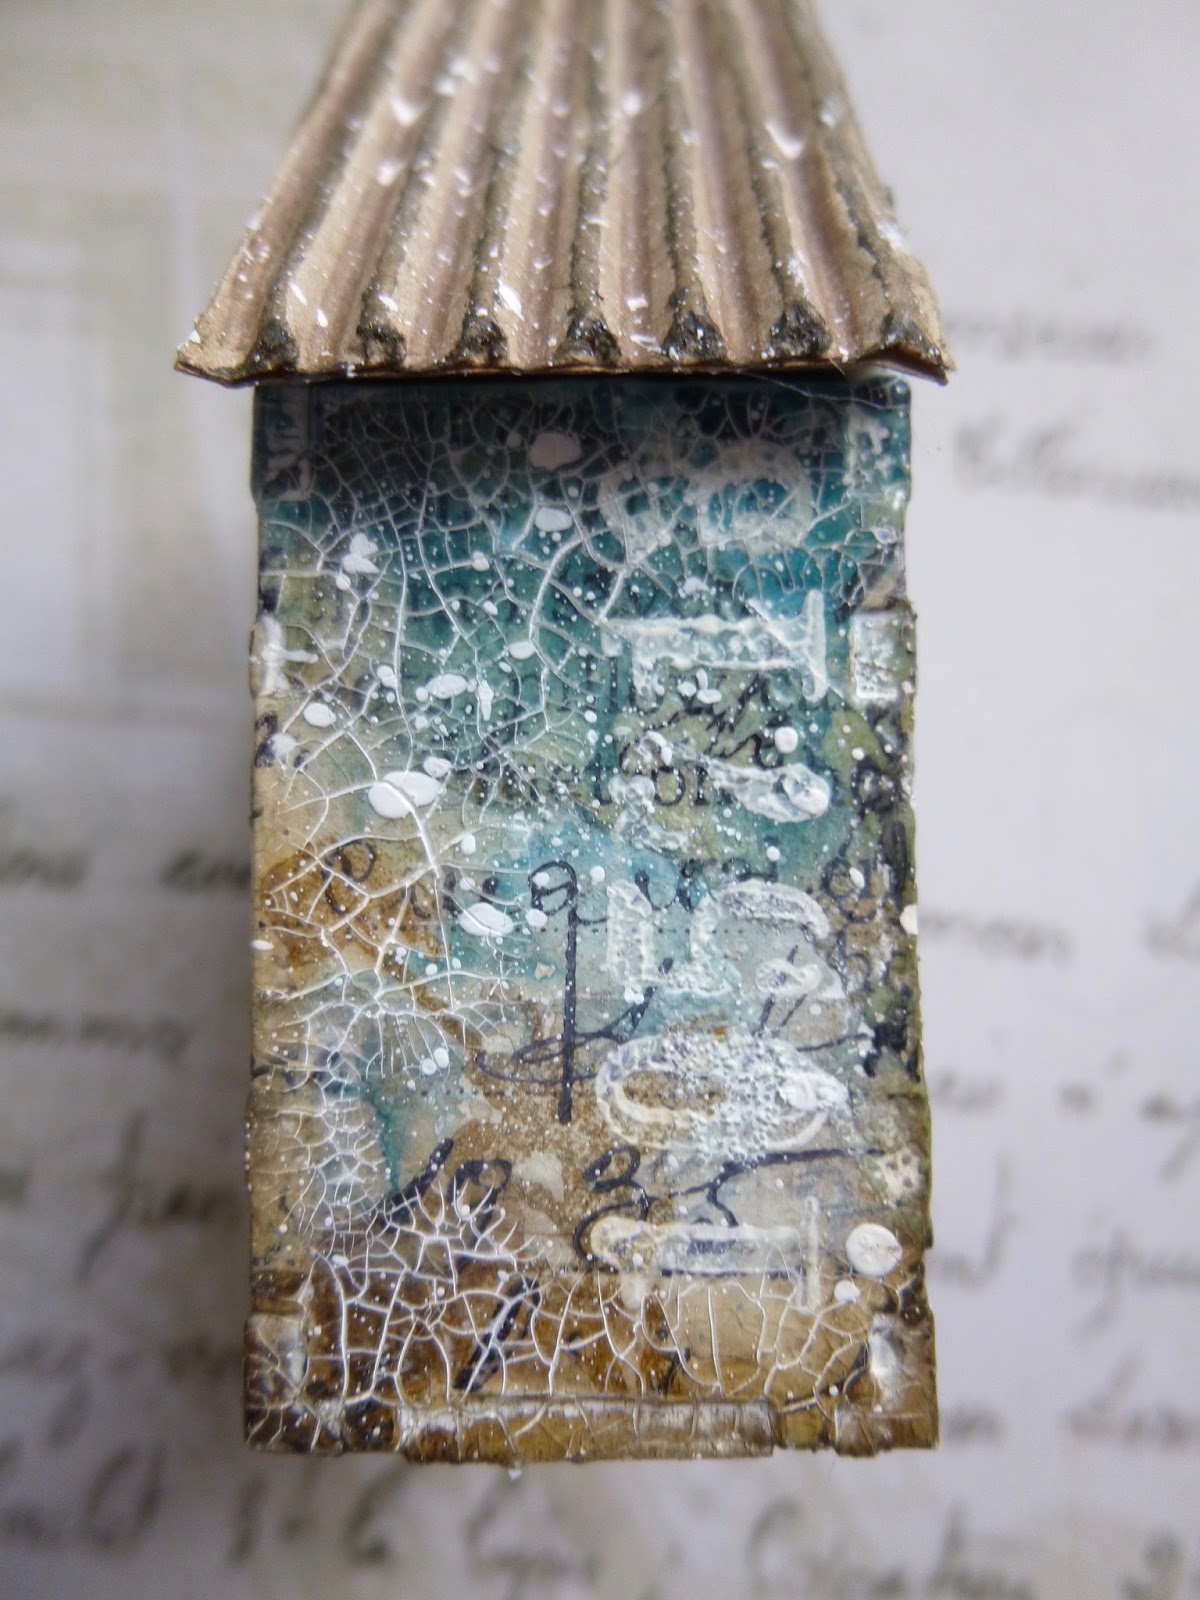
Next I started playing with DecoArt Media Fluid Acrylics - washes of Prussian Blue coming down from the top, and washes of Raw Umber coming up from the bottom.


Some more stamping - a Tim Holtz stamp in white acrylic paint this time...


... as well as one of my all-time favourite TH script stamps in Jet Black Archival.  (It comes from his Apothecary set).


I sealed all those layers in with a coat of DecoArt Satin Varnish.


At this point, I stuck on my Wildflower pieces and gave them a couple of coats of white paint.


I then used a paintbrush and my fingers to add DecoArt One-Step Crackle around and about the place, and then coated the whole lot with Antiquing Cream in Titanium White.


That's always a bit of a heart-in-mouth moment as you see all your hard work disappearing, but the Antiquing Cream will always wipe away with moisture...


... other than in the crackles, which is the whole point really.


I love my spidery white lines breaking up the darker areas of paint.


And you can still see all the way through to those earlier layers underneath.


Now for the roofs... Since we're working in a small scale, I dug out some very finely corrugated cardboard - the usual size folds would look a bit out of place on such tiny houses.


I cut and trimmed my roof panels to fit each house, and used Distress Crayons to add some darker shading to them.


I also added some Distress Crayon to the edges of the houses, as well as to the edges of the flowers.


When you spritz the applied crayon colour with water and then rub with your finger, you get a great distressed look.

The flowers then had a coat of Triple Thick Gloss Glaze by DecoArt, and over that glazed layer I stamped Wendy Vecchi's Spatter Background stamp - again stamping in white paint.


I sought out some suitable phrases from the Idea-ology Clippings stickers and glued them on.


And then the penultimate step was to outline the words and the flowers with some pen work and shading.


And finally - of course - plenty of white spatter.


I'm so delighted with the outcome.


My little houses make me very happy.

I'm going to go through a quick view of each house, side by side (mostly so I've got a record of them here!).  As always, you can click on the photos if there's anything you want to see in close-up.


Everywhere you look there are different details taking centre stage...


... sometimes the Harlequins, sometimes the crackle...


... sometimes the stamping, sometimes the words...


... sometimes the flowers, and so on!


They also look great with a tealight standing in front of them.  The flickering flame allows the glossier areas to reflect the light and brings them to life in a different way.


I'm afraid I utterly failed to capture the effect on camera, but you can get an idea of it from how they catch the light.


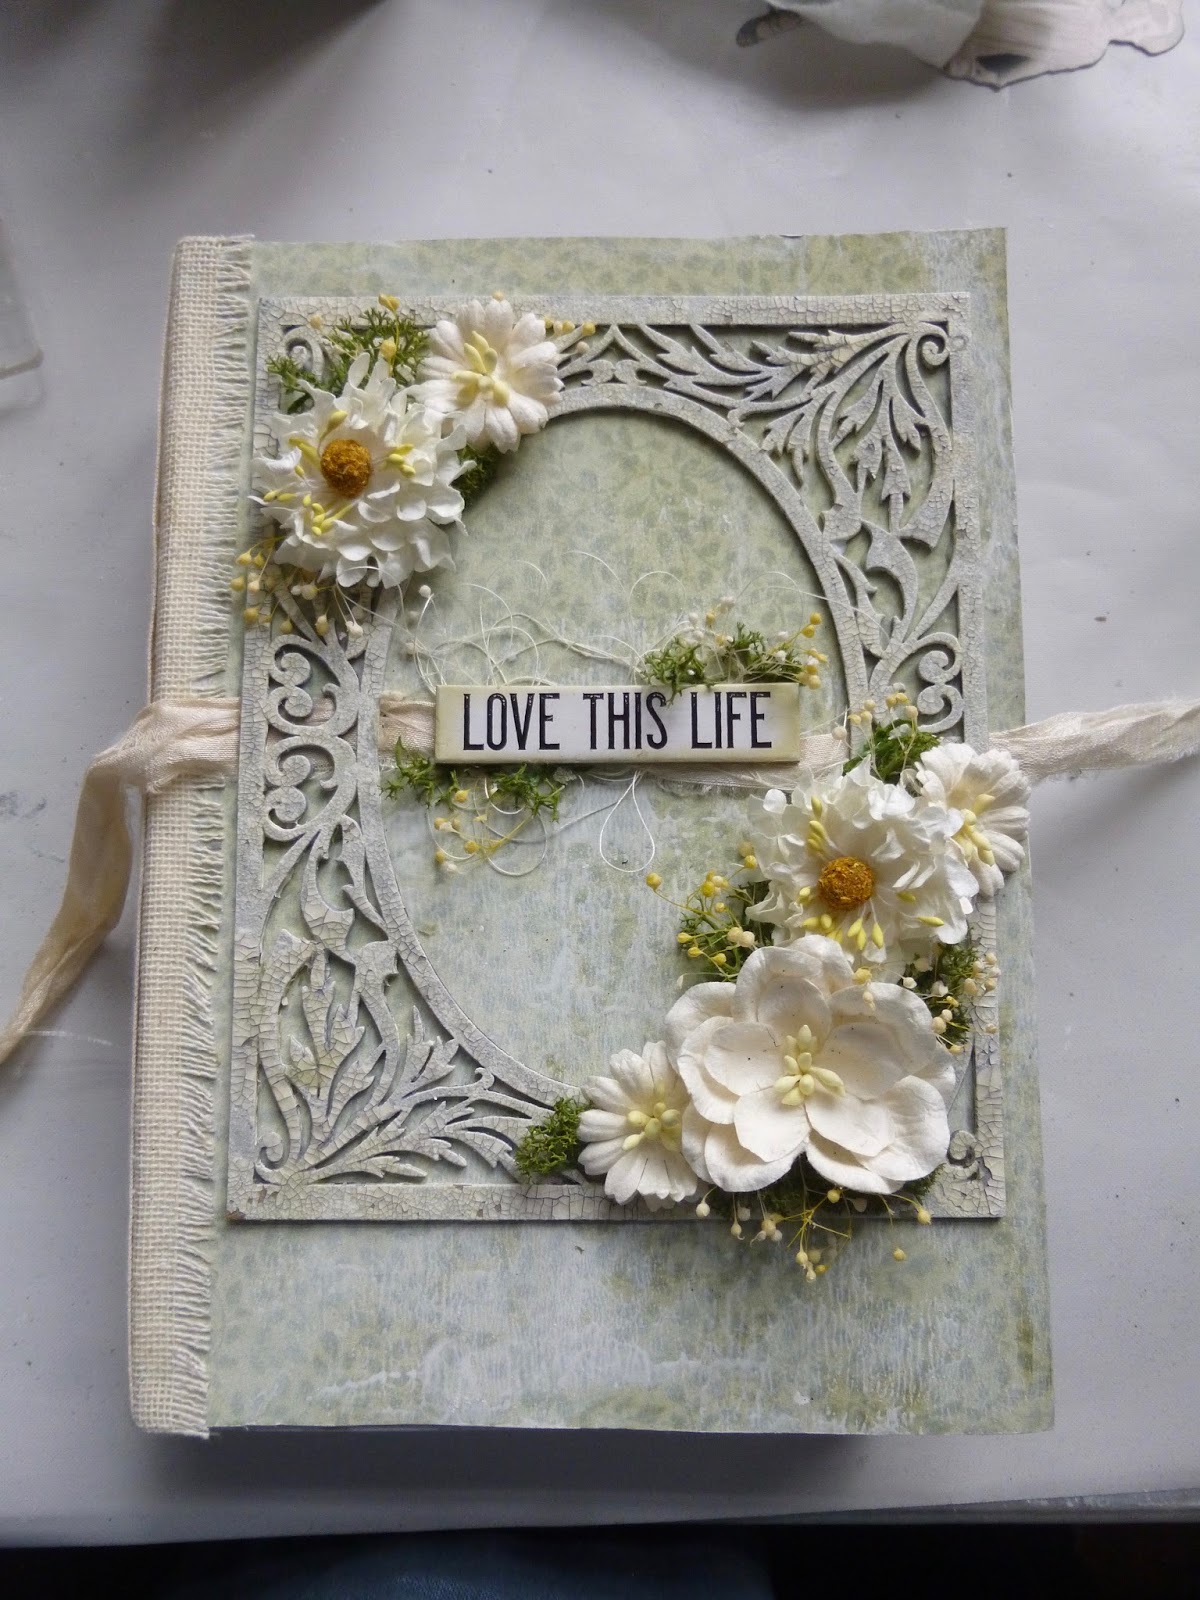
I'm sorry it's been another mammoth post (even longer than my Love This Life journal a couple of days ago), but I hope you enjoyed visiting my tiny dwellings, and if you're looking for more inspiration do check out the wonderful projects my fellow Creative Guides have come up with for their own Mini Marvels.

Our sponsors this month are the Southern Ridge Trading Company.  Our randomly drawn winner will get a generous $50 selection of their fantastic chipboard and wood veneer laser cuts.


Or you might get chosen by the Creative Guides to be one of our Pinworthy projects and join us somewhere down the road as a Guest Guide, so get your miniature thinking caps on, and do come and join us on A Vintage Journey this month.


Thanks so much for stopping by.  I'm on another travelling spate at the moment, but I'll be doing my best to catch up with you all here and there and now and then.  In the meantime, happy crafting all!

For the person for whom small things do not exist, the great is not great.
Jose Ortega y Gasset

If you cannot do great things, do small things in a great way.
Napoleon Hill

I'd like to share this at the That's Crafty Challenge Blog where the theme is Forever Floral
At Stamps and Stencils this month they are playing with Pastels - I hope these will fit in

Wednesday, 1 November 2017

Love This Life


Happy November everybody!  It's been all Encores and sample replays round here lately, but finally I have something brand new for you.

It's the first of the month, so it's time for a new Mini Album Makers Challenge to begin.

As always, any handmade book is welcome, and there's some gorgeous inspiration from my team-mates.

Before you head over to check it out, though, here's my creation to get your book-making juices flowing... and it's not what you might expect at the beginning of November (unless you live in Australia, that is).

I found myself having a final fling with summer for this gentle handmade book.  The colour palette, the flowers, and the delicate filigree frame are all doing their best to fight off the idea that winter is almost here!


This is one of my recycled albums... it had a very lowly start as an Amazon envelope - not the elaborate sort, just one of the standard cardboard envelopes in which things like DVDs and books usually arrive.


I cut it open...


... and then trimmed to the internal raised border to create my book cover.


I painted the spine in DecoArt Warm White, and covered the front and back panels with some papers from the Tim Holtz Wallflower Paper Stash, over which I then brayered some watered down paint for a shabbier look.


To reinforce the spine, but also to make it look a little more attractive, I used some wide fine-mesh burlap ribbon in cream, which happened to be a good width.  It left enough spare to create a decorative fringe down the edges of the covers.


From the start, I'd been thinking that this fabulous frame by one of our sponsors, Gypsy Soul Laser Cuts, would make a great feature for the front cover - but that was as far as the thinking went at this point.


For the signatures to form the pages of my book, I used watercolour papers from a cheap pad.  The 10.5 x 7.5 inch pages turned out to be just the right size for the Amazon book cover.


I tore them out, folded them in half, and used a simple pamphlet stitch to bind them.  (There are plenty of tutorials out there on youtube, but I have this very straightforward one saved as my "reminder" tutorial when I need it.)


Time to get that front cover moving again.  I reached for the crackle paints - of course!  First I gave the frame of the DecoArt Warm White and then over that I added some of the DecoArt Media Crackle Paint.


Once it had done its crackling thing, I squidged on some Bundled Sage Distress Stain to give it a hint of green.

Finally, I used the DecoArt Antiquing Cream in Medium Grey to accentuate the crackles.  As I was wiping it away, a few flakes of crackle came away.  Given the shabby chic style, I don't mind this distressed look, but to make sure it didn't happen to much, I sealed the whole thing with some DecoArt Ultra Matte Varnish.  

Finally, I glued the frame down over some ivory sari ribbon, which I'd chosen to use as the book closure.


From there it was just a question of enjoying playing with the decorations - including all these summery flowers, both paper blooms and dried sprays, and some moss.


I picked out one of the Quote Chips to provide the words on my front cover.  I inked the edges with Bundled Sage Distress Ink, and added some tangled thread behind it for additional movement.


The Idea-ology Paper Doll dancer was, I admit, something of a late addition - but I really love her now she's there.


I stuck one of the inbetween-bits of chipboard to the back of her legs so that they wouldn't be floating vulnerably in mid-air...


... and I added some extra Bundled Sage shadow under her feet, to ground her visually.


I love her evident joie-de-vivre - perfect for the chosen Quote Chip, I thought!


Oh - almost forgot to show the binding of the signatures into the book cover - sorry!  I quite like having the workings of things on show, so this is very simple.


I cut some cotton ribbon in a pale cream into three lengths and quite simply looped each one around its signature and then around the length of the spine.


The knots are tied on the inside of the signatures.  Again, I like seeing the "makings".  And you have some fabric as well as the book-binding thread to play with on those pages when you get to them.  If you decide it's too much, you can always trim it down later.


A little bit of sliding and adjusting to make them nice and straight, and the external ribbons make, I think, a very nice decorative feature against the cream burlap spine.


Another late addition was the spritzing of Bundled Sage Distress Spray over the internal pages.

It's not on all of them, and it's more on some than others, but it gives a nice starting point - the blank-page-syndrome is already dealt with, so you might as well just start writing or creating.


I don't play with paper flowers that often - but I always enjoy them when I do, especially in combination with these sprays of dried flowers. 


I do use the tiny dried flower stems more often.  They're usually a creamy ivory colour, but these had yellowed slightly with age...


...meaning they match the pale yellow stamens of some of the flowers beautifully... 


... giving the whole thing a sunshiny warmth, so I'm not complaining!


I like the touch of deeper colour which the moss brings.


The sari ribbon really makes me happy - a romantic shabby chic closure.


I also really like the combination of the three different fabrics visible on the spine.


And, of course, the delicious weathered crackle.


So that's pretty much that... it's a more floral, shabby chic look than is common around here, though I do indulge my "pretty" side occasionally, but I had a lovely time putting it all together. 


Making it coincided with those wonderful warm sunny days which turned up so strangely in the middle of October - so it was probably partly that which influenced the summery feel.  

And I'm heading off to slightly sunnier climes shortly - it'll probably be even quieter around here for a while, but I'm very much looking forward to a proper break.

It's nice to hold off winter for that little bit longer - I hope you agree!

Do hop over to the Mini Album Makers Challenge to see the inspirational books made by my fabulous team-mates and, if you need another nudge to get creating, how about this?


Our sponsors this month are the amazing Lindy's Stamp Gang, who are offering a generous $25 prize voucher to our winner, and we'll also be highlighting some top picks from the entries.  We hope you'll be inspired to create a handmade book this month, so do come and play along at Mini Album Makers.


Thanks so much for stopping by today.  I've been away for a week or so and, as I just mentioned, I'm about to be away again, but I hope to do a bit of catching up in the couple of days in between!  So here's hoping to see you again soon.

A flower cannot blossom without sunshine, and man cannot live without love.
Max Muller

I'd like to share this at the That's Crafty Challenge Blog where the theme is Forever Floral