I'm travelling into a new way of working, a new country, a new language, and a new hobby which I'm passionate about. Come with me for some of the journey...

Showing posts with label Tando. Show all posts

Tuesday, 12 May 2020

Wonderful Women


Hello all.  I hope you're all doing okay.  I'm delighted to be putting in an appearance over at Try It On Tuesday today for their brand new challenge theme Lovely Ladies.

I've created another tag using dried lavender stems.  It features not only a fabulously feisty suffragette (she is in my head anyway), but also the colours of the suffragette movement - green, white and violet - Give Women the Vote.

And the quote is from one of my own sets, and has words of wisdom from another wonderful woman, Teresa of Avila, a sixteenth century nun, mystic, reformer and respected author and theologian.

Short of being royalty or an actual Lady (that is to say an aristocratic one), the church was one of the only places a sixteenth century woman could achieve real power and influence.

So altogether the tag is pretty keen to celebrate wonderful women from all centuries.


I've nothing much in the way of process photos today, I'm afraid.

For some reason I seem to have forgotten to take any after this very early shot of the Tim Holtz paper I stuck on to my tag, with its wash of gesso softening and warming the colour.


But there are plenty of close-ups so that you can see what's going on.

There's half of a Tando chipboard clock tucked away in there, crackled with DecoArt chalk paints.


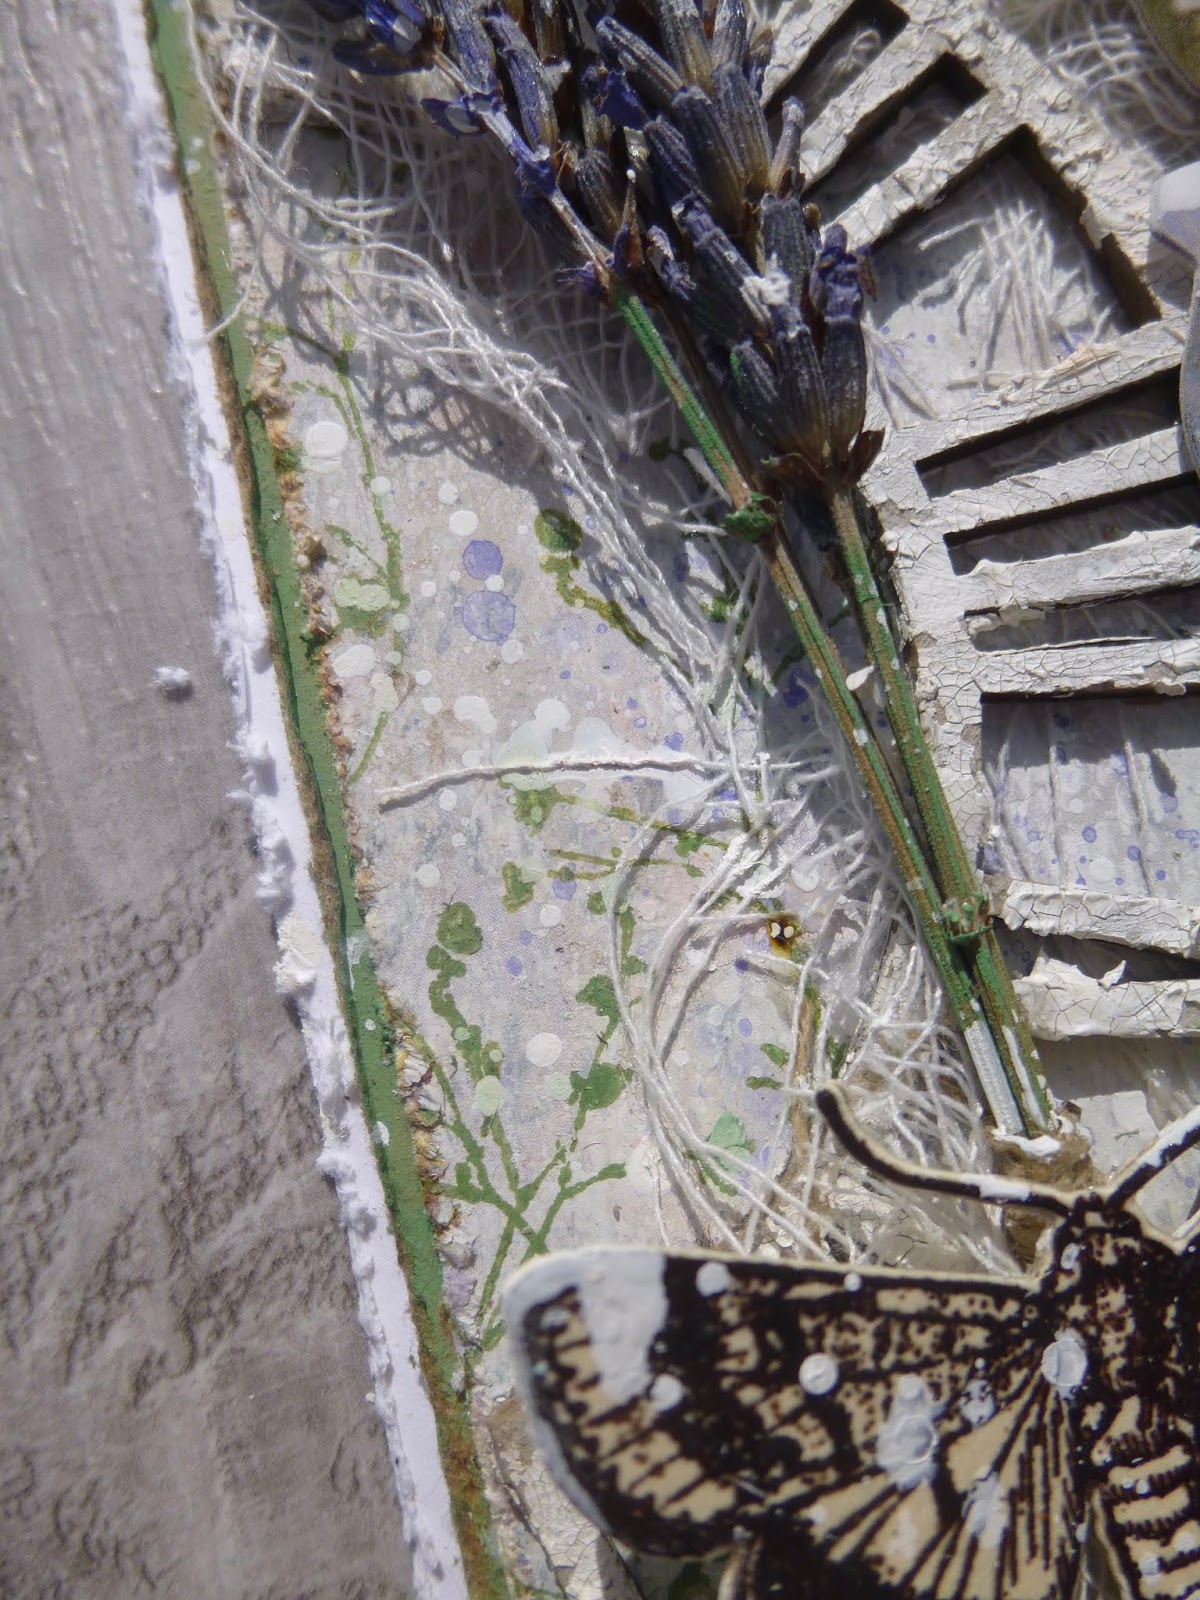
The Rubber Dance Weed Love tendrils are winding their way around the edges, stamped in Olive Archival.


And some cheesecloth (I think it's actually some of Tim's Mummy Cloth) torn to tatters adds soft texture and movement.


There are those lavender stems of course - altered with a touch of Fresco paint in Lavender and Forget-me-not again.  (Check out The flowers appear on the earth for full details on that process.)


And here's that wonderful woman, full of spirit and strength, ready to fight for what she believes in.


There's a tiny hint of Shaded Lilac Distress Oxide tinting her dress in places - just a little echo of the purple tones of the lavender itself.


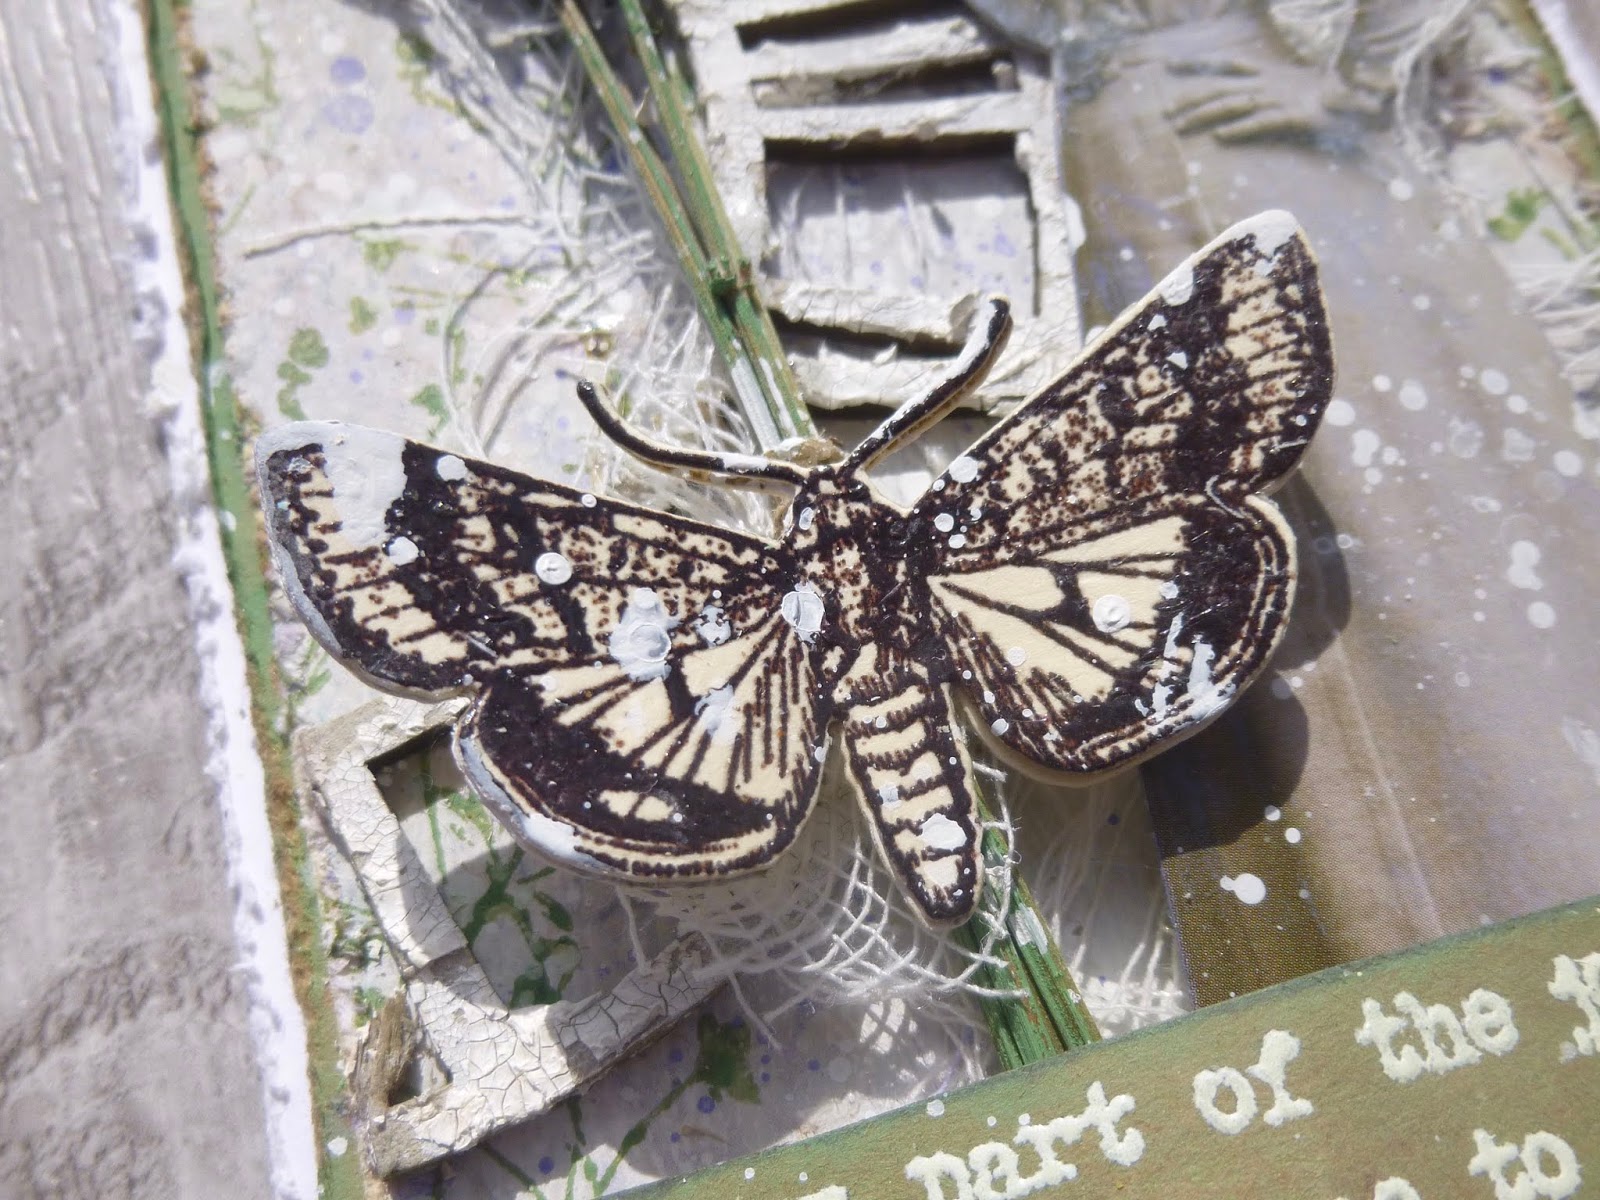
The butterfly was actually a fairly last-minute addition - he's one of the Tim Holtz Entomology insects, embossed in Primary Bark by Wow and cut with the corresponding Thinlits die.


There seem to be a lot of butterflies perched for take-off on my projects at the moment... some pretty obvious subtext there for anyone who knows about my (currently delayed) house move (though to be honest I've only just worked it out myself!).


I'm very happy with my dimensional sentiment!

I wanted to allow space for the lavender stems and the Paper Doll, mounted on padded tape, so I took a cue from what I did with the crackled picket fence on the previous lavender tag... introduced a curve.


It's embossed in Vanilla White over a combination of Lawn and Beanstalk Fresco paints.

I always include at least one quote by a woman on my word collections - that's really important to me.


It's fastened in place with a couple of Idea-ology fasteners, and the same paint colours form a frame around the edge.

It was originally plain kraft card (as you can see if you look closely at the quote), but I decided I needed some more prominent greens going on.


I think I may even have used them on the stems of the lavender too, to freshen them up!


At the top, there's a metal compass - this woman knows exactly where she is going on her journey - and some fine twine looped several times to create a topping with energy and movement.


I hope you like my tag celebrating wonderful women and that you'll be inspired to join in with the Lovely Ladies theme over at Try It On Tuesday.  Of course, there's lots more inspiration from the fabulous team there to enjoy too.

Thanks so much for stopping by today.  Stay safe, stay well everyone, and I'll see you again soon.

Well-behaved women seldom make history.
Laurel Thatcher Ulrich

What would men be without women?  Scarce, sir... mighty scarce.
Mark Twain


Tuesday, 1 May 2018

Clockwork Notebook


Hello all!  I simply can't believe that it's May already, but here we are starting a new challenge at Mini Album Makers, so I suppose it must be!

As always, we'd love to see any handmade books/albums/journals that you create this month.  My lovely team-mates are sharing some inspiration to get you started, and here's my offering.

Our sponsor this month is Lindy's Stamp Gang, and I've been playing with some of their wonderful sprays to create this journal.

The basic structure of the book is made with the brilliant Eileen Hull Journal Die - it's so incredibly useful if you like to make books at all.


I used it to cut some sturdy cardboard and covered that with plain white cardstock, also cut with the die.


I started with some spritzes of the new Distress Resist Spray (done inside a large cardboard box so that the sticky spray wouldn't contaminate anything nearby).


Over this basic resist splatter, I applied three Lindy's sprays - a Flat Fabio spray in Danny Zuko's Denim and two Starbursts (full of shimmer), Creme Brulee Cream and Tainted Love Teal.


For the inner covers, I simply mopped up the leftover D.Z.'s Denim and T.L. Teal by dabbing the journal covers down into the spare ink.


I started to play with adding some gears to the cover, and decided I'd like some ink spray which would echo those colours more closely...


... so I added some droplets of a Moon Shadow Mist in Incandescent Copper.


The large clock face is a Tando chipboard piece which actually used to be part of an old ATB project, now dismantled.  It was already almost the right colour, but I added some of the same Lindy's sprays to make it tone in fully.


I also smeared on some additional coppery shimmer with my fingertips, dipped into DecoArt's Worn Penny Metallic Paint.


One of the hands is a Tando hand, and the smaller one is a metal addition, and there's an actual watch part right in the centre.


Once I'd glued my chosen copper gears into place (some Idea-ology, some from cheaper sources like Ebay)...


.... along with the fabulous little ART bolt, which is one of the Prima Mechanicals...


... I still thought I'd like just a little extra something going on, so I reached for DecoArt's Liquid Glass and used that to add my little bubbles around the gears.


It starts out slightly cloudy, but as it dries it becomes completely clear so you get these wonderful little waterdrops which catch the light beautifully.


I spent some time trying to decide on the best Quote Chips to add to the cover, and once I was happy with the size and the sentiment of each of them...


... I used Sepia Archival ink to add a little framing colour to the words, and edged them with the Worn Penny paint.

By the way, isn't the shimmer from the Lindy's Stamp Gang sprays amazing?


The ribbon was already a reasonably good colour for the project, but a little more gold than copper, so I gave it a good spritzing with the Incandescent Copper spray.


It's a satin ribbon rather than my usual seam binding, so it didn't hold the colour completely, but enough to allow it to tone in properly.


I applied double-sided sticky tape underneath the ribbon to keep it in place, and simple bow fastens it at the opening side.


There's no tape holding the ribbon down at the spine - it needs to be free to move as you open and close the notebook.


My signatures are made up of cheap(er) watercolour paper, and I've used some dark fine twine to fasten them into the journal.


The pages are still free to slide in and out to be worked on, and more can be added very easily.

It's a simple, elegant binding, and I rather like how it looks.

I hope you like it, and I hope you'll be inspired to create a handmade book of your own this month.


As I said, our sponsor this month is the fabulous Lindy's Stamp Gang, who will be offering a $25 voucher to our winner, so come and play along if you'd like to get your hands on some of these magical sprays (or any of their other amazing products).


Any style is welcome at the Mini Album Makers Challenge, and do check out the inspiration provided there by my fabulous team-mates.  We hope to see you there some time in May.


I'm leaving you with double trouble - two final photos of my Clockwork Notebook, because I couldn't decide which lighting I preferred!


The clock always ticks.  There are times you don't hear it, and there are times that you do.
David Levithan

I'd like to play along at the Simon Says Stamp Monday Challenge where the theme this week is Time Out
And there's also just time to squeeze it in at That's Crafty Challenges for the Going Round in Circles theme

Sunday, 12 March 2017

Skullduggery


Hello again!  After my little play with one of Seth Apter's woodchips - generously given to me by Seth himself at the big trade fair, Stitches, the other week (thank you, Seth!), I've got another Stitches-related project for you, this one made with Tando greyboard, and it could scarcely be more different from those Windswept Grasses.

I was so happy to get a last-minute place on one of Andy Skinner's classes at the NEC show (thank you, Andy!), and I thought I'd share what we made with you.

As usual, I went slightly off the track we were supposed to be beating, but Andy's used to that with me by now, as you'll see.

The substrates are greyboard by Tando - and we got some bits to take home and play with in addition to what we were working with in the class.


I delayed putting mine all together so that I could add some of the takeaway pieces into the design when I got home.  In fact, all these photos are from my playtime at home - I didn't take any while at the NEC.

We used DecoArt Media Fluid Acrylics and Antiquing Creams to create the background, and it was lovely to play with some of Andy's new stamp releases.


This animal skull is not really my usual fare, but I do covet it... very cool, and so detailed.  I may have to indulge at some point..

 It works really well for a naturalist/collector/apothecary vibe, and that does crop up in my work every so often.


And the Specimen stamp is a must, I think (soon, soon).


I love these numerals too, but I do have some fairly similar ones (they've just been out to play in my Windswept Grasses, as it happens) so I really will try to exercise some willpower, at least temporarily.

The usual suspects - Transparent Yellow Oxide and Quinacridone Gold - give you the fabulous rusted look around the edges.


At home, I added some additional white to the image of the skull to make it stand out from the background.  Now you get a nice deep shadow in between his jaws!

Since the stamp set is called Skulldoggery, I'm guessing it's a dog's skull...


Andy was coming round showing people how to use Quinacridone Magenta to add colour to the white background.  I asked if that colour was compulsory and he said that he'd already been looking for some Prussian Blue for me to use instead... how well he knows me!


Since the Prussian Blue Hue seemed to have gone missing, I mixed some of the paints we had in front of us - Paynes Grey with some Cobalt Teal or Cobalt Turquoise (can't remember which of the two it was now) - to add the colour wash to my tag.


The small tag followed a similar process, but on both tags I went freelance again, adding fine vertical lines to give an impression of woodgrain somewhere underneath the paint layers.

We were given some rusty wire to attach the two tags but, as I say, I wasn't done yet, so I popped it all into my bag to carry on at home.


Once home, I used a wash of white to draw attention to the apothecary's skull.


And I also took one of the cogs from the takeaway bits and bobs and gave it the rusting treatment with some DecoArt Misters and some more Quinacridone Gold and dirty washes involving Payne's Grey and Raw Umber.


Then I cut the cog in half and used it to raise the smaller tag up nice and high to give me plenty of dimension.


I preferred the whole piece offset from centre, which meant the main tag hole got covered up.  Rather than try to thread anything through the smaller tag, I decided to "attach it" with one of the nail heads also included on our takeaway panel.


I thought the whole apothecary/specimen theme needed a little extra something, so I crackled up a brown glass jar and added it to the bottom of the tag.


There's another rusty bolt and screw for good measure.  See if you can spot the bonus skull, just slightly highlighted in white.


And of course there's plenty of white spatter to finish the whole thing off.

Huge thanks to Andy for another fabulous bit of inspiration and teaching, and my apologies for never sticking to the script!

Thanks to all of you for dropping in, and I hope you're all enjoying lovely weekends.

It is not my intention to be fulsome, but I confess that I covet your skull.
From The Hound of the Baskervilles by Arthur Conan Doyle


At the Simon Says Stamp Monday Challenge they'd like us to Make Your Own Background
And at Emerald Creek Dares, the March dare is to Splatter Some Fun