I'm travelling into a new way of working, a new country, a new language, and a new hobby which I'm passionate about. Come with me for some of the journey...

Showing posts with label bookbinding. Show all posts

Friday, 3 May 2019

Book It!

Hello all and welcome.  It's time for a new challenge at A Vintage Journey, and the lovely Deb wants us to "Book It!".  You could make a handmade book or journal, or create something inspired by your favourite book (but please tell us what book it is).  After flying high with my Having Fun Flying pages, I'm afraid I slightly crashed and burned with this one.  Several projects are now on display in the rubbish bin, and I've ended up with what feels like a ridiculously simple make for you today.

Still, if inspiration is a little thin on the ground here at Words & Pictures, you can be sure my fellow Creative Guides over at A Vintage Journey will be filling in the gaps if you hop over to take a look, and we hope you'll come and share your book projects with us somewhere along the road this month.  But before you hop off, take a look at my simple project and see what you think.


With several failed mixed media efforts biting the dust - I was just in one of those moods where nothing made me happy, and with every failure the mood got darker! - I've definitely cheated slightly.  Rather than hand-making my books from scratch, these are simply little notebooks which I've covered with some experimental Oxide tags which had been sitting around pretty much since the release of the (much longed for here) Stormy Sky Distress Oxide pad last July.


Underneath, these are just small kraft notebooks (3.5 x 5.5 inches).  I use them a lot for taking notes during previews when I'm working in the theatre, so I always have a few sets of them hanging around.


When I'm playing with ink and tags, I usually work in pairs, dipping and mopping, so there was a tag for the front cover and a tag for the back cover for each notebook.  All I had to do was snip the tops off, glue them down, and trim the corners to fit.


The tags were standard #8 manila ones, and they weren't quite wide enough for the whole cover, so I used some sticky-backed linen ribbon to create a "binding" for the spine.


Regulars will know how much I enjoy my wrinkle-free distressing...


... and often there's so much delight in these inky splotches and splatters that I'm reluctant to cover them up.


So, as far as that goes, this project is actually a resounding success.  The fabulous combination of Oxides and Distress Inks and water splatters gets to take centre stage.


I love that misty Oxide effect and the vibrant ink splatters in between.


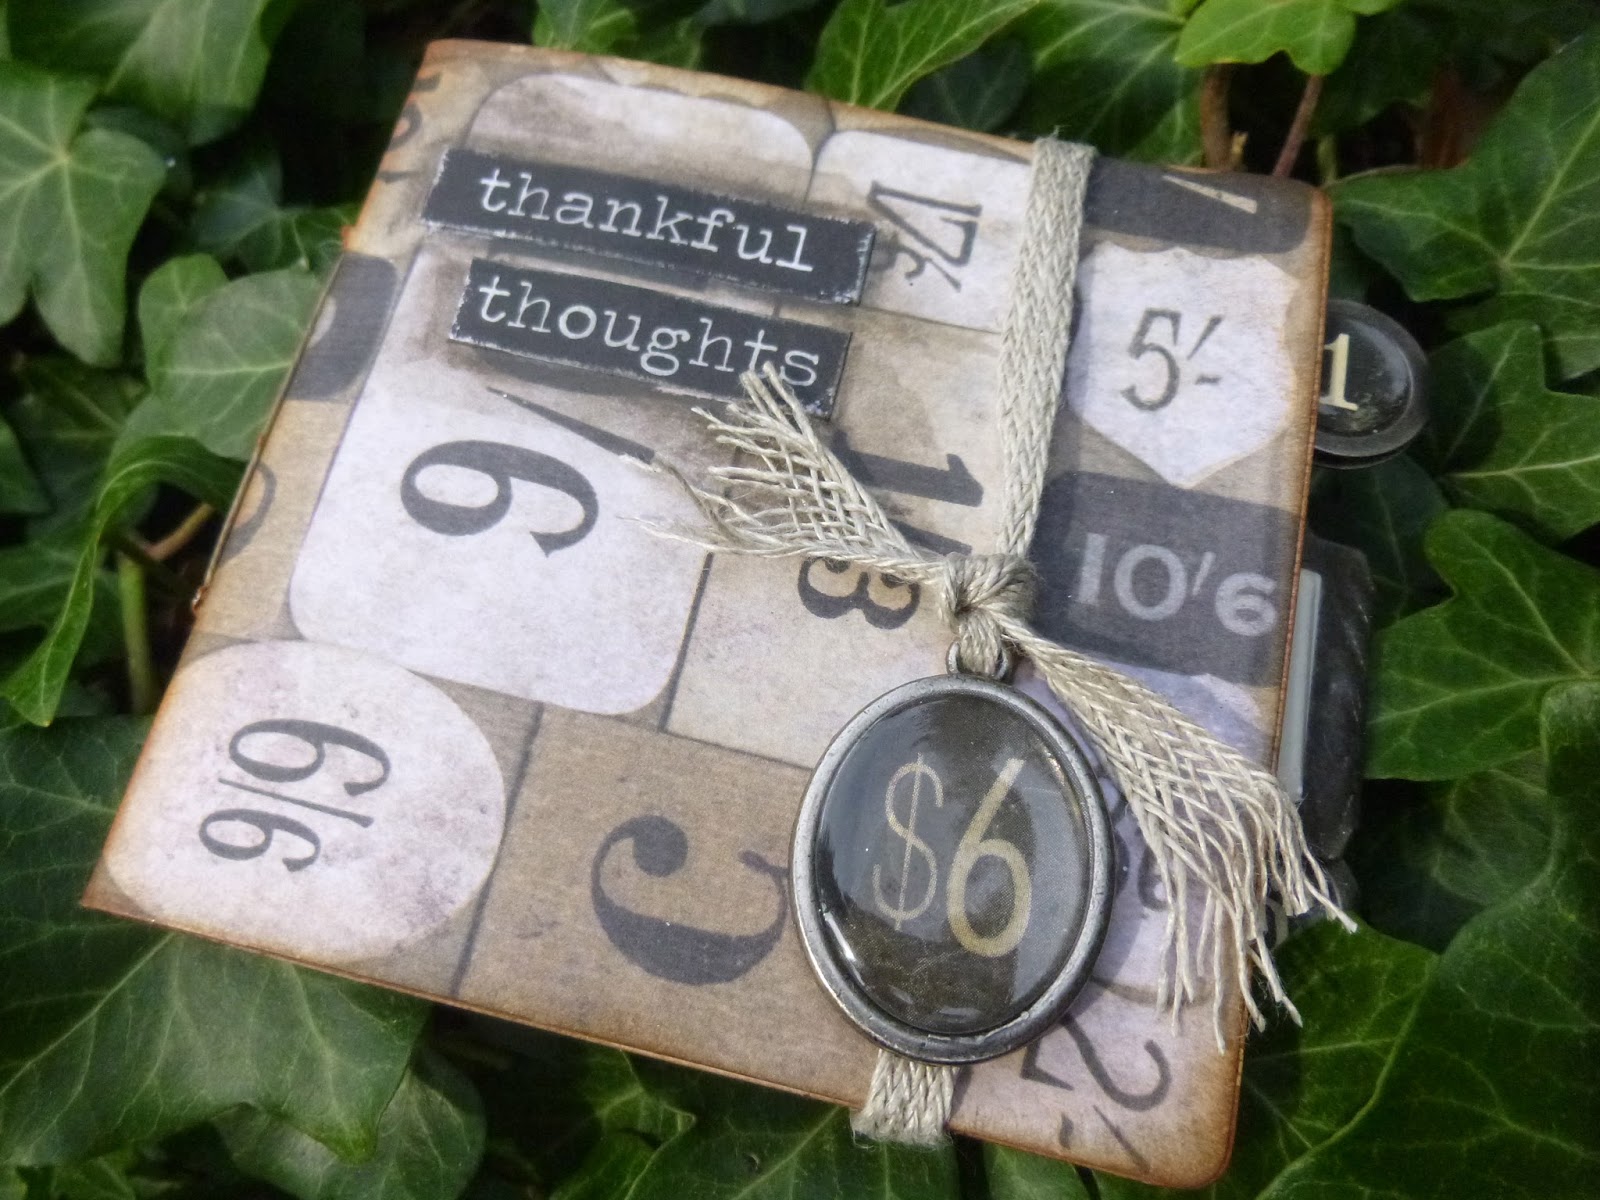
Just the simplest of embellishments... these will be working notebooks, after all.


I applied the Stormy Sky Oxide pad direct to the Idea-ology Muse Tokens' surfaces, and it created the perfect highlighting of the lettering.


Job done!  And they look good from the back too...  Given they're in my favourite blues and browns, and given that I'm of a minimalist mind when I comes to the look of my personal possessions (not that I succeed with minimalism in terms of amounts of stuff, of course), these do please me rather a lot in the end.


I just feel a bit guilty that they were so easy to make!  But just occasionally a shortcut is allowed, I hope.  Thanks so much for dropping in today, and do hop over to A Vintage Journey to see the literary delights the other Creative Guides have come up with to inspire you.  We hope to see you en route.  Happy bookish crafting all!

A room without books is like a body without a soul.
Marcus Tullius Cicero

Tuesday, 15 September 2015

Count your blessings...

Hello everyone, lovely to have you drop by.  Jeepers, the projects are coming thick and fast here at the moment - I guess I'm making up for it being slow going around here (comparatively) over the last few months.  Now we're on to the third project of the week - count'em - three! And it's only Tuesday... and there are exciting things ahead later in the week.


We've been having a spooky old time of it lately.  If you're a Halloween fan, I'd love you to check out my Victorian candle shrine at A Vintage Journey and my haunted house at Calico Craft Parts.  There's also Nosferatu lurking somewhere - but he's really a bit too scary.


Right now, I'm here with the second of my Numbers projects for Country View Challenges, and it's my first bit of "proper" bookbinding (very minimal, mind).


I've put together small books and albums in all sorts of ways, but it's the first time I've got out the bookbinder's needle and waxed thread.


For this tag book, I've borrowed some ideas from the fantastic Tim Holtz workshop which I was lucky enough to get a place at when he came to the UK a couple of years ago.  (Thank you, Annie, for hanging on the phone when my signal gave out on the train!)


With him we made a tag book which used the Movers and Shapers numbers to create a cut-out feature on each page.  I've been meaning and meaning to do it again since, and the Numbers theme finally gave me the nudge!


I've alternated the die-cut pages with numbers from the Chiselled Industrious Stickers - they have a great metallic look.


The cover is one of the Idea-ology Pocket Cards I keep going on about - this is the large size, and it's perfect for covering the folded over tags as an album cover.

It's already slightly thicker card than the tags, but I stuck another one to the inside, mainly because I wanted to have the maths paper on the flyleaf.  I can't remember what was on the back of the numbers but it clearly wasn't numerical enough!


The backgrounds started with wrinkle-free distress technique in shades of brown and grey - Pumice Stone, Hickory Smoke and, I'm pretty sure, some Frayed Burlap.


Then I layered up stencilling - some in white, some in darker ink - and numerical stamping.


One of the tags already had some smears of gesso on so that altered the look.


I added some Idea-ology File Tabs... love the look and weight of these on the pages.


You can see the binding, neatly tied in the centre pages... and the tissue tape adding an extra accent along with the stamping on each page.


On the front, the linen ribbon is tied with a Cash Key - you can just slide the ribbon on and off without having to untie and re-tie it all the time.


I also added a couple of Big Talk words and shaded around them to bed them in.


All in all, it's just a little book for counting your blessings - a gratitude exercise, each night before bed, to turn the page and say out loud something that has gone well, that has been good, that you are thankful for.


You can make a note too, if you like, but that's not the main purpose... it's just to collect a handful of positive thoughts before sleeping.

And since there are six pages, if you like you can use it in the morning too... to believe your six impossible things before breakfast!


Hope you like my little album, and I hope you'll find the time to come and play along in our Numbers theme at Country View Challenges this month.  As always, there's a prize voucher sponsored by Country View Crafts... who knows, Mr Random Generator might just be on your side!

Thanks so much for stopping by, particularly as it's been such a busy few days - and long posts (need to get back to some simple tags!).  Your visits are always so much appreciated, and I'm even managing to keep up a good return visit rate at the moment!

Alice laughed.  "There's no use trying," she said.  "One can't believe impossible things."
"I daresay you haven't had much practice," said the Queen.  "When I was your age, I always did it for half-an-hour a day.  Why, sometimes I've believed as many as six impossible things before breakfast."
From Alice Through The Looking Glass by Lewis Carroll