
First of all, it's time for the rest of the Our Creative Corner team to share our Design Team pieces for Linda's Captured Memories challenge... create anything you like, but it must include a photograph. And you have just under a fortnight still to play.
I decided to go for something a little out of my comfort zone - that's the point of a challenge, surely, after all?! So I began playing with the idea of a scrapbooking layout - something I really don't do. The fact that it turned into a canvas in the end... well, you can read into that what you will. And what's more is it's PINK!
Warning: photo-heavy post alert!


I was extremely fortunate to win a blog candy of Pion papers recently - and so this challenge doubled as an excellent excuse to have a play with them too. They're so exquisite that it's hard to take the leap into cutting them up to use, but I gritted my teeth and went for it.
And the photograph is also from Pion's papers, not a relative of mine, I'm afraid. But as I was working on the piece, it became apparent that she is related to someone I "know".


At first, I thought she'd broken it off, and he'd arrived to take up his diplomatic post with a broken heart.
But it turns out something else was at the root of it...
In fact, it seems his posting was arranged by his father in order to put an end to his son's extremely distasteful relationship, one he found impossible to countenance.
The young lady is an actress, I'm afraid, and French to boot... and therefore quite beneath the dignity of the family.
The young lady is an actress, I'm afraid, and French to boot... and therefore quite beneath the dignity of the family.

So our young man has been hustled off to a far continent but he has defied his father and is continuing to correspond with his love.
Letters and postcards make their laborious way around the world, to where she waits... and the latest one to arrive offers the possibility that he may be able to send for her to join him in April - highlighted on the calendar by the shabby chic picture frame.

All the papers are Pion, both the background sheet, the layers framing the photo...

... and the tags, stamps and ribbons layered into the composition.


I used some Pumice Stone and some Victorian Velvet, applied very sparingly, to gently highlight the damask texture. I didn't want it to overwhelm the paper, but I also didn't want it to disappear completely!

I was sad that we were going to lose the reverse side of the paper, but as soon as I had the idea to mount the whole thing on a 12 x 12 canvas, I realised I could keep a touch of it by doing some raggedy rolling.

That of course has the added bonus of giving even more dimension and movement to the layout - or what I suppose I should now call the canvas!

To highlight the Regency stripe being revealed by the ripping and rolling, I added some stamping with the ticking texture which is an Artistic Outpost stamp.

In fact, all the added stamping is done with AO stamps:
the birds in the cage...

...the beautiful sentiment...

...the gorgeous PostCard stamp at the bottom...
I'll be going through the details of which sets they all come from over at Artistic Outpost tomorrow, so as not to keep you here all night!
I'll be going through the details of which sets they all come from over at Artistic Outpost tomorrow, so as not to keep you here all night!

On the photo itself, as well as some gesso to soften the edges, I decided to try to tint the flowers so that they would echo the colours in the main background page.

I used mainly Distress Stains, topping up with colour from ink pads if I didn't have the necessary colour.
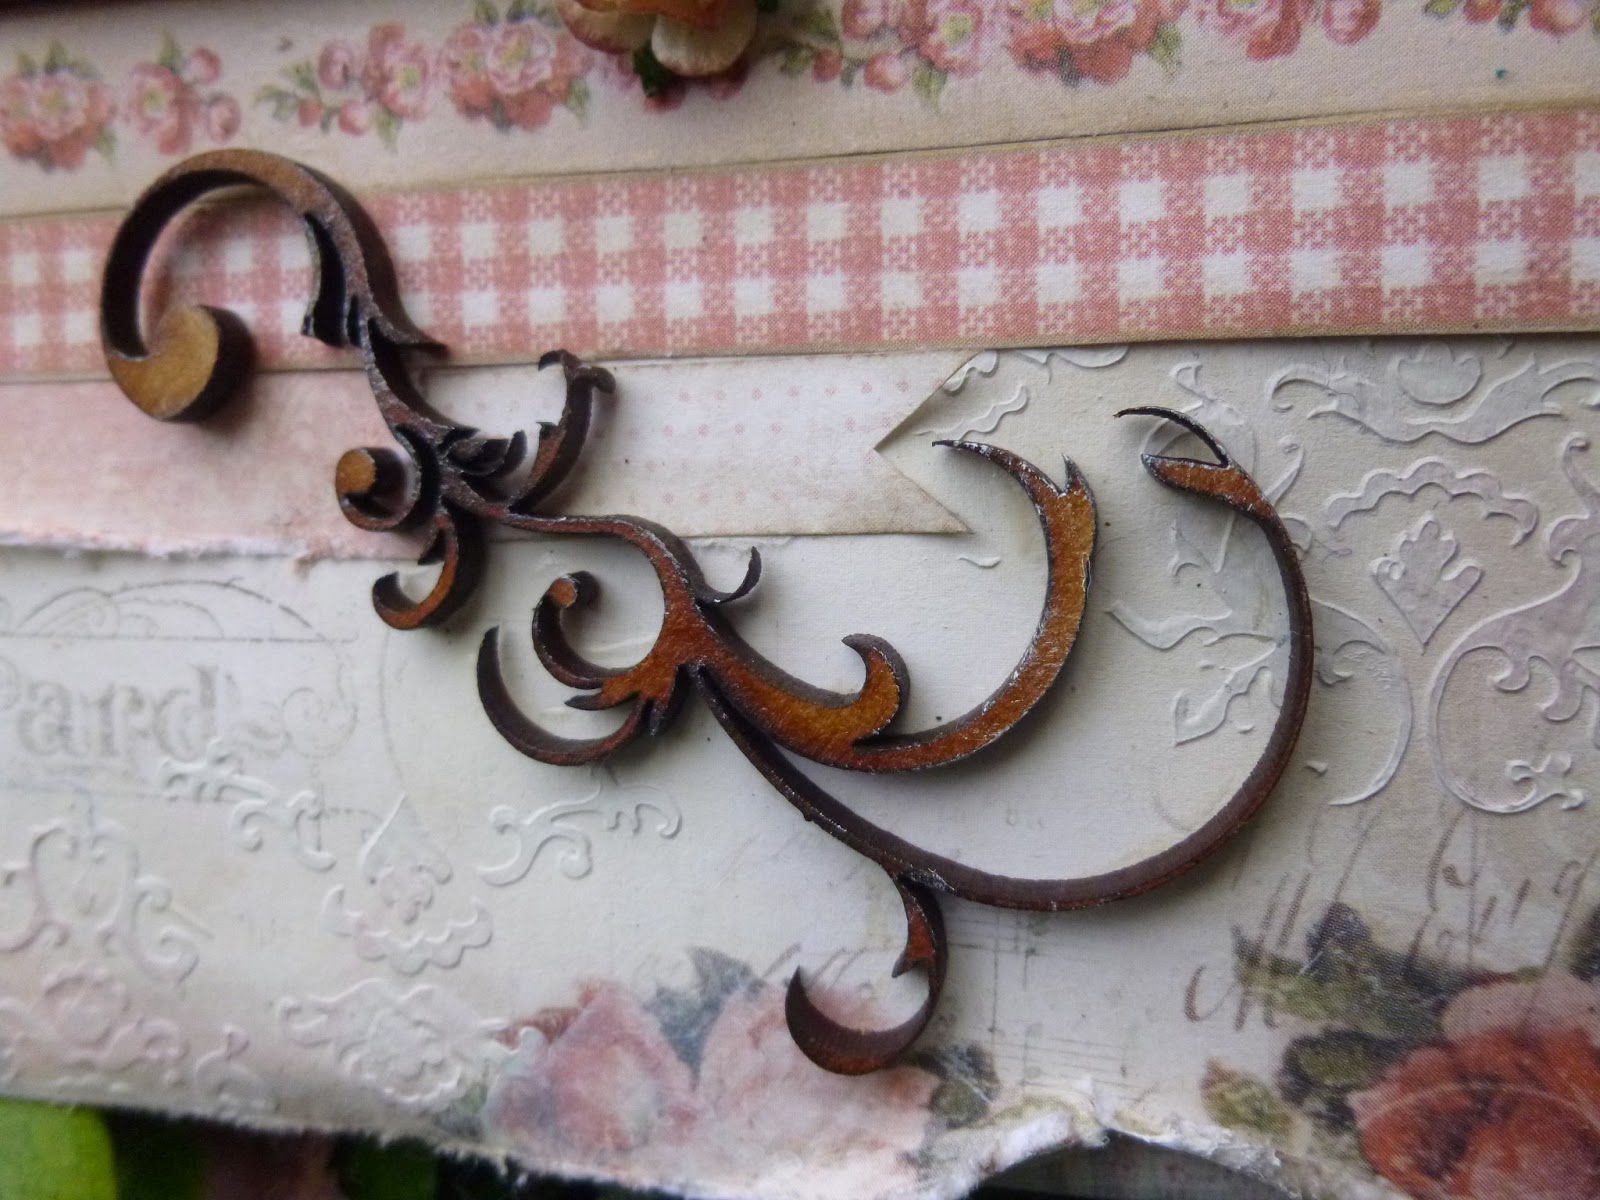
The birdcage and wooden flourishes are from Crafty Emblies, and the shabby chic frame on the calendar is by Melissa Frances.

As well as the ticking stripe and some gentle inking, I also took the paper ribbons around the side of the canvas, keeping that sense of dimensionality.

To add to the layered tags cut from the Pion papers, I also die-cut a shabby chic tag out of the papers using the Magnolia Doohickeys die. I inked it and added the little Artistic Outpost flourish, embossed in Vanilla White.

Some of the flowers are by Wild Orchid Crafts - given an extra blush of Victorian Velvet DI - and some are my trusty mulberry paper roses bought on ebay right at the start of this crafting craziness and still going strong!
So there she is, reading her letter, and full of hope for the future...

Will he be able to stand by his promise and send for her to join him?
Will his father intervene again?
We can only leave her to her hopes in her flowery boudoir, with our fingers crossed for the triumph of true love...
Enough, already! We'd love to have you join us with your photographic memories (real or imaginary) captured in a project. So do check out the beautiful projects from the rest of the team, and come and play soon!
Jean-Jacques Rousseau
I'd like to enter this in the following:
At Vintage Stamping Challenges they are playing Pretty in Pink - pink is pretty rare for me, so this is a must!
At the Hobby House Challenge Spot the theme this month is Vintage
And at Bunny Zoe's Crafts they are helpfully playing Pink & White this month
And at Bunny Zoe's Crafts they are helpfully playing Pink & White this month


