
In the meantime, back home, and saving up pennies to be able to get hold of some of them, I've been doing some recycling or upcycling or repurposing or whatever the heck we're supposed to call it now - turning something old and unwanted into something useful and, I think, beautiful.
When I met up with the fabulous Buttons at the NEC, I loved her little travelling container she had for her tag samples, and I've been meaning to sort one out for myself for some time. I decided that rather than buy something, I'd convert something instead - so I grabbed an old biscuit tin that had been lying around at work not doing anything for anybody. It was in the shape of a transistor radio, so I decided to embrace the possibilities of this unused and, in my opinion, rather ugly tin... and so here's my new tag storage:

Oh, and in case you were wondering, here's a quick before and after:

The transformation was inspired by the glorious work Leandra does with the PaperArtsy Fresco paints... lots of layers and blending and stamping to create the new look.

I started by giving the whole thing a coat of gesso, to give it some tooth, and then tore up some book pages and applied them randomly over the surface.

I love the Gothic typeface in older German books, and since I'm lucky enough to have friends over there, I'd roped them into the search for some Gothic print books I could rip up in the service of crafting.

The next step was to apply some Ferro through the lovely vines of the Leaf Swirl Border mask from Imagination Crafts, and dry it with the heat tool to make it puff up.

This was another tip of Leandra's at the NEC; what's actually happening is that the paste is blistering slightly, but it gives a fabulous additional dimensionality and shape to the leaves.

Then I started in with building my layers of paint. Rather than a brush, I used squares of Cut'n'Dry foam to apply my colours, layering and blending until I ended up somewhere I was reasonably happy with.

Still on my turquoise kick as you can see... but this time blended with some of my more traditional neutral browns.
I used Versamagic Chalk inks as well as the Fresco paints to create the highlights on the vines.

Even though some of the paints are translucent, this many layers meant that the book text was getting pretty obscured, so I took a baby wipe and rubbed back a little to re-reveal my lovely Gothic font.

Next step was stamping. I started with the Tim Holtz dots from the Ultimate Grunge set with some Snowflake Fresco paint and randomly dotted it around the tin (well, they're dots, they should be dotted around, don't you think?).


The final bit of stamping was the numbers, again from the Ultimate Grunge set, stamped in Coffee Archival, to pick up and echo the brown tones from the background.

On the base of the tin, I did a complete book page collage to cover the space efficiently without using too much of my precious Fresco paint!

The lettering is from the Grungeboard minis, though I had to make my own Y by adding together a trimmed U and a trimmed J, as I'd already used both the Ys ages ago. Anybody remember Only You? Well, there you go, two Ys used up right there in the title...
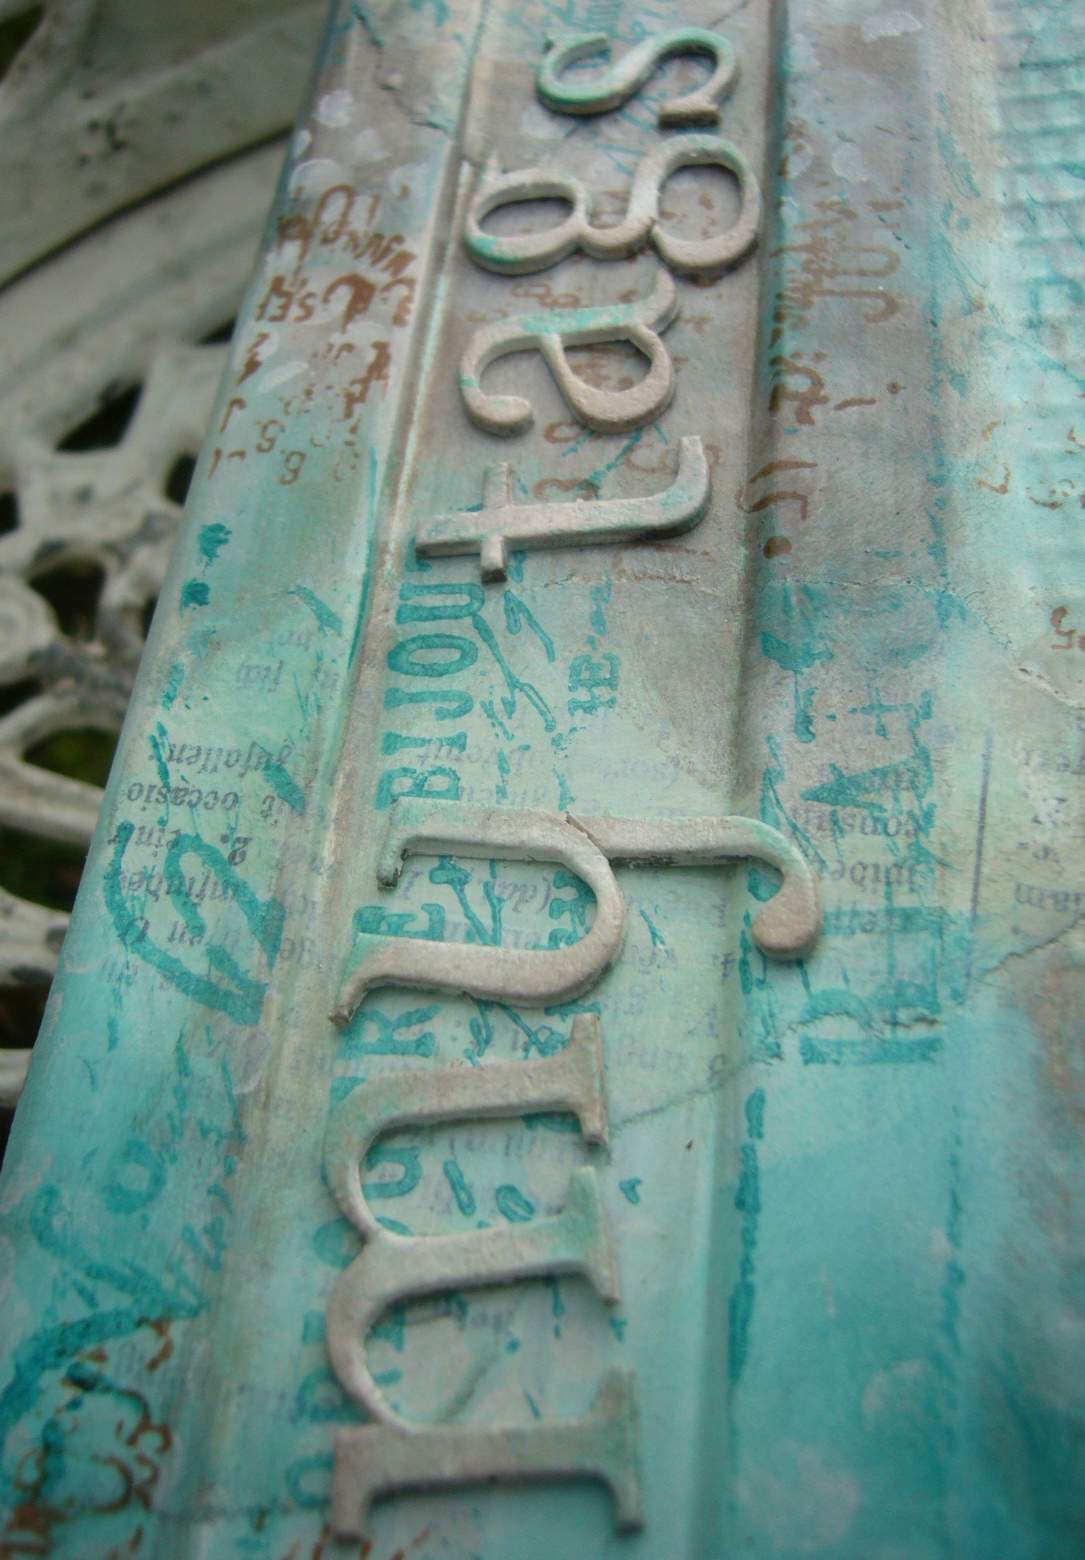
The letters also got the painty chalky treatment, and then I played around for a while with the placement, before deciding it was silly not to make the most of the shape of the tin by using the "tuning" bar as the place for the main title. I couldn't go over the top with embellishing as the plan is for it to go in and out of bags - it has to be practical - so I left it at that.

In these pictures, you can also see the lovely texture from the original tin casing coming through... the honeycomb of the radio "loudspeaker".

So that's my old unwanted biscuit tin, now a very useful travelling case for samples, and highly desirable... to me at least - which is fine, as I'm the one who'll be using it!
Since it's intended to travel around with me, I thought I should probably seal it so that it has some protection when I'm on the move. It did slightly alter the rather lovely chalky look of the thing, but I'd rather that than have it gradually chip off, which would be very sad!
Sorry that it's been another long post... I really do try to keep it down, but there's always stuff I want to share with you - as well as keep a record for myself of how I've done what I've done, so I do thank you for bearing with me. I wish you a lovely rest-of-Sunday, and hope that you have a great week out there in Craftyblogland!
I'm entering this in the following:
Simon Says Stamp and Show want us to Embrace the Old - I've embraced it and made it all new again
Happy Daze are inviting us to Recycle It for the whole of January
Our Creative Corner are looking for projects which are Shabby Chic Style - I think it is?
Unruly Paper Arts are looking for some Joie de Vivre - keeping my tags in this tin as my "gloat box" will certainly be joyous, but most important is the joy which crafting has brought into my life. And for a little Gallic touch... well the Papillon script stamp should do
Joy is not in things; it is in us.
Richard Wagner
What a transformation! I am loving your new colour choices and highly desirable this definitely is!! Another masterpiece is what I'd say! Have a great week yourself, Chrisx
ReplyDeleteI love how this turned out!! The colors work so well together!
ReplyDeleteEvery time I try to use baby wipes I end up destroying whatever it was I was working on. (I mean it isn't rocket science...lol)
Enjoy your Tag case!
Tracie
http://homeofthepurskey.blogspot.com
Perfection indeed! Luscious colors and fabulous textures. Love what you are doing with the stencils and fresco paint. I am trying to set up a wholesale agreement with Ferro for the boutique. I need to look into fresco paint too. Your tin will be a total join to use and everywhere you take it, others are going to want one just like it! Thanks so much for sharing your step by step!
ReplyDeleteHugs,
Linda
Oh now, a bespoke samples tin! Love what you've done to that (yes, ok) ugly tin - truly an ugly duckling transformation. Love the addition of the Versa colours with the paint and DI/alcohol ink and the idea of using 'international' books/newspapers has me thinking... Yet again you have provided superb inspiration in this glorious project. Oh, and the explanation, I love it when you tell us what works best - saves us all a heap of time making the same mistakes (hopefully!) What a difference the NEC made to us eh? CHA sometime in the future methinks:) Hugs, Jenny x
ReplyDeleteFabulous transformation Alison, I love the texture from the Ferro and the layers of paint look fantastic. I love using book pages in backgrounds and they look perfect here. Wonderful, one to treasure . Tracy x
ReplyDeleteThis looks really cool! I love it. Your post is perfect, not too long! Thank you for sharing the details!
ReplyDeleteYour upcycled tin looks great, lovely colours as usual. Hugs Francesca
ReplyDeleteWhat a wonderful transformation!
ReplyDeleteLoving your colours - and as usual, gorgeous details with the stamping.
Avril xx
Fantastic!! I'm curious what this Ferro is. The puffiness looks amazing!! Love the project
ReplyDeleteWOW! I can actually see me having a go at this. I love how you've transformed the tin!
ReplyDeletethank you for visiting in my blog;)
ReplyDeletewhat a lovely things you have made. they all are so fantastic...
WOW! your UPCYCLE is awesome.
ReplyDeleteAlison, I do believe "WOW" is the word to use to describe this incredible transformation! I love this tag holder and all the layers and texture. Amazing! Happy Sunday!
ReplyDeleteWonderful re purposing! Lovethe colours , layers and textures you have created here ..gorgeous and useful! Trace x
ReplyDeleteMagnificent transformation! Thank you for sharing so many details. Best, Yvonne
ReplyDeleteStill loving those tuquiose colours you're using, it's uncanny i have just been working on an old toiletry box to keep my makes in. I've gone in a different direction but i must say i love your tin. I really like the way you use the dimensional paste. A great piece of upcycling x
ReplyDeleteTerrific upcycling Alison, loving all the stamped details and the fab colour palette. Thank you for sharing. Have a great week, Annette x
ReplyDeleteOh this is yummy, what a great upcycle! Love that colour combo and all the different layers of paper and stamping (German Gothic is one of my favourites too and like you I am lucky enough to have a good source for them)Great use of the Ferro too. A stunning useful project altogether!
ReplyDeleteI am always inspired when I look at your work and this makes me covert the Xmas biscuit tins.EE
ReplyDeleteMake your blog posts as long as you like, Alison - it's always so interesting to go through each step/experiment with you. You've turned an ugly duckling into a swan!
ReplyDeletehow cool is that? I am loving the blue/turquoise trip you ar on at the mo. A fantastic bit of up cycling, Nec sounds like a good trip?
ReplyDeletegreat job Alison!!! i can't believe how transformed that tin is- love your blue phase too :) Debi x
ReplyDeleteNow that's what I call inspiration Alison! I am seeing my biscuit tin in a different light now (I have a similar radio one). The colour is fabulous, the book pages and TH stamps really give it a wonderfully vintage feel. I always love reading your 'how to' as well so please don't shorten them! If you must put your beautiful tags away, the what better place than this fabulous recycled tin. Hugs, Anne x
ReplyDeleteGorgeous box, Alison! Love your new favourite colours and what you do with the texture paste!
ReplyDeleteClaudia x
Oooh, I LOVE this! Brilliant idea, and beautifully executed :) I have lots of tins lying about and you've given me some great ideas on altering them :) xx
ReplyDeleteAmazing transformation Alison... O my gosh what a masterpiece. Love all the textures, stamping & colours... Fabulous step by step account... Love it!! Thank you for sharing... I will have a go at this.. Fantastic artwork... Hugs May x x x
ReplyDeleteAmazing transformation Alison, love the colors and texture the book pages give it. Your tags have such a stylish storage place now and only wish I could see this in person. It's fantastic!
ReplyDeleteWhat a fabulous transformation Alison. Leandra has a lot to answer for hasn't she lol. I love your colour combination, these translucent paints are wonderful arn't they :-) xx
ReplyDeleteYou turned it into a real great treasure box, Alison.
ReplyDeleteSuch nice colours and layering. Great use of the stamps and templates.
So nice....
greetings, Alie :-)
What a stunning piece of re-cycling - just love your new tag tin
ReplyDeleteLove the amazing layers Alison, the fabulous paste texture the paints and inks have all combined with you amazing style to create a masterpiece. A wonderful useful project.
ReplyDeleteHope you've had a good weekend.
Hugs Brenda xxx
How cool, great altered tin.
ReplyDeleteLove this tin and great that you have put some life into an unloved tin!
ReplyDeleteI must get my ferro paint out and get the hang of it as I to bought some at the NEC.
Hugs
xx
Oh my how fantastic is this Alison. I so wish I had as much creativity as you!! love the idea of it
ReplyDeletex catherine
Can't believe what this started out as! Absolutely stunning work and the details you've put into it are stunning. I love the puffy vine and the teals you've used. Stunning
ReplyDeleteShelby
Wonderful decorating of the tin and a great idea to make a place to store your tags.
ReplyDeleteBest wishes Chrissie xx
Exqusite alteration, elegant and really a masterpiece!
ReplyDeleteGorgeous gorgeous transformation Alison. Nicola x
ReplyDeleteA fabulous transformation Alison! xx
ReplyDeleteAlison!
ReplyDeleteI felt in love with this box just in the moment I saw it !
WOOOOOOOOOOOOOOOOOOOOOOOWWWWWWWWWWWWWWW---
and so fabulous instructions to alter a box too!
Thank you so much for sharing and showing!
FANTASTIC!
Have a good new week Alison!
Very glad to know you via Blogland!
Ooohh this turned out so beautiful! Great up cycling.
ReplyDeleteA wonderful transformation. It is a pity as visitors we are not able to reach into our laptop/computer screens and have the sensation of the layers of paints underneath our fingertips.
ReplyDeleteWishes
Lynne
Amazing textures, incredible colors,and I love yourtype face,,,,,absolutely a delcious to watch how you transform the box.
ReplyDeleteA fabulous interpretation of the Joie de Vivre Art Quest at UPA! Love all your wonderful creativity and amazing details.
ReplyDeleteAww, you didn't like the transistor radio tin??? Ha!! QUICK...grab that paint...ASAP!! You had to include all the pictures because I never would have believed the tin was that 'unsightly' but your inspiration for why you did it is wonderful as well as the incredible outcome. Truly an amazing piece that has been repurposed, recycled, upcycled or whatever it its called! ;)
ReplyDeleteYou've turned fugly into Shabby Chic bliss.
Thank you so much for sharing your creativity with us at Our Creative Corner. Best of luck and we'd love to have you visit again next week!
Lisa xx
Another wonderful project! Love how you altered this box, the result is wonderful. Fabulous colours, textures and stamping. Perfect place for your tags! Thank you for sharing with us at Simon Says Stamp and Show!!
ReplyDeleteFabulous transformation Alison and a great idea tomake something old into something new.
ReplyDeletelove it.
Greetings Janny
Dear Allison,
ReplyDeletewhat an amazing "new dress" for the box- what a wonderful translation.
I love the layers of old paper and stamps, painting and stamps again! I have never tried Ferro, but it looks amazing like that.
I wish you a wonderful week- see you next week again :-)
xo,Dorthe
Aus der einfachen Dose haben Sie ein wunderschönes edles Stück gezaubert, herrlich, Alison!
ReplyDeleteOh WOW ... Alison this is Stunning ... love love love the textures and the colour is to die for. x
ReplyDeleteWhat a delightful way to transport your art! Love all of the stamping, stencilling and the raised Ferro. Your colour palette is lovely and suits this tin so well. Layers and layers of goodness. I'm going to have to bite the bullet and import the Fresco paints from the UK. They really are calling me :)
ReplyDeleteFabulous upcycle Alison. Looks like you had lots of fun with this make and what a transformation for YOU to enjoy. love those gothic german pages :)Thanks for sharing.
ReplyDeleteHugs
Annie
ps
Can I ask what you used to seal the box X
What an awesome transformation!! This is fantastic, so gorgeous!!!
ReplyDeleteWhat a change! That ugly old tin is now a thing of beauty. Really love the vine leaves and the tip of puffing them up - must give that a go! x
ReplyDeleteThis box is simply..GLORIOUS, Alison. The colors, the shades, the raised details...wow!!
ReplyDeleteSimply beautiful Alison. I love all the chalky layers which allow you to see more and more the longer you look. The puffed up Ferro is an inspired idea and I love the look it creates. It's hard to believe that this is the same container!
ReplyDeleteJuliaxxx
Oooh lah lah! What a fantastic creation to hold your other creations! You will be making an entrance holding this lovely tin. Just gorgeous!
ReplyDeleteYou have definitely brought beauty and new life to something that was...um...not! I am amazed at the gorgeous effect of your layering process, especially the beautiful vines! Your dotted dots (love that)and the other stamps make such a lovely background!
ReplyDeleteWow... Alison, this is such a fantastic creation!!! Thank you for sharing with us at Our Creative Corner this week... :)
ReplyDeleteBeautiful project!!! Thanks for the step-by-step!!! I really want to try this method! :)
ReplyDeletewhat a pretty little treasure box you created for your tags. I love all the different layers and the added paste and stamps and letters, and...
ReplyDeleteyou did a fabulous job with this altered tin.
thank you for playing along with us @ OCC
Way to recycle!!! Amazing transformation! I love it!
ReplyDelete